Have you ever started a Microsoft Teams meeting, clicked “Share screen,” and watched in frustration as your colleagues see nothing but a blank white canvas instead of your presentation? You’re not alone—this white screen issue during Teams screen sharing affects thousands of users daily, disrupting important meetings and presentations. Whether you’re running Windows 11 / 10 or experiencing camera display problems, this tutorial walks you through proven solutions to eliminate the Teams white screen problem and restore normal screen sharing functionality.
Windows 10 / 11 Microsoft Teams blank screen when sharing
The Microsoft Teams white screen fix begins with understanding what causes this disruption. When Teams opens to white screen during sharing sessions, the problem typically stems from graphics driver conflicts, hardware acceleration settings, or Windows display configuration issues. This affects both the sharing participant and meeting attendees who see only a blank white surface instead of the intended content. Similar to fixing Teams screen sharing not working, these display issues often require systematic troubleshooting of both software settings and hardware configurations.
We will address the complete workflow for resolving Teams screen sharing gives blank white scenarios on Windows 11 & 10 systems. You’ll learn how to adjust graphics settings, modify Teams configurations, update system drivers, and implement preventive measures to stop recurrence. We’ll also cover situations where the Teams camera showing white screen affects video feeds alongside screen sharing problems.
Windows 11 Teams white screen fix through graphics settings
The most effective solution involves adjusting how Windows and Teams handle graphics rendering, particularly when hardware acceleration creates conflicts with your display adapter.
- Open Microsoft Teams, click your profile picture in the upper-right corner, then select Settings from the dropdown menu to access application configurations.
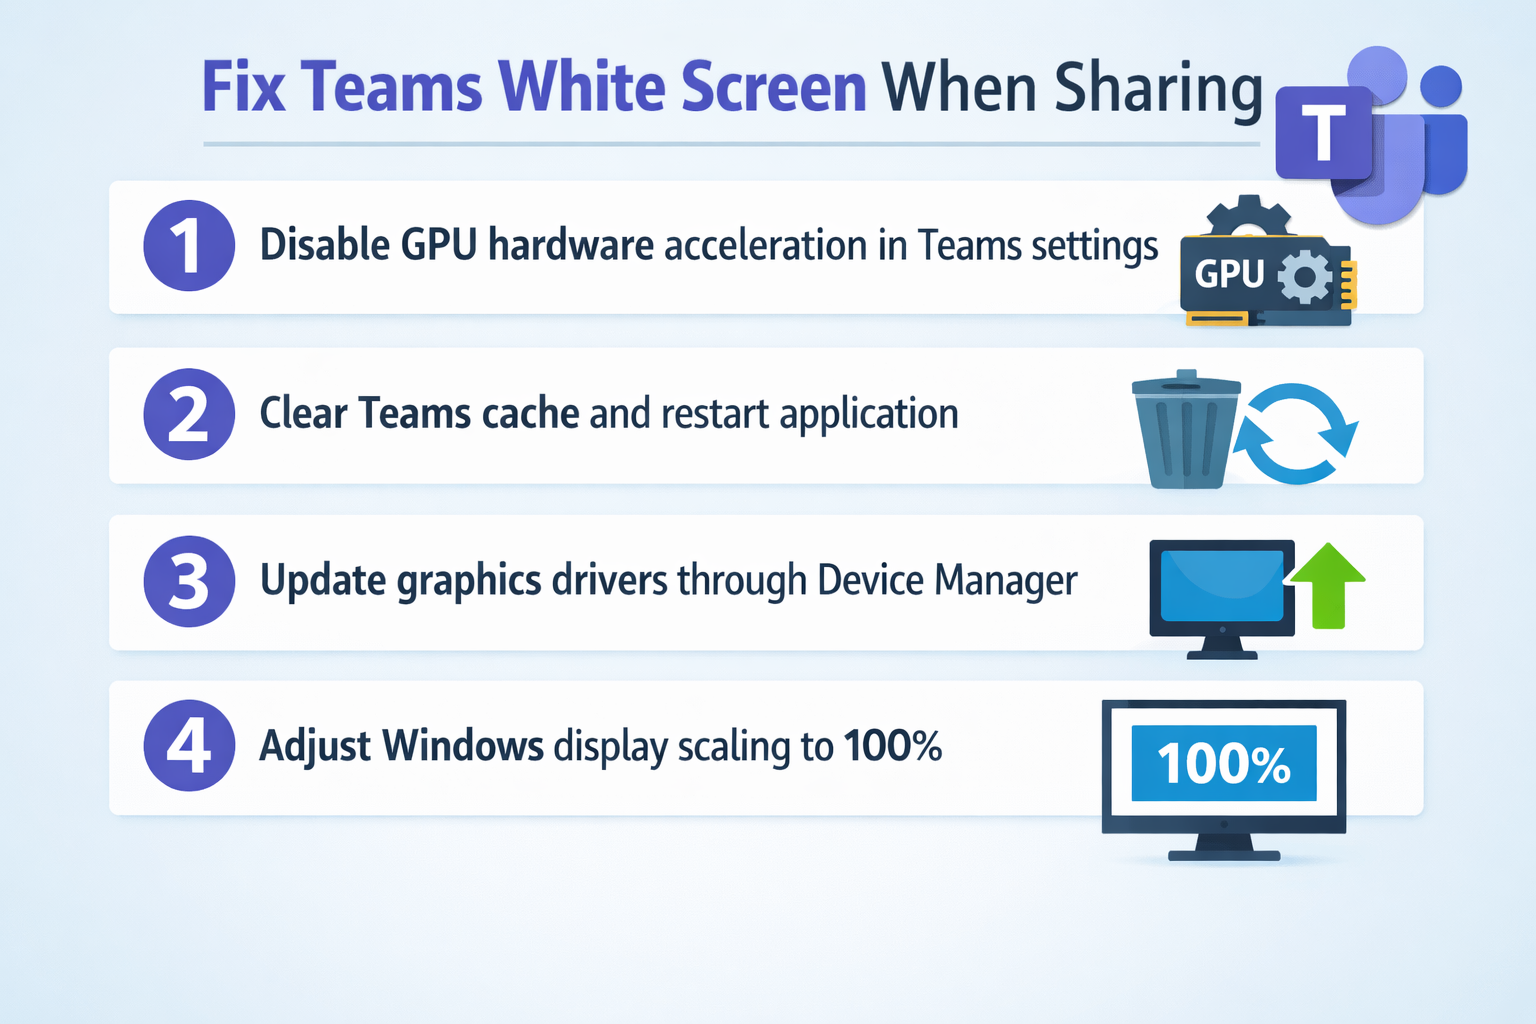
- Navigate to the General tab within Settings, scroll down to locate the Application section, and find the checkbox labeled “Disable GPU hardware acceleration” which controls graphics processing.
- Enable the “Disable GPU hardware acceleration” option by clicking the checkbox, then click the “Save and restart” button that appears to apply changes and relaunch Teams automatically.
- After Teams restarts, join a test meeting or create a new meeting, click the Share content button in the meeting controls, and verify whether your screen displays correctly without the white screen issue.
- If disabling hardware acceleration resolves the problem, your graphics driver was conflicting with Teams rendering; if the issue persists, proceed to update your graphics drivers through Device Manager.
- Press Windows Key + X simultaneously, select Device Manager from the power user menu, expand the Display adapters section, right-click your graphics card, and choose “Update driver” to search for newer versions.
- Select “Search automatically for drivers” to allow Windows to find and install the latest graphics driver from Microsoft servers, or visit your graphics card manufacturer’s website for the most current driver version.
Clearing Teams cache to eliminate display conflicts
Corrupted cache files frequently cause Teams blank screen when sharing problems, requiring manual cache deletion to restore proper functionality. Here’s a detailed process on how to do it.
- Close Microsoft Teams completely by right-clicking the Teams icon in the system tray near the clock, selecting Quit, and confirming the application has fully terminated in Task Manager if necessary.
- Press Windows Key + R to open the Run dialog, type
%appdata%\Microsoft\Teamsexactly as shown, then press Enter to navigate directly to the Teams application data folder location. - Delete all folders within the Teams directory except “Backgrounds” to preserve custom background images while removing potentially corrupted cache data that causes white screen problems during sharing.
- Navigate back one level to the Microsoft folder, locate and open the “Teams” folder under
%appdata%\Microsoft\Teams\, then delete the “Cache” and “GPUcache” folders specifically to clear graphics-related cached data. - Restart your computer to ensure all Teams processes terminate completely and Windows releases any locked files, then launch Teams fresh and sign in with your credentials.
- Test screen sharing functionality in a new meeting to confirm whether clearing the cache resolved the Teams screen sharing gives blank white issue you experienced previously.
Adjusting Windows display settings for Teams compatibility
Windows 10 display scaling and multiple monitor configurations sometimes create rendering issues that manifest as white screens during Teams sharing sessions.
- Right-click anywhere on your desktop, select Display settings from the context menu, and review your current Scale and layout percentage under the Display section.
- If your scaling is set above one hundred percent, temporarily change it to one hundred percent, click “Keep changes” when prompted, then test Teams screen sharing to determine if scaling caused the white screen.
- For multiple monitor setups, identify which display shows as your primary monitor in Display settings, note its position, then try sharing specifically from your primary display during Teams meetings.
- Open Teams Settings again, navigate to Devices, and verify that your camera selection matches your actual hardware device, as incorrect camera assignments can cause the Teams camera showing white screen problem.
- Under the same Devices section, click “Make a test call” to verify both camera and screen sharing functionality work correctly before joining important meetings with colleagues or clients.
Resolving screen goes black during Teams meeting scenarios
Beyond white screens, some users encounter black screens mid-meeting, requiring different troubleshooting approaches focused on permissions and application conflicts.
- Check Windows Privacy settings by pressing Windows Key + I, selecting Privacy, then Camera and Microphone sections to ensure Microsoft Teams has explicit permission to access these hardware devices.
- Verify that no other applications are using your camera simultaneously by closing programs like Skype, Zoom, or camera utilities that might lock the camera resource and prevent Teams access.
- Disable third-party antivirus or security software temporarily to test whether these programs block Teams screen sharing capabilities, as some security suites restrict screen capture for privacy protection.
- If black screens occur only when sharing specific applications rather than entire screens, try sharing your entire desktop instead, as application-specific sharing sometimes triggers rendering conflicts with certain programs.
Expert Tip: Create a dedicated Teams troubleshooting checklist documenting which solutions worked for your specific hardware configuration, as white screen issues can recur after Windows updates or Teams version changes.
- Review your Windows Update history by opening Settings, selecting Update & Security, then Windows Update, and clicking “View update history” to identify recent updates that coincided with Teams problems.
- If a recent Windows update correlates with when Teams white screen issues began, consider rolling back that specific update through the “Uninstall updates” option, though this should be a last resort.
- For persistent problems across all troubleshooting steps, uninstall Microsoft Teams completely through Windows Settings Apps section, restart your computer, then download and install the latest Teams version from the official Microsoft website.