Why does my Windows 11 computer take so long to start up and become responsive after login? Many users experience sluggish boot times because numerous applications automatically launch during startup, consuming valuable system resources and slowing down the overall user experience. Managing these startup programs effectively can dramatically improve your computer’s boot performance and daily productivity.
Understanding startup program configuration options
Your Windows 11 system accumulates startup programs over time as you install various applications, with many software packages automatically adding themselves to the startup sequence without explicit user permission. This behavior creates a cascading effect where each additional program extends boot time and reduces available system memory for active tasks.
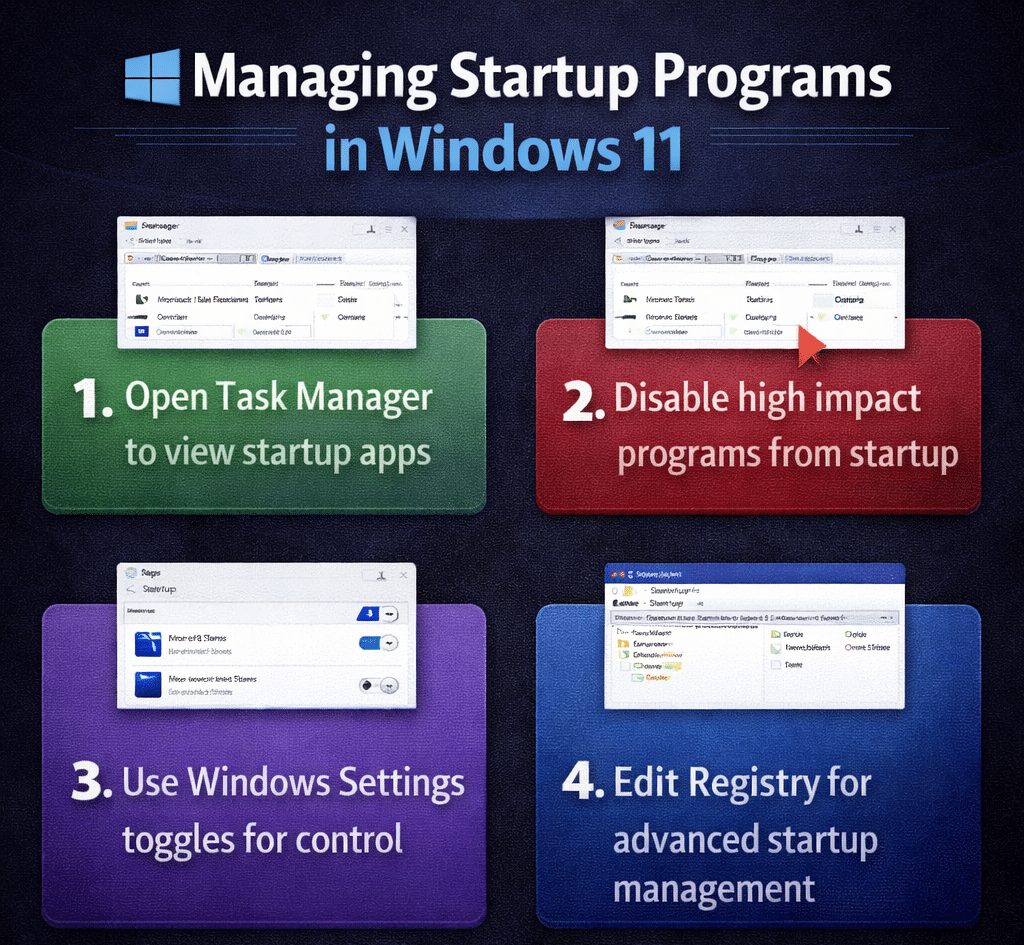
In this post, we will go through multiple methods to identify, evaluate, and control startup programs in Windows 11. You will learn to use Task Manager, Windows Settings, and Registry Editor to optimize your system’s startup performance. The process requires administrative privileges on your computer and applies to Windows 11 Home, Pro, and Enterprise editions.
We will focus on practical scenarios including disabling resource-intensive applications, preserving essential system services, and implementing startup program policies for enterprise environments. These techniques help maintain optimal system performance while ensuring necessary applications remain accessible.
Controlling startup programs through Task Manager
Task Manager provides the most comprehensive interface for managing startup programs with detailed performance impact information for each application.
- Access Task Manager by pressing Ctrl + Shift + Esc simultaneously or right-clicking the taskbar and selecting Task Manager from the context menu that appears.
- Navigate to the Startup tab within Task Manager to view all applications configured to launch automatically when Windows starts, along with their current status and system impact ratings.
- Review the Status column to identify which programs are currently enabled or disabled, while examining the Startup impact column that displays High, Medium, Low, or Not measured ratings for each application.
- Right-click any application you want to prevent from starting automatically and select Disable from the context menu to remove it from the startup sequence without uninstalling the program.
- Identify resource-intensive applications by focusing on those marked with High startup impact, as these programs significantly contribute to slower boot times and reduced system responsiveness.
Expert Tip: Sort the startup programs by impact level to quickly identify the biggest performance culprits and prioritize which applications to disable first.
Evaluating startup program necessity
- Research unfamiliar startup programs before disabling them by checking the Publisher column and searching online for the program’s purpose and importance to system functionality.
- Preserve essential Windows services and hardware-related applications such as audio drivers, graphics card utilities, and security software that require immediate availability upon system startup.
- Consider your daily workflow when deciding which applications to keep enabled, focusing on programs you use immediately after logging into Windows rather than those accessed occasionally throughout the day.
- Test system functionality after disabling startup programs by restarting your computer and verifying that essential features like audio, network connectivity, and hardware-specific functions continue working properly.
Managing startup applications through Windows Settings
Windows Settings offers an alternative approach to startup program management with a simplified interface that integrates with the modern Windows 11 design philosophy.
- Open Windows Settings by pressing Windows key + I or clicking the Start button and selecting Settings from the menu options available.
- Navigate to Apps in the left sidebar, then select Startup to access the startup applications management interface that displays all configurable programs with toggle switches.
- Review each application listed with its corresponding toggle switch, where the On position indicates the program will start automatically and Off prevents automatic startup.
- Toggle the switch to Off position for applications you want to prevent from starting automatically, noting that changes take effect immediately without requiring a system restart.
- Monitor the startup impact information displayed below each application name, which provides guidance on how significantly each program affects your system’s boot performance and resource utilization.
Using Registry Editor for advanced startup control
Advanced users can leverage Registry Editor to manage startup programs that may not appear in Task Manager or Settings applications.
- Launch Registry Editor by pressing Windows key + R, typing regedit in the Run dialog box, and pressing Enter while accepting any User Account Control prompts that appear.
- Navigate to HKEY_CURRENT_USER\Software\Microsoft\Windows\CurrentVersion\Run to access user-specific startup programs that launch when the current user logs into the system.
- Examine the entries in the right pane where each value represents a startup program, with the Value name showing the program identifier and Value data containing the executable path.
- Right-click any entry you want to remove and select Delete from the context menu, or rename the entry by adding a prefix like “DISABLED_” to temporarily prevent execution without permanent deletion.
- Access system-wide startup programs by navigating to HKEY_LOCAL_MACHINE\SOFTWARE\Microsoft\Windows\CurrentVersion\Run, which contains applications that start for all users on the computer.
Important Tip: Create a backup of Registry keys before making changes by right-clicking the Run key and selecting Export to save a restoration file.
Troubleshooting common startup program management issues
Managing startup programs occasionally presents challenges that require specific troubleshooting approaches to resolve configuration conflicts and system behavior issues.
- Applications may reappear in startup lists after updates or reinstallation because software installers automatically restore their startup configurations during the update process, requiring you to disable them again through Task Manager or Settings.
- Some programs continue running in the background despite being disabled from startup because they utilize Windows services or scheduled tasks that operate independently of the standard startup program mechanisms you can control through conventional interfaces.
- Registry modifications may not take effect immediately because Windows caches startup program information, requiring a complete system restart or user logout and login cycle to refresh the startup configuration and apply your changes.
- Enterprise-managed computers may prevent startup program modifications due to Group Policy restrictions that override local user settings, requiring administrator privileges or policy changes to modify startup behavior in corporate environments.