The easiest way to create your first automated cloud flow in Power Automate is to start with one clear event and one useful action. Automated cloud flows run when something happens, such as a new email arriving, a SharePoint item changing, or a Teams message being posted. Keep the first version small, test it with sample data, and add complexity only after the run history shows that the basic trigger works.
Plan the first automated cloud flow
Choose the event trigger carefully
An automated cloud flow begins with a trigger. In Power Automate, that trigger is the event that starts the workflow, such as When a new email arrives, When an item is created, or When a file is created. Pick a trigger you can reproduce on demand, because your first build should be easy to test without waiting for a real business event.
Avoid starting with a process that needs five systems, approvals, and complex conditions. A better first flow is something like sending yourself a notification when a specific email arrives. My best first-flow tests use a trigger I can fire twice in a minute, because slow feedback hides basic mistakes.
Prepare accounts and sample data
Before you open the designer, confirm that you can sign in to every connector the flow will use. If the flow watches Outlook and posts to Teams, you need working access to both services in the same environment. If it watches SharePoint, prepare a test list or document library where you can safely create sample items.
- When a message arrives in a specific mailbox folder, send a Teams message to me.
- When a new SharePoint list item is created, email the assigned owner.
- When a file is added to a folder, create a basic approval notification.
This short sentence becomes your build scope. It also prevents you from adding unnecessary actions before the first flow has ever succeeded.
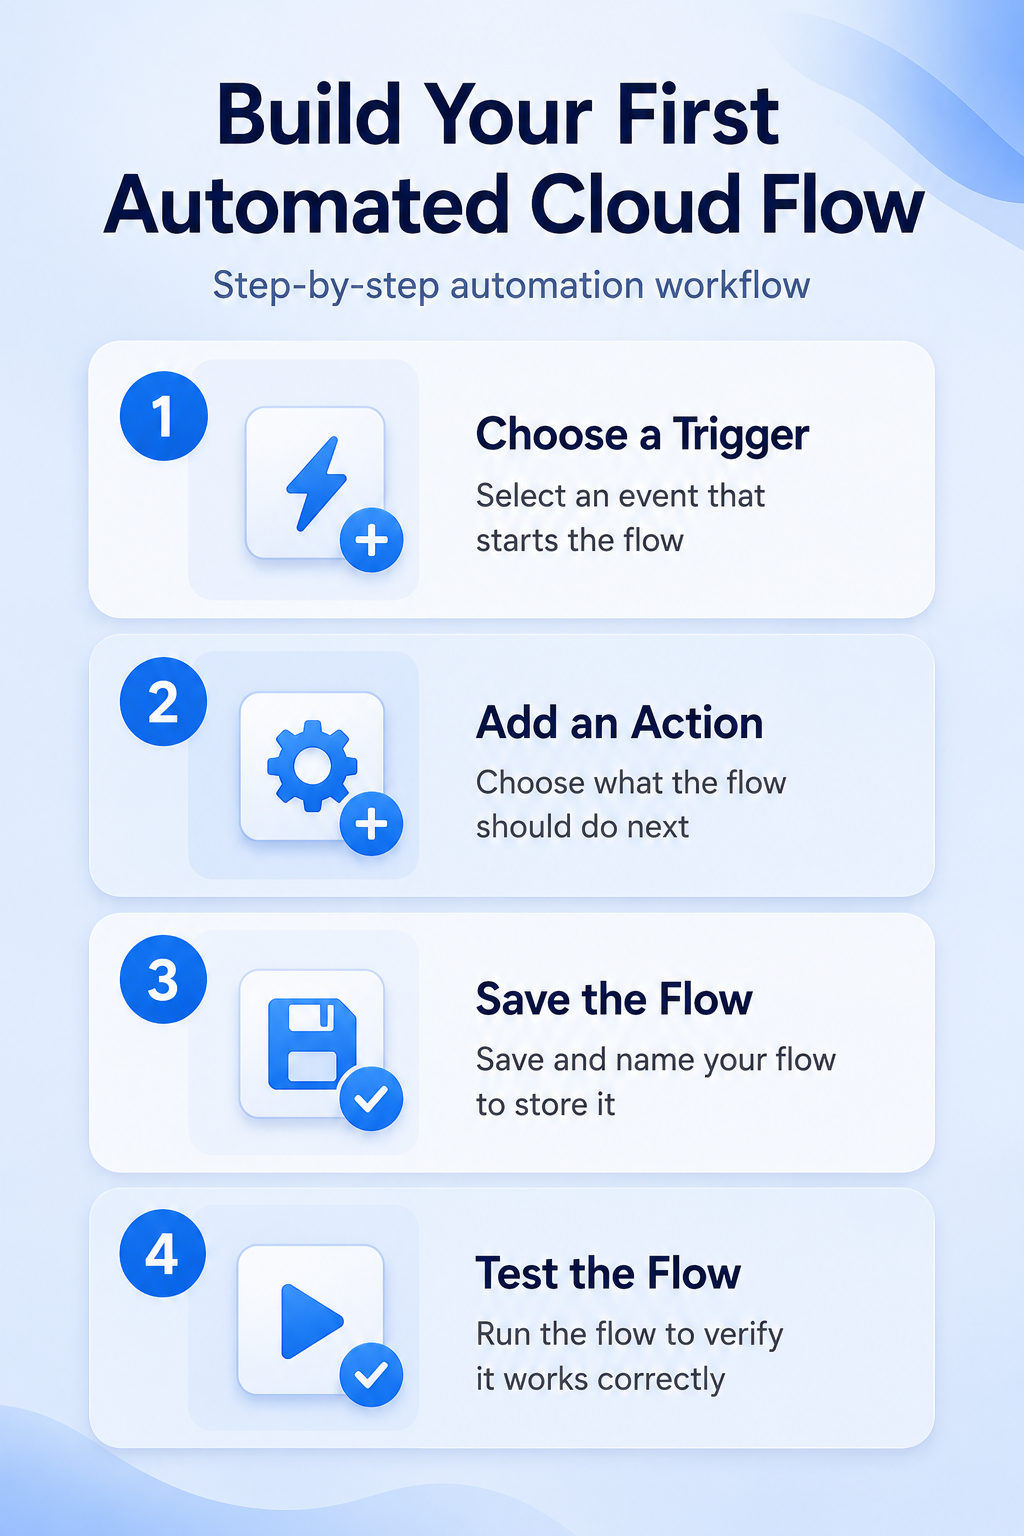
Create the flow from scratch
Sign in to Power Automate, select Create, and choose Automated cloud flow. Give the flow a readable name that includes the trigger and result, such as “Notify me when support mail arrives.” Search for the connector and trigger, select it, and then choose Create.
Microsoft also offers Copilot-assisted flow creation from a natural language description. That can speed up exploration, but beginners should still understand the trigger and each action before enabling the flow. If you want to compare the AI-assisted path later, the Copilot examples in build automation actions are a useful next step after your first manual flow works.
Build and test the automation
Add trigger details and actions
After the trigger appears in the designer, fill in the required trigger fields first. For an Outlook trigger, that might be the folder to watch. For SharePoint, it might be the site address and list name. Save once the trigger is configured so Power Automate can validate the connection.
Next, select New step and add one action. Use dynamic content from the trigger, such as the email subject, sender, item title, or file name. Do not type everything manually; dynamic content is the value that makes the flow react to each new event instead of sending the same generic message every time.
If your action posts to Teams, start with a private chat or a test channel before using a production team. You can later expand the same idea with richer Teams workflow patterns from add Teams workflow automation once the first flow is reliable.
Save, test, and read results
Select Save, then use Test from the designer. For many automated flows, you can choose a manual test and then perform the trigger event yourself, such as sending the test email or creating the test item. After Power Automate detects the trigger, open the run details and inspect each step.
Do not stop at the green check mark. Expand the trigger and action outputs so you can see what Power Automate actually received and sent. The run history is where you learn field names, empty values, skipped actions, and authentication problems.
Turn on alerts and ownership
Once the first run succeeds, check the flow details page. Confirm that the flow is turned on, review the owner list, and decide whether a coworker should be added as a co-owner. A flow that supports a team process should not depend on one person’s account without backup.
Power Automate can send failure notifications to owners and co-owners when the platform detects known fixable issues. That does not replace regular monitoring, but it helps you find broken connections or throttled actions sooner. I add a co-owner before a flow becomes routine work, because ownership is much harder to fix during an outage.
Avoid common beginner flow mistakes
Keep names readable and specific
Rename actions as you build. “Send email to requester” is better than “Send an email (V2)” because the run history becomes easier to read when something fails. Use names that explain the business purpose, not only the connector action.
This habit matters more as the flow grows. A small first flow may have only two or three cards, but your next version may include a condition, a Teams message, an approval, and an update action. Clear names make future troubleshooting faster.
Limit connectors in first version
Use the fewest connectors that can prove the workflow. Every extra connector adds permissions, connection references, possible throttling, and more places for input data to change. When you are learning, one trigger and one action are enough.
Add conditions only after the base path works. For example, make every email trigger a test notification first, then add a subject filter or sender condition. That order makes it clear whether a later failure came from the trigger, the condition, or the action.
Document what each action changes
Add a short description in your own notes or naming convention for actions that update records, send messages, or change files. A cloud flow can act quickly across services, so you should know exactly what it changes before leaving it on.
For shared team processes, keep a simple owner note with the trigger, the expected action, and the test data used. That gives the next person enough context to troubleshoot without guessing why the flow exists.
Beginner Power Automate questions answered
What is an automated cloud flow?
An automated cloud flow is a Power Automate workflow that starts from an event. The event can come from Microsoft 365, SharePoint, Teams, Outlook, or another connector. Once the trigger fires, Power Automate runs the actions you configured.
Should beginners use templates or start blank?
Templates are useful for learning connector patterns, but a blank automated cloud flow teaches you how triggers, actions, and dynamic content fit together. If you use a template, still remove unnecessary steps and test each action. A smaller flow is easier to trust.
Why did my first flow not run?
The trigger may not have fired, the flow may be turned off, the connection may need sign-in, or a trigger condition may have filtered out the event. Open the run history first. If there is no run, troubleshoot the trigger before editing later actions.
Your first successful flow should be boring in the best way: one event, one action, and a run history you understand. Once that works, you can add conditions, approvals, Teams notifications, and Copilot-assisted improvements with much less guesswork.