Power Automate turns repetitive manual work into hands-off workflows that run on autopilot. Whether you need to automate tasks like saving email attachments, routing approval requests, or syncing data between applications, Power Automate handles the heavy lifting. This guide covers the complete configuration process from prerequisites through advanced settings that keep your automated flows running reliably.
Prerequisites for Power Automate Setup
Confirm these requirements before building your first flow:
- Microsoft 365 subscription with Power Automate included (Business Basic or higher). Free plans work for basic flows, but premium connectors require a paid license.
- Web browser access to flow.microsoft.com or the Power Automate desktop application installed on Windows 10 or Windows 11. Desktop flows handle local file operations that cloud flows cannot reach.
- Permissions on the services you want to connect. Each connector requires its own authorization—confirm you have admin or contributor access to SharePoint, Outlook, Teams, or whichever application your workflow targets. Missing configure automate permission access is the top reason first-time flows fail during the connection step.
Configure Power Automate Task Workflows
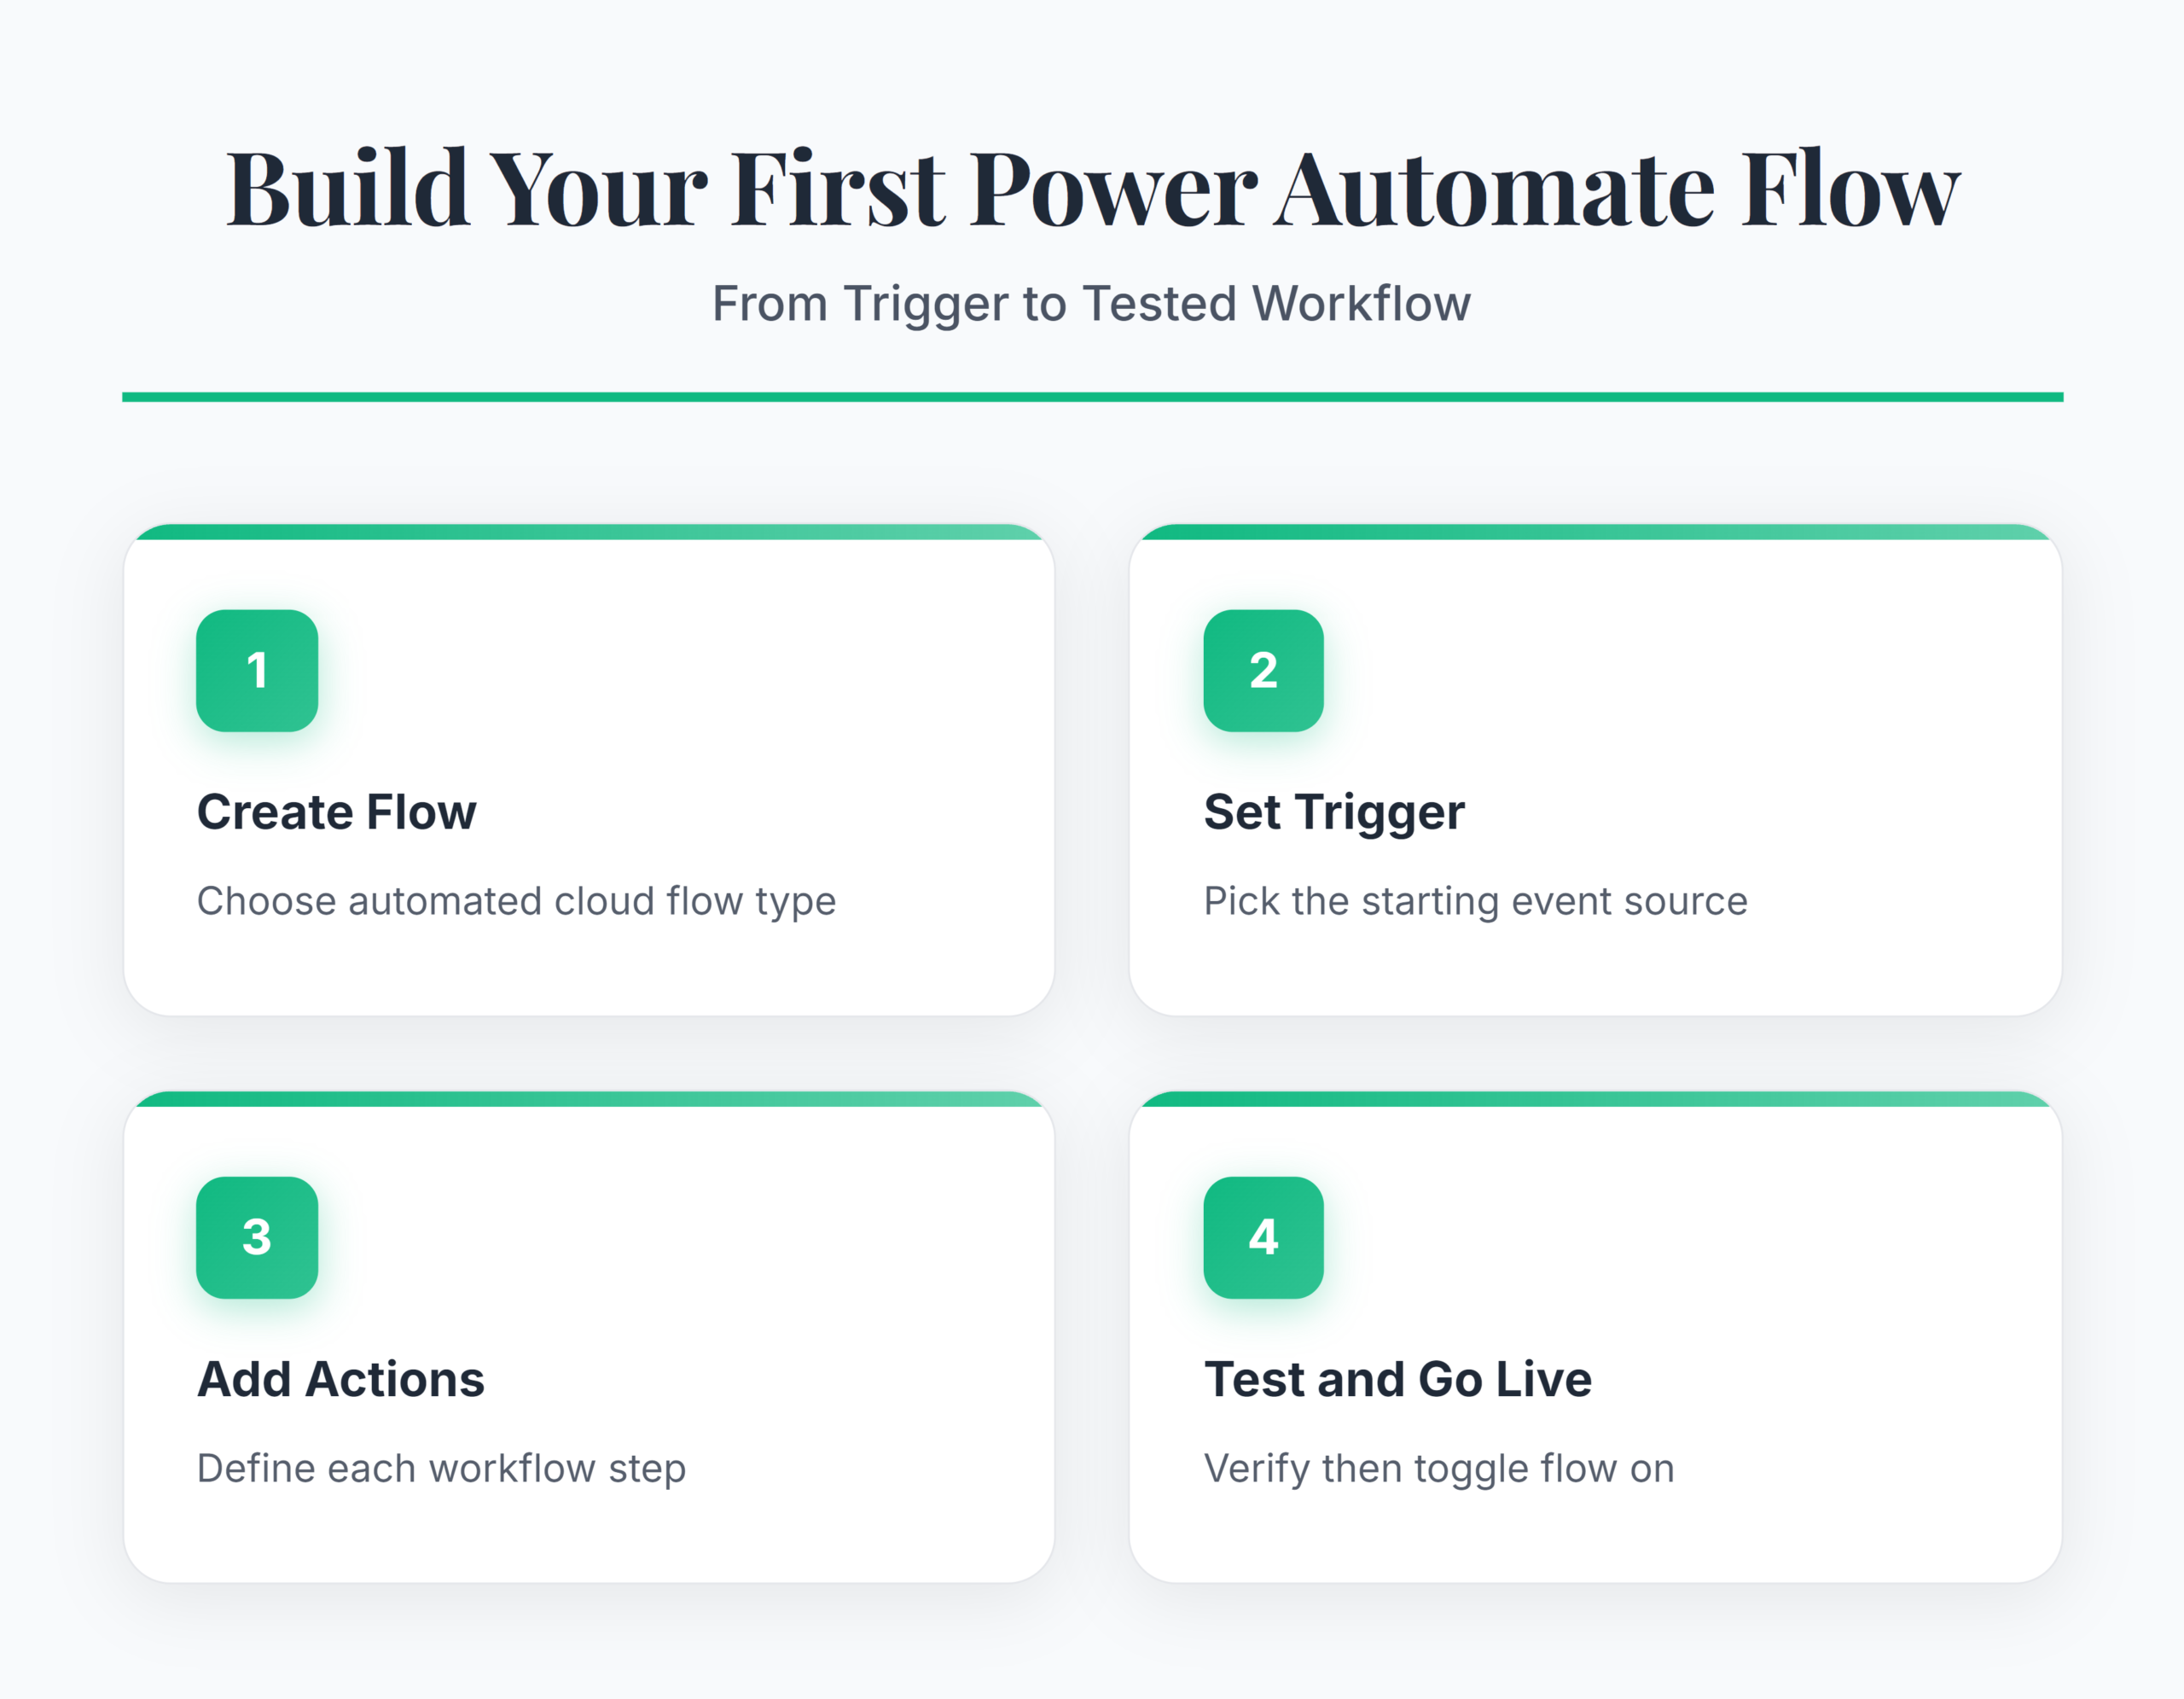
Create Your First Automated Flow
Open Power Automate from the Microsoft 365 app launcher or navigate to flow.microsoft.com directly. Select Create from the left navigation panel, then choose Automated cloud flow to build a trigger-based workflow. Name your flow with something descriptive—”Save Outlook Attachments to OneDrive” works better than “My Flow 1” when you manage dozens of automations later.
Pick a trigger from the connector list. Common starting points include “When a new email arrives” (Outlook), “When an item is created” (SharePoint), or “When a file is created” (OneDrive). The trigger you choose determines what event starts your entire automation chain. You can also create a Power Automate flow for SharePoint as a trigger source for document-driven workflows. Each trigger exposes different dynamic content fields that become available in subsequent action steps.
Configure Trigger and Action Settings
After selecting your trigger, add actions by clicking the + New step button below it. Use the search bar to find connectors—type the application name (Outlook, Excel, Teams) and browse available actions. Each action requires specific field mappings: select dynamic content from the trigger or previous steps to pass data through the workflow.
Pay attention to the Settings tab on each action card. Timeout values, retry policies, and concurrency controls live here. The default timeout of 30 seconds works for most API calls, but file operations and batch processes often need longer windows. Set retry count to 3 with exponential backoff for any action that calls external services. Missing this configuration causes intermittent failures that are difficult to troubleshoot when automate tasks stop working without clear error messages in the run history.
Test and Activate Your Workflow
Click Save in the top-right corner before testing. Power Automate validates connections and field mappings during the save process, catching obvious configuration errors early. Select Test from the top menu bar, choose Manually, then trigger the flow by performing the action your trigger monitors—send yourself an email, upload a file, or create a list item.
Watch the run history panel for green checkmarks on each step. Failed steps display red icons with detailed error messages. Common issues include:
- Expired connection tokens—re-authenticate the connector under Connections
- Missing required fields—check dynamic content mappings on the failed action
- Permission errors—verify your account has contributor access to the target service
After a successful test run, toggle the flow status to On from the flow details page. The workflow now runs automatically whenever the trigger event occurs.
Advanced Power Automate Flow Options
Set Up Power Automate Conditions
Conditions let your flows branch into different paths based on data values. Add a Condition control from the + New step menu and build your expression using dynamic content. A common pattern checks whether an email subject contains a specific keyword, then routes the message to different folders or Teams channels based on the result.
Nested conditions handle multi-layered logic—an approval workflow might check the request amount first, then verify the requester’s department before routing to the correct approver. You can set up advanced approvals in Power Automate when your business process requires multi-stage sign-off chains. Keep condition trees under three levels deep. Deeply nested branches become impossible to debug when something breaks, so use Switch controls for scenarios with more than three possible outcomes instead.
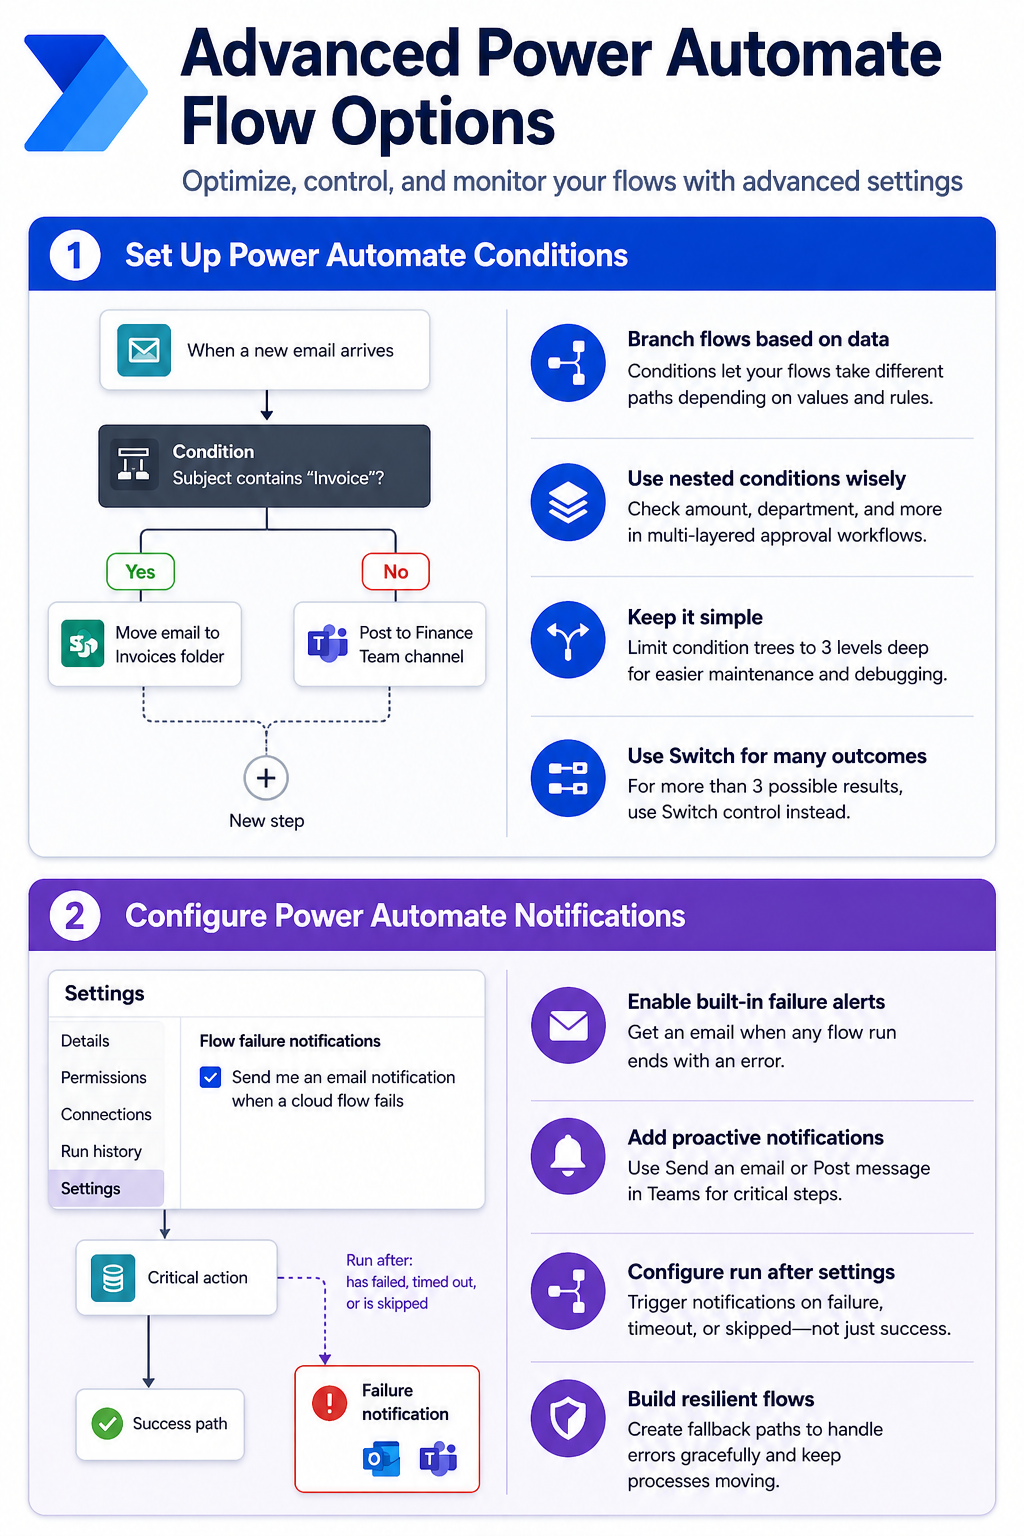
Configure Power Automate Notifications
Flow failure notifications prevent silent breakdowns in your automation. Navigate to Settings on the flow details page and enable Send me an email notification when a cloud flow fails. This built-in alert fires whenever any run terminates with an error status, giving you a chance to fix automate notifications before downstream processes notice the gap.
For proactive monitoring, add a Send an email or Post message in Teams action inside a parallel branch that runs after critical steps. Configure the “run after” settings on this notification action to trigger on failure, timeout, or skipped conditions—not just success. This approach catches partial failures that the built-in notification misses. Pair notifications with the Configure run after option on downstream actions to create fallback paths that handle errors gracefully instead of stopping the entire workflow cold.
Q&A
Why is Power Automate not working?
The most common cause is an expired or revoked connection. Open the flow, check each connector for warning icons, and re-authenticate any flagged connections. Throttling limits also trigger failures—Power Automate enforces per-user and per-flow API call limits that cause “429 Too Many Requests” errors during peak usage. This affects automate not working on Windows 11 the same way it does on web.
How do you fix Power Automate not working?
Start with the run history on the flow details page. Click the failed run, identify the red-marked step, and read the error output. Most failures resolve by refreshing connection credentials, correcting field mappings, or increasing action timeout values. To fix automate not working permanently, add error-handling branches that log failures instead of letting the flow stop silently.
What is the best Power Automate not working solution?
Build error handling directly into your flows from the start. Add a parallel branch with “run after: has failed” settings on critical actions so the workflow notifies you and logs the failure details automatically. Combine this with weekly test runs that verify your key automations still execute correctly after Microsoft service updates or configuration changes to the connected applications.
Automating tasks with Power Automate eliminates hours of repetitive work once your flows are configured and tested. Start with a single high-impact workflow, monitor the run history for the first week, then expand to additional processes as you build confidence with triggers, actions, and conditional logic.