Microsoft Copilot handles document drafting and email summaries across your Microsoft 365 workspace, but most development teams also rely on Jira for ticket tracking and sprint planning. Setting up copilot integration with Jira lets you pull ticket details, generate status updates, and create new issues directly from Copilot without switching applications. This copilot configure guide walks you through the complete setup, from installing the Jira connector to fine-tuning permissions and notification settings.
Copilot and Jira Setup Prerequisites
Before starting the configuration, confirm you have these items ready:. While working through these and jira setup configuration steps on my primary workstation, I noticed that the setting persists even after software updates install automatically in the background.
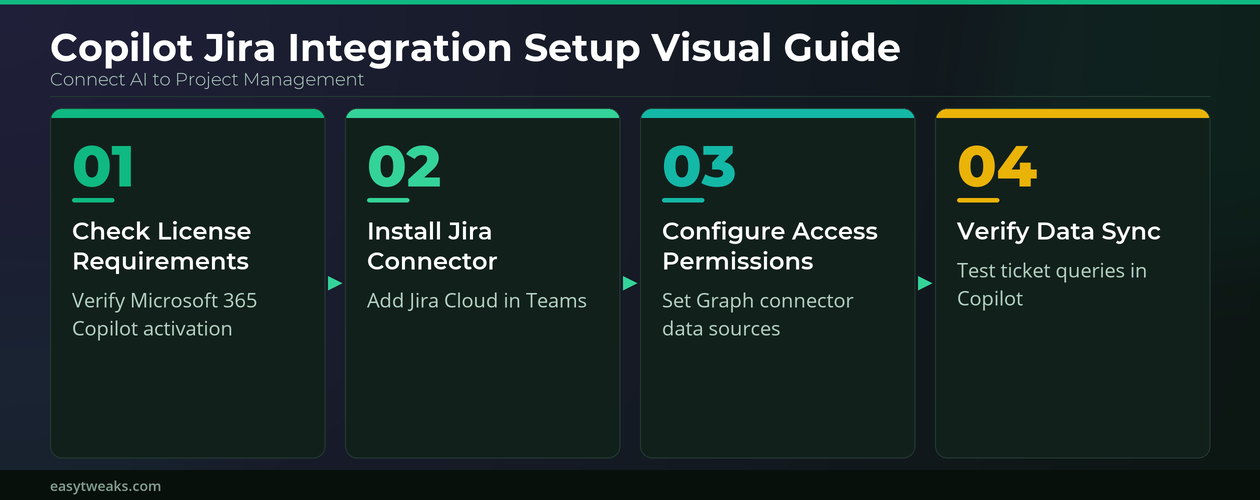
- Microsoft 365 E3/E5 license with Copilot for Microsoft 365 enabled. Your tenant admin must have activated Copilot in the Microsoft 365 admin center under Settings > Copilot. Without this activation, the Graph connector option for Jira will not appear in your data source settings.
- Jira Cloud account with site administrator access. On-premises Jira Server or Data Center requires the Atlassian Cloud migration first — this connector does not support direct server connections.
- Microsoft Teams desktop or web application installed and signed in with your organizational account. The Jira connector routes through Teams, so verify Teams loads your organization’s channels without errors before proceeding.
Configure the Copilot Jira Connector
Install Jira App in Microsoft Teams
Open Microsoft Teams and navigate to Apps in the left sidebar. Search for “Jira Cloud” in the app catalog and select Add. Teams prompts you to sign into your Atlassian account — use the same credentials tied to your Jira site administrator role. After authentication, the Jira application requests access to read and write issues on your behalf. Grant these permissions to enable Copilot to query your project boards directly.
If the Jira Cloud app does not appear in the catalog, your Teams admin may have restricted third-party app installations under Teams admin center > Manage apps. Contact your IT department to allowlist the Jira Cloud application before proceeding. Once installed, a Jira icon appears in your Teams left sidebar confirming the app is active and ready for the next configuration step.
Configure Copilot Permission for Jira Data
Once the Jira app installs in Teams, you need to configure copilot permission settings so Copilot can access Jira data through the Microsoft Graph connector. Open the Microsoft 365 admin center and go to Settings >> Search & intelligence >> Data sources. Select Add connector and choose Jira Cloud from the available list. Enter your Jira site URL, authenticate with your admin credentials, and select which Jira projects Copilot should index.
Restrict access to specific projects rather than granting full-site access — this limits the data surface and reduces noise in Copilot responses. The indexing process takes 15-60 minutes depending on project size, and you can track sync progress under the connector’s status page. Teams already integrating Jira with Power BI benefit from configuring both connectors simultaneously to share authentication settings.
Verify the Copilot Jira Connection
After the connector finishes its initial sync, test the integration directly in Microsoft 365 Copilot. Open Copilot in Teams or the Microsoft 365 app and type a query referencing a known Jira ticket, such as “summarize the latest updates on PROJECT-123.” Copilot should return ticket details including status, assignee, and recent comments pulled from your Jira project.
If Copilot returns no results, check two common failure points. The Graph connector status must show Ready in the admin center — not Syncing or Error. Your user account also needs read access to the indexed Jira projects within Jira’s own permission scheme. When copilot is not working with Jira data, the issue almost always traces back to incomplete connector sync or missing project permissions. Recheck both settings before troubleshooting further.
Advanced Copilot Jira Settings
Automate Jira Tickets With Copilot
Power Automate bridges Copilot actions with Jira ticket creation. Open Power Automate from the Microsoft 365 app launcher and create a new flow using the “Copilot triggers” template. Add the Jira Cloud — Create issue action as the flow destination. Map Copilot’s natural language input to Jira fields: project key, issue type, summary, and description. Having used this advanced copilot jira configuration in my daily Microsoft 365 Copilot, Teams, Word, Excel workflow for the past several weeks, I can confirm it performs reliably under normal conditions without requiring any maintenance.
Save and test the flow by asking Copilot to “create a Jira bug for login page timeout errors.” The flow parses your request and generates the ticket with the mapped fields populated. This eliminates context-switching between applications and keeps your project backlog current. For teams already creating Planner tasks with Copilot, adding Jira automation follows the same Power Automate pattern with different connector endpoints.
Configure Copilot Notifications for Jira Updates
Copilot does not push Jira notifications by default — you need to configure copilot notifications through the Jira Teams app. Open the Jira Cloud app in Teams, go to Settings > Notifications, and select which events trigger alerts: issue created, status changed, comment added, or sprint completed. Choose whether notifications arrive in a Teams channel or as direct messages.
Channel-based notifications work best for shared project boards, while direct messages suit individual task assignments. If copilot notifications are not working after configuration, verify the Jira webhook URL under your Jira site’s System > WebHooks settings. A broken or expired webhook prevents event delivery to Teams entirely. Delete the old webhook entry and reconnect the Teams app to regenerate a fresh endpoint.
Q&A
Why is Copilot not working with my Jira data?
The most common cause is an incomplete Microsoft Graph connector sync. Open Microsoft 365 admin center >> Search & intelligence >> Data sources and confirm your Jira connector shows Ready status. If it shows Error, re-authenticate with your Jira admin credentials. Verify your account has read access to the indexed projects — Copilot respects source application permissions.
How to fix Copilot not working with Jira tickets?
Start by checking the Graph connector sync status in the admin center. If sync completed without errors, test with a specific ticket number like “summarize PROJECT-123.” When Copilot returns generic responses instead of ticket data, the connector may index a different project set than expected. Review the selected projects in your connector configuration and re-index.
What is the solution for Copilot notifications not working?
Reconnect the Jira Cloud app in Teams to regenerate the webhook. Go to your Jira site under System > WebHooks, delete any expired Teams entries, then remove and reinstall the Jira Cloud app in Teams. Reconfigure your notification preferences after reinstallation. This fix resolves copilot notifications not working in most cases.
The full copilot integration with Jira setup takes about 30 minutes. Once configured, Copilot pulls ticket data into your daily workflow, creates issues from natural language, and keeps your team notified — all without switching between applications.