Understanding automatic update requirements in Windows 11
A system administrator recently asked: “Our organization upgraded to Windows 11, but I’m seeing inconsistent update behavior across different machines. Some computers are downloading updates automatically while others seem to require manual intervention. How can I ensure all Windows 11 devices in our environment consistently receive automatic updates without disrupting productivity?”
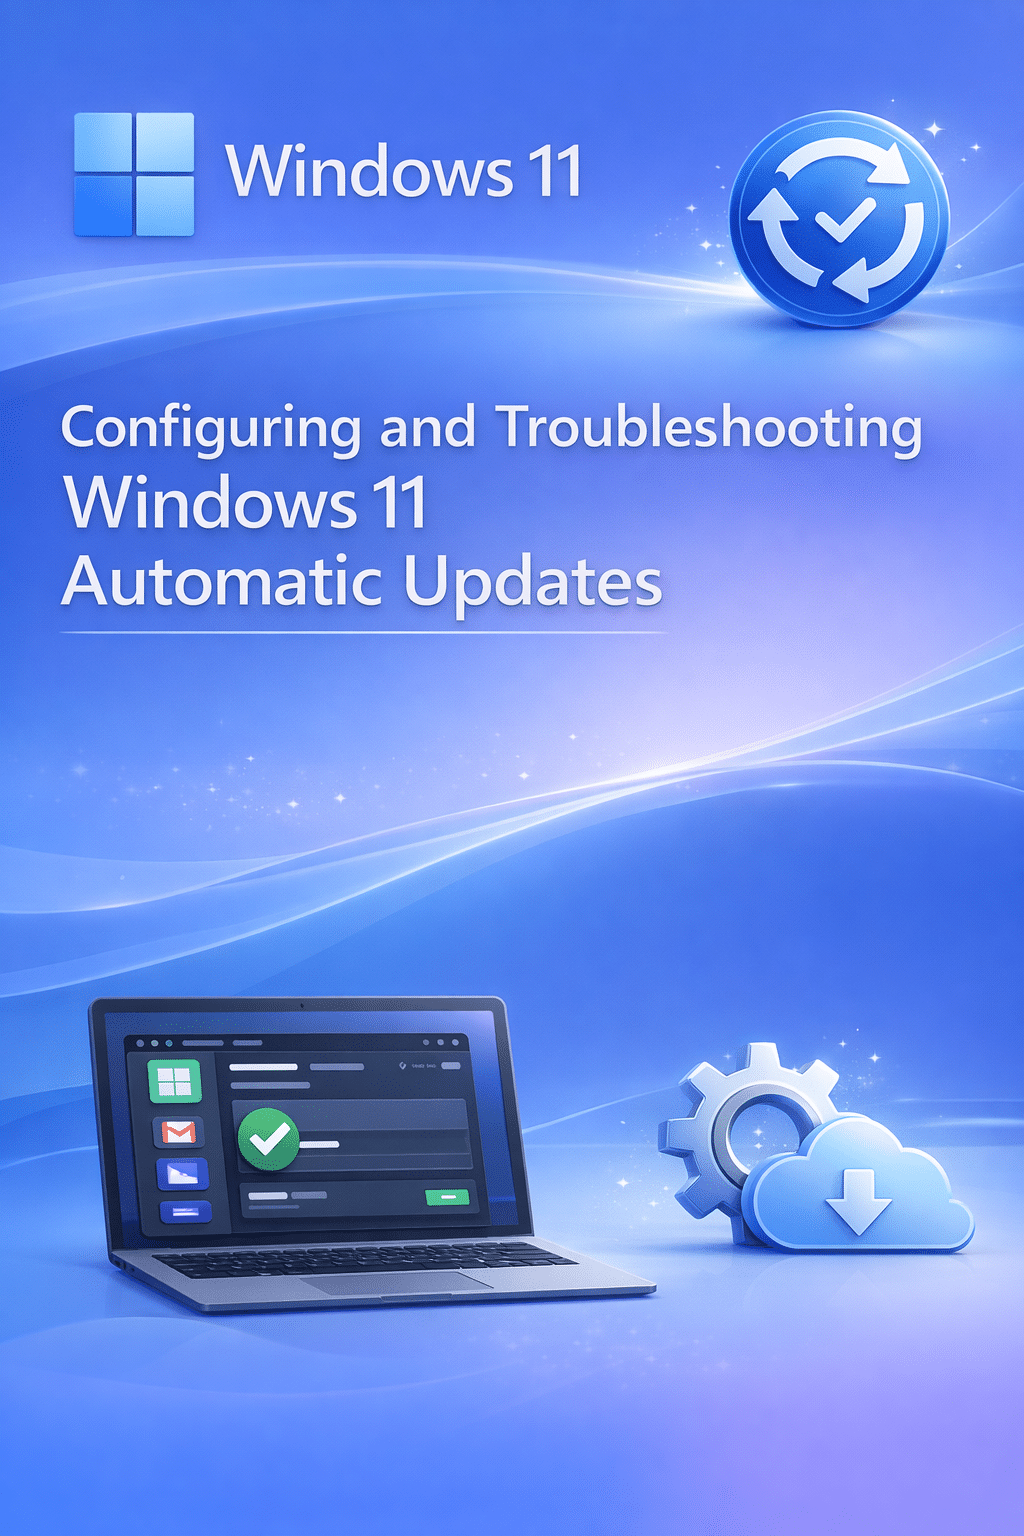
Enable automatic updates Windows 11 solution overview
Managing Windows 11 automatic update settings requires understanding the different configuration options available through Windows Update settings, Group Policy, and Registry modifications. This tutorial addresses the core challenge of ensuring consistent automatic update behavior across your Windows 11 deployment while maintaining control over installation timing and restart schedules.
We will configure Windows 11 to automatically download and install updates using the Settings app, explore advanced configuration options through Group Policy for domain environments, and establish appropriate maintenance windows. The process involves accessing Windows Update settings, configuring automatic download preferences, setting active hours to prevent unwanted restarts, and establishing notification preferences for pending installations.
We will also use the Group Policy Management Console and specifically the Windows Settings interface and Group Policy Editor for advanced configurations.
How to set up automatic updates Windows 11 through settings?
Access the Windows 11 Settings application by pressing the Windows key and typing “Settings” or clicking the gear icon in the Start menu taskbar area. Navigate to the Windows Update section located in the left sidebar of the Settings window to view current update status and configuration options.
- Click on “Advanced options” within the Windows Update section to access detailed automatic update configuration settings that control download and installation behavior.
- Enable “Receive updates for other Microsoft products” to ensure your system receives updates for Office applications, Microsoft Teams, and other Microsoft software installed on the device.
- Configure “Download updates over metered connections” based on your network requirements, keeping this disabled for cellular or limited bandwidth connections to prevent excessive data usage.
- Set your preferred “Active hours” by clicking the corresponding option and selecting the time range when you typically use the computer to prevent automatic restarts during work periods.
- Enable “Restart this device as soon as possible when a restart is required to install an update” if your environment can accommodate immediate restarts for critical security updates.
Windows 11 automatic update download configuration
Return to the main Windows Update page and click on “Advanced options” then select “Delivery Optimization” to configure how your computer downloads updates from Microsoft servers and other sources. Enable “Allow downloads from other PCs” and choose “PCs on my local network” to reduce bandwidth usage across your organization by sharing downloaded updates between nearby computers.
- Configure bandwidth limitations by clicking “Advanced options” within Delivery Optimization settings to prevent update downloads from consuming all available network bandwidth during business hours.
- Set “Absolute bandwidth” limits for both download and upload scenarios, typically limiting background downloads to 70-80% of total bandwidth to maintain network performance for other applications.
- Schedule bandwidth usage during specific hours by enabling “Limit how much bandwidth is used for downloading updates in the background” and setting appropriate percentages for business and non-business hours.
- Monitor download progress and sources by returning to the main Windows Update page where you can view current download status and verify that automatic downloads are functioning correctly.
Expert Tip: Configure Active Hours to span your typical work schedule plus one hour buffer on each side to prevent unexpected restarts during important meetings or presentations.
Windows 11 automatic update settings for enterprise environments
Open the Group Policy Editor by pressing Windows key + R, typing “gpedit.msc” and pressing Enter to access advanced Windows 11 automatic update configurations available for domain-joined computers. Navigate to Computer Configuration > Administrative Templates > Windows Components > Windows Update to locate comprehensive update management policies.
- Configure “Configure Automatic Updates” policy by double-clicking the setting and selecting “Enabled” then choosing option “4 – Auto download and schedule the install” from the dropdown menu.
- Set installation day and time preferences within the same policy by selecting specific days of the week and preferred installation hours that align with your organization’s maintenance windows.
- Enable “Allow Automatic Updates immediate installation” policy to permit installation of updates that do not require system restarts, such as definition updates for Windows Defender.
- Configure “Specify intranet Microsoft update service location” if your organization uses Windows Server Update Services (WSUS) to centrally manage update distribution and approval processes.
Turn off updates Windows 11 selective configuration
Access the Windows Update Advanced Options to configure selective update management while maintaining essential security update automation. Click on “Optional updates” within the Windows Update section to view available driver updates, feature updates, and other non-critical updates that can be managed separately from security updates.
- Pause feature updates by clicking “Advanced options” then selecting “Pause updates” option to temporarily stop feature updates while continuing to receive security updates automatically.
- Configure update deferral settings by navigating to “Advanced options” and setting “Feature update” deferrals to delay major Windows 11 feature updates for up to 365 days while maintaining security update installation.
- Disable specific update categories through Group Policy by navigating to “Configure Automatic Updates” and selecting “2 – Notify for download and auto install” to maintain control over update timing while preserving automation.
- Manage driver updates separately by unchecking “Receive updates for other Microsoft products” and manually reviewing driver updates through the Optional updates section to prevent compatibility issues.
Solve Windows 11 automatic update installation issues
Several common challenges can prevent Windows 11 automatic updates from functioning correctly, requiring specific troubleshooting approaches to restore proper update functionality.
- Windows Update service failures may prevent automatic downloads and installations, requiring you to open Services.msc, locate “Windows Update” service, and restart it while ensuring startup type is set to “Automatic (Delayed Start)” for proper functionality.
- Insufficient disk space commonly blocks automatic update downloads, necessitating cleanup of temporary files through Disk Cleanup utility or Storage Sense configuration to automatically remove old files and create space for incoming updates. Learn more about solving sluggish performance related to space issues.
- Network connectivity restrictions or firewall configurations might block access to Microsoft update servers, requiring verification that Windows Update URLs are whitelisted in your network security appliances and proxy configurations.
- Corrupted Windows Update components can prevent proper automatic update functionality, requiring execution of “sfc /scannow” and “DISM /Online /Cleanup-Image /RestoreHealth” commands in elevated Command Prompt to repair system files and update mechanisms. For similar repair tips, see fixing random restart issues.
Important Tip: Always create a system restore point before making significant changes to Windows Update policies, especially in production environments where update failures could impact business operations.