This is a common question I hear from users who have recently upgraded to Windows 11. Many find themselves searching through multiple folders trying to locate their downloaded files, especially when browsers, email clients, and other applications seem to save downloads in different locations. Managing your downloads folder effectively can save you significant time and reduce frustration when trying to locate important files.
Change the default downloads folder for simpler workflows
The default downloads location in Windows 11 is typically set to C:\Users[YourUsername]\Downloads. While this works for many users, there are several reasons you might want to change this location. You might have limited space on your system drive, prefer organizing downloads on a separate drive, or want to synchronize downloads with a cloud storage service. Windows 11 provides several options to customize how your downloads folder behaves and where files are stored.
Note: Managing your downloads effectively is crucial, especially if you’re also trying to clear temporary files in Windows 11 to maintain optimal system performance. The default location might not always be the most efficient choice for your workflow.
Windows 11 download folder customization options
In this tutorial, we’ll explore how to view your current default download location, change it to a different folder, reset it if needed, and even disable the special Downloads folder functionality. These adjustments can be made through File Explorer settings without requiring advanced technical knowledge. You’ll need administrator privileges on your Windows 11 device to make some of these changes.
How to change your Windows 11 default download location?
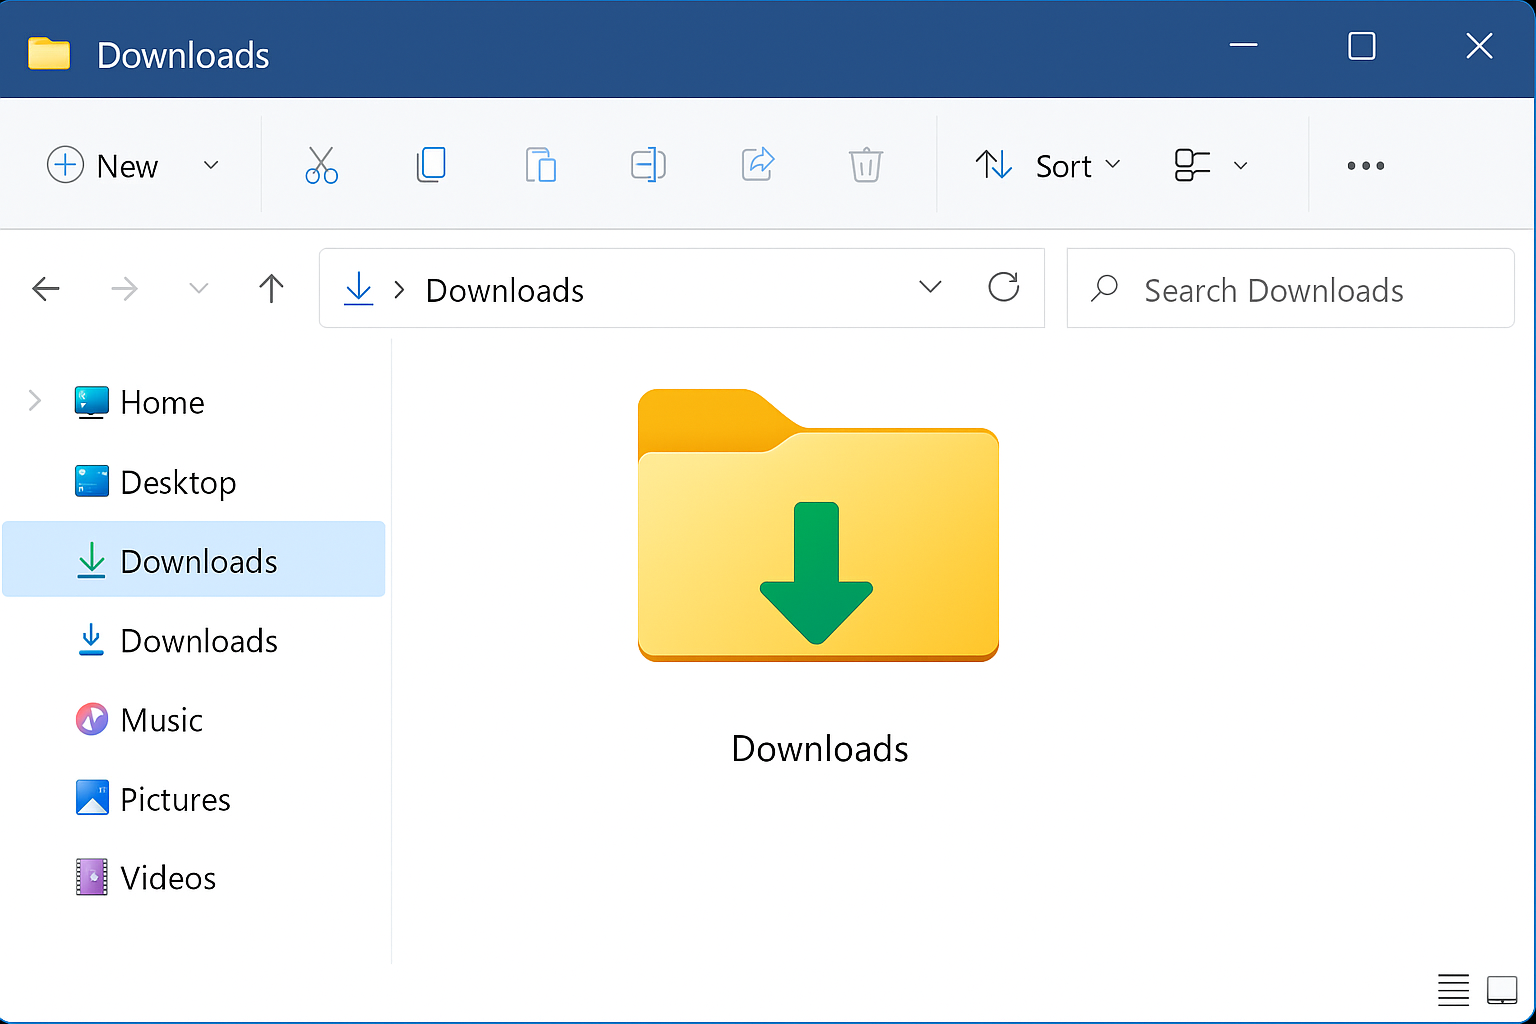
- Access the Downloads folder properties by opening File Explorer, then right-clicking on the Downloads folder in the Quick Access or navigation pane and selecting “Properties” from the context menu that appears.
- Navigate to the Location tab in the Properties dialog box where you’ll see the current path to your Downloads folder, which is typically “C:\Users[YourUsername]\Downloads” unless previously modified.
- Click the Move button to open a dialog box that allows you to browse to and select a new location for your Downloads folder, which can be on any drive connected to your computer.
- Select your preferred new location by navigating through your drives and folders, creating a new folder if necessary, then click “Select Folder” to choose this as your new downloads destination.
- Confirm the change by clicking “Apply” in the Properties dialog, which will prompt a dialog asking if you want to move all existing files to the new location.
- Choose whether to move existing files by selecting “Yes” to transfer all current downloads to the new location or “No” to leave them in the original folder while future downloads go to the new location.
- Click OK to finalize the change after Windows completes moving your files (if you chose that option), and your Downloads folder will now point to the new location for all Windows applications.
- Test the new location by downloading a file from your browser to verify that it automatically saves to your newly designated downloads folder location.
Common Windows 11 download folder issues
- If downloads still go to the old location, check your browser settings as some browsers like Chrome, Firefox, and Edge have their own download location settings that override Windows defaults, requiring you to change them separately in the browser’s settings menu.
- When you receive “Access Denied” errors while trying to change the download location, try running File Explorer as administrator by right-clicking on the File Explorer icon and selecting “Run as administrator” before attempting to change the folder location.
- If your Downloads folder icon looks different or loses its special status, you can restore it by right-clicking the folder, selecting Properties, going to the Customize tab, and choosing “Downloads” from the “Optimize this folder for” dropdown menu.
- When the “Move” button is grayed out in the Properties dialog, your Downloads folder might be part of a library or have special protection, so try creating a new folder elsewhere, moving your files there manually, and then setting that as your default in browser settings.
- If you need to reset the Downloads folder to its default location, open the Properties dialog, go to the Location tab, and click the “Restore Default” button, which will revert the folder to its original Windows 11 system location.
Managing Windows 11 download destinations
- Create a custom library by right-clicking in File Explorer’s navigation pane, selecting “New > Library,” naming it, then right-clicking the new library and adding your preferred download folders to consolidate multiple download locations.
- Use symbolic links for advanced users who want downloads to appear in one location but actually store files elsewhere, which can be created using the Command Prompt with administrator privileges and the mklink command.
- Configure OneDrive integration by moving your Downloads folder to your OneDrive folder structure if you want automatic cloud backup of downloaded files, though be mindful of storage limits and potential synchronization delays.
- Set up folder redirection policies through Group Policy if you’re in a managed environment, allowing administrators to centrally control where user downloads are stored across multiple Windows 11 devices.
Common Questions About Windows 11 Downloads Management
Can I have different download locations for different browsers?
Yes, each browser maintains its own download settings independent of Windows 11’s default Downloads folder. Chrome, Firefox, Edge, and other browsers allow you to specify custom download paths in their settings. Navigate to your browser’s settings menu (usually under Downloads or Privacy & Security), where you can set browser-specific download locations. This is particularly useful if you want work-related downloads from one browser to go to a different location than personal downloads from another browser. Remember that changing the Windows system default won’t automatically update your browser preferences.
And… What happens to downloads if I move the folder to an external drive that gets disconnected?
If your Downloads folder is located on an external drive that becomes disconnected, Windows applications and browsers will typically fail to save files and display error messages. Most browsers will either prompt you to choose a new location or revert temporarily to the default C:\Users path. To avoid this issue, only move your Downloads folder to external drives that remain permanently connected, or use the Restore Default option before disconnecting the drive. For portable storage solutions, it’s better to manually specify download locations per download rather than changing the system default.
Will changing my Downloads folder location affect previous downloads?
When you change your Downloads folder location through the Properties dialog and select “Yes” to move existing files, Windows transfers all current contents to the new location. However, shortcuts, recent file lists, and links in emails or documents pointing to the old location will break. Applications that maintain their own reference to downloaded files (such as download managers) may lose track of those files unless you update their settings. Consider using a file search tool or updating bookmarks after relocating your Downloads folder to ensure continued access to important files.