You’ve been diligent about backing up your files, but now you need to restore something and can’t remember where Windows saved those backups. You’re clicking through folders, checking external drives, and wondering if your backup even exists. This is a common scenario that leaves many users frustrated when they need their data most.
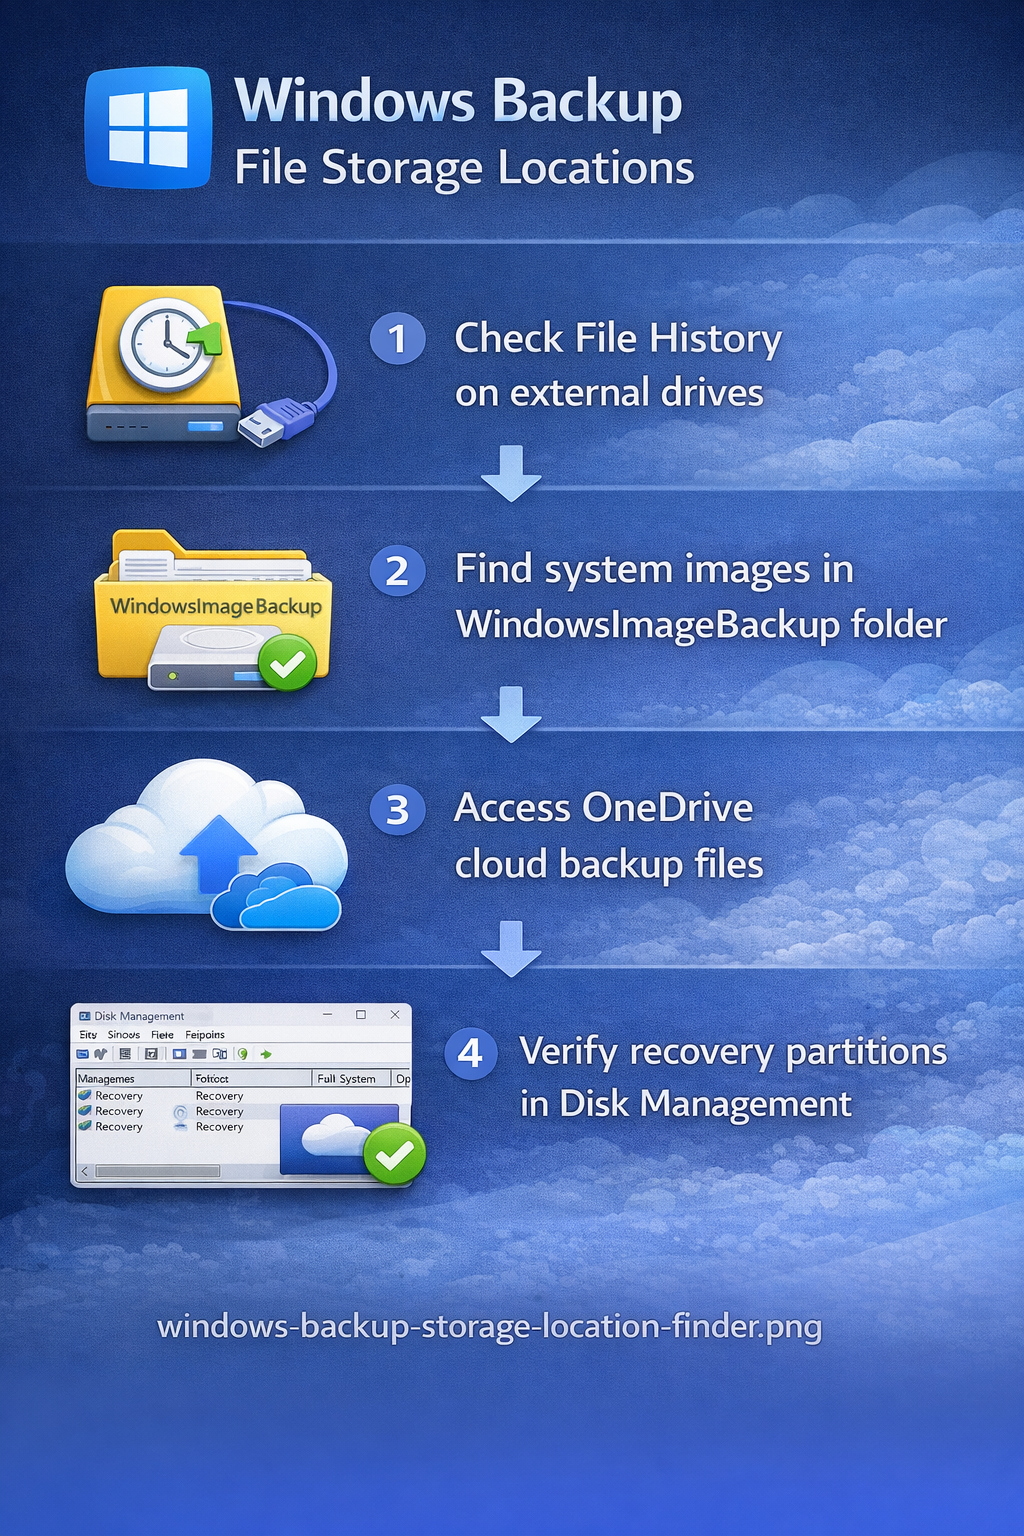
Windows backup storage locations and recovery options
Windows offers multiple backup methods, and each stores files in different locations depending on the tool you used. File History saves versions to external drives or network locations, while Windows Backup creates system images in designated folders. Older systems like Windows 7 used different paths than Windows 10 and 11, adding to the confusion when searching for your backed-up data.
We’ll help you find exactly where Windows stores backup files, how to locate them quickly, and what to do if backups appear missing. You’ll learn to navigate File History locations, find system image backups, locate Windows 10 backup files, and recover data from various storage destinations. We’ll cover both current Windows versions and legacy backup locations to ensure you can find your files regardless of which backup tool created them.
If you’re experiencing performance issues that might affect backup operations, check our guide on solving sluggish performance in Windows 11 to ensure your system runs optimally during backup processes.
Locating Windows 11 File History backup files on your system
File History represents the primary backup solution for Windows 10 and Windows 11, automatically saving copies of your documents, photos, and desktop files to an external drive or network location. When you enable File History, Windows creates a dedicated folder structure that organizes your backed-up files by date and version, making it possible to restore previous versions when needed.
To find your File History backups, open File Explorer and navigate to the drive you designated for backups during the initial File History setup process. Look for a folder named “FileHistory” at the root level of that drive, which contains subfolders organized by your computer name and username. Inside these folders, you’ll find dated snapshots of your files arranged in a directory structure that mirrors your original file locations on the computer.
If you’re unsure which drive contains your File History backups, open Settings by pressing Windows key plus I, then navigate to Update and Security, followed by Backup in the left sidebar. The “Back up using File History” section displays the currently configured backup drive, showing you exactly where Windows is storing your file versions. Click “More options” to see additional details about backup frequency, folder inclusions, and the total space your backups currently occupy on the destination drive.
For network-based File History backups, the storage location follows a similar structure but resides on a shared network folder instead of a local external drive. Open File Explorer, type the network path shown in your File History settings into the address bar, and press Enter to access the remote backup location. You’ll see the same FileHistory folder structure containing your computer’s backed-up files organized by date and user account.
Accessing Windows 10 backup file locations directly
Windows 10 includes a legacy backup feature called “Backup and Restore (Windows 7)” that creates system images and file backups in a different location than File History uses. These backups typically reside in a folder named “WindowsImageBackup” on your designated backup drive, containing complete system snapshots that can restore your entire computer to a previous state. To locate these backups, open File Explorer and check the root directory of any external drives or network locations you’ve used for system image creation.
Navigate to the backup drive and look for a folder structure that includes “WindowsImageBackup” followed by your computer name and dated backup folders containing VHD or VHDX files. These virtual hard disk files represent complete images of your system partition, including installed programs, settings, and system files in addition to your personal documents. The backup location also contains XML catalog files that Windows uses to identify and restore specific backup versions when you run the recovery process.
If you configured file-only backups rather than full system images, Windows stores these in a “Backup Set” folder on your designated drive with dated subfolders containing ZIP files of your selected directories. Open the backup drive in File Explorer, locate the folder named after your computer, and browse through the dated subfolders to find ZIP archives containing your backed-up files. You can extract these ZIP files directly using Windows File Explorer without needing special recovery tools or utilities.
Expert Tip: Always verify your backup location immediately after configuring Windows Backup by manually navigating to the destination drive and confirming that backup folders are being created with recent timestamps.
Finding system image backups and recovery partitions
System image backups create complete snapshots of your Windows installation, storing them as large VHD or VHDX files that can restore your entire system configuration in case of hardware failure or corruption. Windows typically saves these images to external drives, but you can also store them on secondary internal partitions or network shares depending on your backup configuration preferences. The default location for system images is the WindowsImageBackup folder at the root of your chosen backup destination drive.
To locate your system image backups, open File Explorer and check all connected external drives and secondary partitions for a folder named “WindowsImageBackup” in the root directory. Inside this folder, you’ll find a subfolder named after your computer, which contains dated backup folders with names formatted as “Backup YYYY-MM-DD HHMMSS” representing the exact date and time of each backup creation. Each dated folder contains multiple files including the system image VHD file, catalog files, and XML metadata that Windows uses during the restoration process.
Recovery partitions represent a different type of backup that computer manufacturers often create during initial system setup, containing factory restore images that can return your computer to its original out-of-box state. These partitions don’t appear as regular drives in File Explorer because Windows hides them to prevent accidental deletion or modification of critical recovery data. To view recovery partitions, right-click the Start button, select Disk Management, and look for small partitions labeled “Recovery Partition” or “OEM Partition” that typically range from 450 MB to several gigabytes in size.
You cannot directly access recovery partition contents through File Explorer because these partitions use special formatting and lack assigned drive letters that would make them visible in normal file browsing. Instead, you access recovery partition data through the Windows Recovery Environment by restarting your computer and pressing the manufacturer-specific key (usually F11, F12, or a dedicated recovery button) during startup. This boots into a special recovery interface that can restore your system using the hidden partition contents without requiring external backup media.
Checking OneDrive and cloud backup storage locations
OneDrive provides automatic cloud backup for your Desktop, Documents, and Pictures folders when you enable the folder backup feature in Windows 10 or Windows 11 settings. These files sync continuously to Microsoft’s cloud servers, creating an off-site backup that protects against local hardware failures while making your files accessible from any device with internet connectivity. To verify which folders are backing up to OneDrive, right-click the OneDrive cloud icon in your system tray and select Settings to view the current backup configuration.
Your OneDrive files exist in two locations simultaneously: locally on your computer in the C:\Users\YourUsername\OneDrive folder and remotely on Microsoft’s servers accessible through the OneDrive website at onedrive.com. The local folder acts as a synchronized copy that mirrors the cloud storage, automatically uploading changes and downloading updates to keep both locations identical. You can access your backed-up files by opening File Explorer and navigating to the OneDrive folder, or by logging into the OneDrive website using your Microsoft account credentials.
Remember: OneDrive’s Files On-Demand feature may show files in File Explorer that aren’t actually stored locally on your computer, displaying cloud-only files with a cloud icon that download only when you open them.