
Activating Windows Defender on Windows 11 systems
You receive a notification that your computer might be vulnerable to threats, or you notice unfamiliar system behavior that suggests malware presence. Your Windows 11 system appears to lack proper antivirus protection, leaving your personal files and business data exposed to potential security risks. Microsoft Defender, the built-in antivirus solution, should provide this protection automatically, but sometimes requires manual activation or configuration adjustments.
Enable Microsoft Defender Windows 11 protection
Windows 11 includes Microsoft Defender as the primary antivirus solution, designed to protect your system against malware, ransomware, and other security threats without requiring third-party software installations. However, various factors can prevent automatic activation, including conflicting software installations, group policy restrictions, or incomplete system configurations that leave your computer vulnerable.
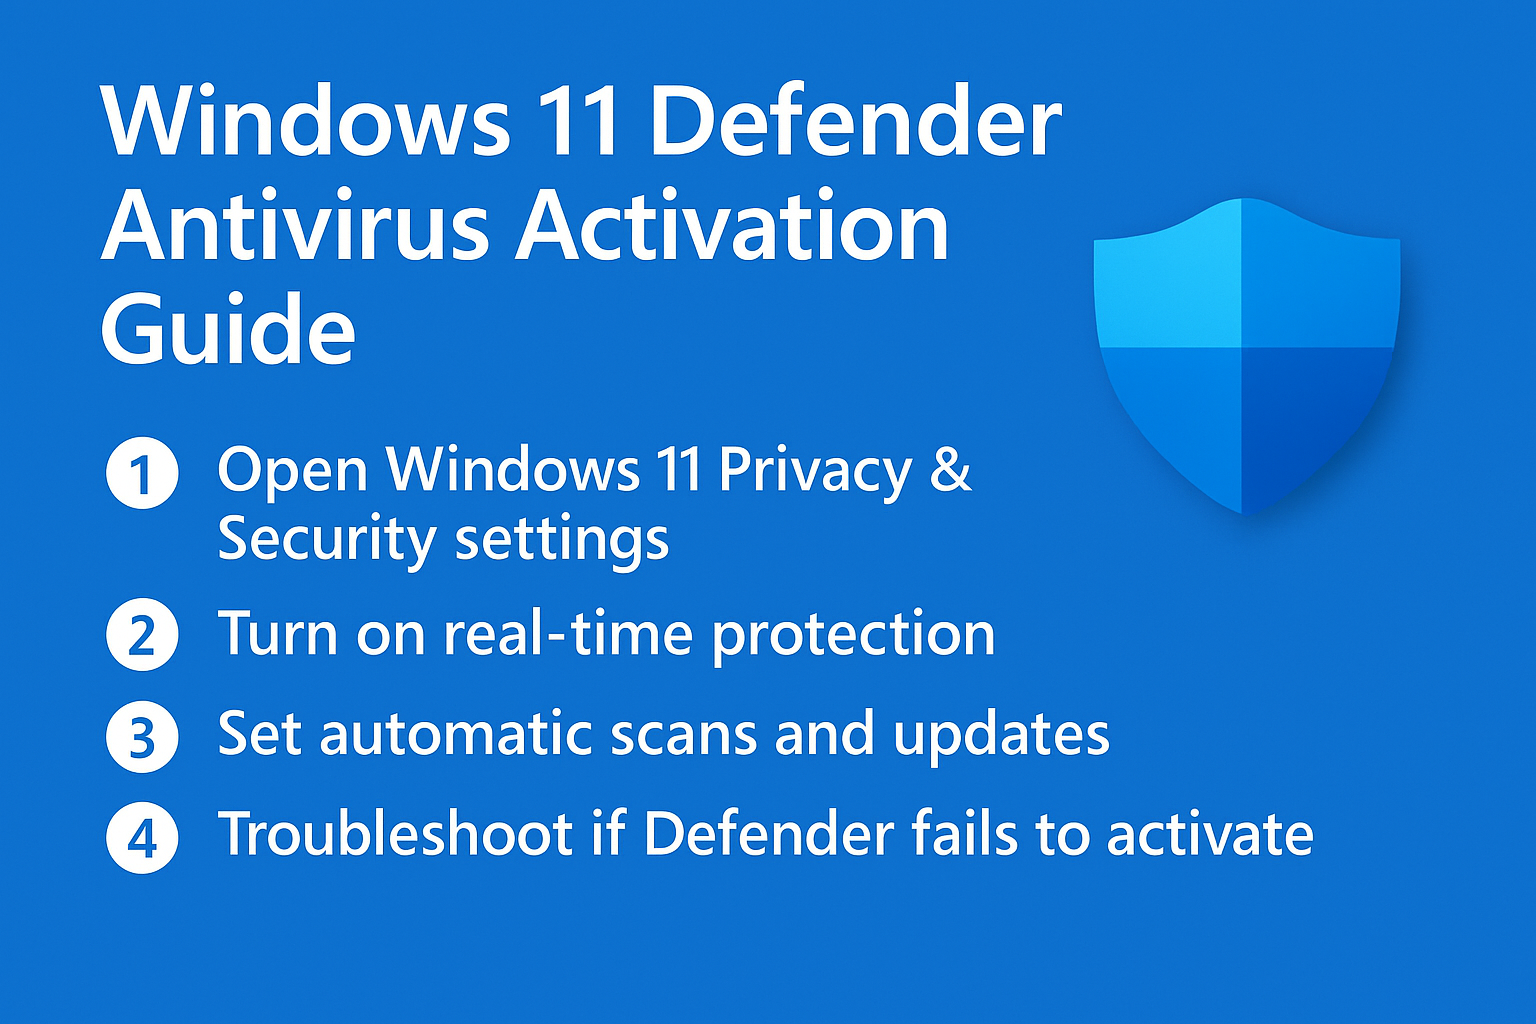
In this guide we will explain how to enable Microsoft Defender Windows 11 protection, including enabling real-time scanning, configuring automatic updates, and troubleshooting common activation issues. You will learn to verify current protection status, enable all security features, and ensure continuous system monitoring for optimal security performance.
Windows Defender 11 activation and configuration process
Turn on Windows Defender Windows 11 through Settings
- Navigate to Windows Settings by pressing Windows key + I, then select Privacy & Security from the left sidebar menu to access all security-related configuration options for your system.
- Click on Windows Security option within the Privacy & Security section, which opens the comprehensive security dashboard showing current protection status and available security features.
- Select Virus & Threat Protection from the main Windows Security interface to view current antivirus status, recent scan results, and access all malware protection configuration options.
- Review the current protection status displayed at the top of the Virus & Threat Protection page, which indicates whether real-time protection is active and your last scan completion time.
- Click on Manage Settings under the Real-time Protection section to access detailed configuration options for Microsoft Defender’s active monitoring and threat detection capabilities.
- Toggle the Real-time Protection switch to the On position, which enables continuous monitoring of files, downloads, and system activities for immediate threat detection and response.
Enable disable Windows Defender software through Group Policy
- Press Windows key + R to open the Run dialog, type gpedit.msc, and press Enter to launch the Local Group Policy Editor for advanced system configuration management.
- Navigate to Computer Configuration > Administrative Templates > Windows Components > Microsoft Defender Antivirus within the Group Policy Editor tree structure to locate antivirus-specific policy settings.
- Double-click on the Turn off Microsoft Defender Antivirus policy setting to open its configuration dialog and review current enforcement status on your system.
- Select the Not Configured or Disabled option to ensure Group Policy does not prevent Microsoft Defender activation, then click Apply and OK to save these changes permanently.
- Close Group Policy Editor and restart your computer to ensure all policy changes take effect and Microsoft Defender can initialize properly with full system protection capabilities.
Configure automatic scanning and updates
- Return to Windows Security > Virus & Threat Protection, then click on Scan Options to view available scanning methods including Quick Scan, Full Scan, and Custom Scan configurations.
- Select Full Scan option and click Scan Now to perform a comprehensive system analysis that examines all files, programs, and system areas for potential threats or malware infections.
- Access Windows Update settings through Settings > Windows Update to ensure your system receives the latest security definitions and Microsoft Defender program updates automatically without manual intervention.
- Click on Advanced Options within Windows Update, then select Optional Updates to verify that security intelligence updates are downloading and installing correctly for current threat protection.
- Configure automatic scanning schedules by returning to Windows Security > Virus & Threat Protection > Scan Options, then selecting Custom Scan to set specific folders, drives, or file types for regular monitoring.
Troubleshooting Windows Defender Windows 11 activation issues
- Microsoft Defender fails to start due to conflicting third-party antivirus software that blocks Windows Security initialization, requiring complete removal of competing security programs through Control Panel or dedicated uninstaller utilities.
- Real-time protection remains disabled after following activation steps, indicating possible corruption in Windows Security components that requires running Windows Security troubleshooter through Settings > System > Troubleshoot > Other Troubleshooters.
- Security intelligence updates fail to download automatically, suggesting network connectivity issues or Windows Update service problems that need resolution through Windows Update troubleshooter or manual service restart procedures.
- Group Policy restrictions prevent Microsoft Defender activation in corporate environments, requiring administrator intervention to modify domain policies or local computer policies that override default security configurations and user preferences.
Expert Tip: Always verify Microsoft Defender activation by checking the system tray for the Windows Security icon and ensuring green checkmarks appear in all Windows Security categories for complete protection coverage.