
“My Windows 11 laptop is running slower than usual, and I’m getting low disk space warnings. I’ve heard that temporary files might be taking up unnecessary space, but I’m not sure how to find and remove them safely. What’s the best way to clear temporary files in Windows 11 to improve performance and free up storage space without damaging important system files?”
Understanding Windows 11 prefetch data and temporary files
Temporary files accumulate on your Windows 11 system through regular use, software installations, updates, and browsing activities. These files can consume significant disk space over time, potentially affecting system performance and available storage. Windows 11 stores various temporary data including installation files, update caches, prefetch data, and browser caches. Removing these unnecessary files can help optimize your system’s performance and reclaim valuable storage space without affecting your important documents or applications.
How to automate disk clean up in Windows 11?
This tutorial will guide you through multiple methods to clear temporary files in Windows 11, from built-in tools like Storage Sense and Disk Cleanup to more advanced techniques using PowerShell and Task Scheduler. You’ll learn how to identify temporary file locations, safely remove them, and set up automated cleaning routines. These methods are suitable for all Windows 11 users, regardless of technical expertise, though some advanced options require administrator privileges.
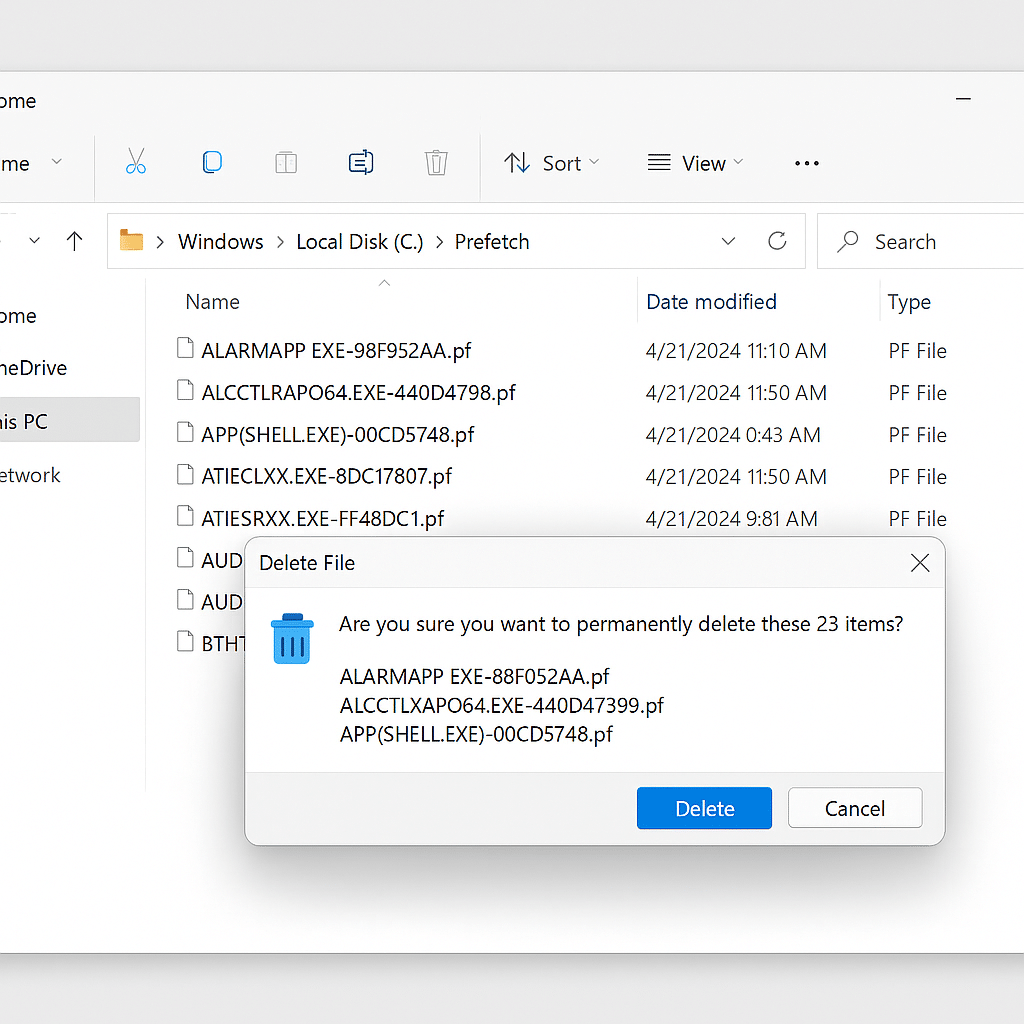
Delete Windows 11 temporary files
Using Storage Sense to automatically clear cache in Windows 11
- Open the Settings app by pressing Win+I on your keyboard or clicking the Start menu and selecting Settings.
- Navigate to System > Storage to access the storage management options available in Windows 11.
- Toggle on the Storage Sense feature, which automatically frees up space by deleting temporary files when your disk space runs low.
- Click on “Configure Storage Sense or run it now” to customize when and how Storage Sense cleans up your temporary files.
- Under “Temporary Files,” select how often you want Windows to delete files in your recycle bin and Downloads folder.
- Click “Clean now” at the bottom of the page to immediately run Storage Sense and remove temporary files from your system.
- Storage Sense will display how much space was freed after the cleanup process completes, giving you immediate feedback on the results.
Using Disk Cleanup to purge system junk in Windows 11
- Type “Disk Cleanup” in the Windows search bar and select the Disk Cleanup app from the results to open the utility.
- Select the drive you want to clean (typically C: drive where Windows is installed) and click OK to proceed with the analysis.
- After scanning, Disk Cleanup will display categories of files that can be safely removed, including temporary internet files and Windows update cleanup files.
- Check the boxes next to the categories you want to delete, paying special attention to “Temporary files” and “Windows Update Cleanup” which often consume significant space.
- Click “Clean up system files” for a more thorough cleanup that includes additional system-generated temporary files not shown in the initial scan.
- Review the new list of files that appears, which may include more substantial items like previous Windows installations or Windows update cleanup files.
- Click OK and then Delete Files to confirm and begin the cleanup process, which may take several minutes depending on the volume of files.
Manually cleaning the software distribution folder in Windows 11
- Press Win+R to open the Run dialog, then type “cmd” and press Ctrl+Shift+Enter to open Command Prompt with administrator privileges.
- Type “net stop wuauserv” and press Enter to stop the Windows Update service before cleaning its temporary files.
- Type “net stop bits” and press Enter to stop the Background Intelligent Transfer Service which handles file transfers for Windows Update.
- Navigate to the Software Distribution folder by typing “cd %windir%\SoftwareDistribution” and pressing Enter to change to that directory.
- Use the command “rmdir /s /q Download” to remove the Download folder and its contents, which contains Windows Update temporary files.
- Restart the previously stopped services by typing “net start wuauserv” and “net start bits” in the Command Prompt window.
- Close Command Prompt and restart your computer to ensure all changes take effect and temporary files are completely cleared from memory.
Alternative Methods for Windows 11 Environments
Browser-Specific Temporary File Management
Different browsers create substantial temporary file accumulations that Windows 11’s built-in tools might miss. Edge users should regularly clear browsing data through Settings > Privacy, search, and services > Clear browsing data. Chrome temporary files accumulate in %LocalAppData%\Google\Chrome\User Data\Default\Cache, while Firefox stores cache in %LocalAppData%\Mozilla\Firefox\Profiles. Consider using browser-specific cleanup commands like RunDll32.exe InetCpl.cpl,ClearMyTracksByProcess 8 for Internet Explorer remnants that persist even after switching to modern browsers.
Network and Cloud Storage Integration
OneDrive integration in Windows 11 can complicate temporary file cleanup since some “local” files might be cloud placeholders. Before running cleanup operations, verify OneDrive sync status and consider using OneDrive.exe /reset if sync issues create phantom temporary files. Teams cache files often persist after meetings, located in %AppData%\Microsoft\Teams\application cache\cache, and require manual cleanup or PowerShell automation for optimal storage management.
If you can’t delete Windows update leftover files
- If Disk Cleanup fails to remove Windows Update cleanup files, try running the Windows Update Troubleshooter by going to Settings > Update & Security > Troubleshoot > Additional troubleshooters > Windows Update.
- When Storage Sense won’t run automatically as scheduled, check your power settings as some cleanup tasks only run when the computer is plugged in to prevent battery drain during resource-intensive operations.
- For persistent temporary files that won’t delete, try booting into Safe Mode by holding Shift while clicking Restart, then navigating through Troubleshoot > Advanced options > Startup Settings > Restart > press F4.
- If you encounter “File in use” errors when trying to delete temporary files, identify which application is using the file with Resource Monitor (type resmon in search) and close that application before attempting deletion again.
- When automated cleanup methods don’t free up enough space, consider using the command line tool DISM by opening Command Prompt as administrator and typing “DISM.exe /Online /Cleanup-image /Restorehealth” to repair potential system file issues.
If you’re having issues with system performance even after clearing temporary files, you might need to set up a fixed IP address in Windows 11 to rule out network-related slowdowns. This can help eliminate connection issues that might be creating additional temporary files.