Sync my Microsoft Planner tasks with Excel for better reporting
Many project managers and team leaders struggle with extracting actionable insights from their Microsoft Planner data. While Planner provides excellent task management capabilities, its reporting features are somewhat limited. You might be wondering, “Is there a way to connect my Planner tasks with Excel so I can create custom reports, apply formulas, and share data more effectively with stakeholders who prefer spreadsheet formats?”
Why integrating Planner with Excel matters for business efficiency
Organizations need comprehensive visibility into project progress and task completion rates. While Microsoft Planner excels at visual task management, connecting it with Excel enables teams to create customized reports and maintain a single source of truth. This integration leverages Microsoft Power Automate to establish a bidirectional connection between Planner and other Microsoft tools, significantly enhancing productivity and data visibility.
In its current version, Microsoft Planner excels at visual task management but lacks advanced reporting capabilities. By connecting Planner with Excel, teams can:
- Create customized reports using Excel’s powerful analysis features
- Maintain a single source of truth for project data across platforms
- Reduce manual data entry and potential errors
- Provide stakeholders with familiar Excel-based reporting formats
This integration leverages Microsoft Power Automate to establish a bidirectional connection between Planner and Excel, significantly enhancing productivity and data visibility.
Creating a powerful Planner-Excel integration system
Before implementing this solution, you’ll need:
- Microsoft 365 subscription with access to Planner, Excel, and Power Automate
- Appropriate permissions to create and modify flows
- Excel file stored in OneDrive for Business or SharePoint
- Existing Planner plan with tasks
The solution will focus on creating an automated flow that extracts Planner data and populates an Excel spreadsheet, with options for bidirectional updates.
Building your Power Automate flow to sync Planner with Excel
The integration process involves creating an automated flow that extracts Planner data and populates an Excel spreadsheet, with options for bidirectional updates. To get started with Microsoft Planner integration, follow these steps:
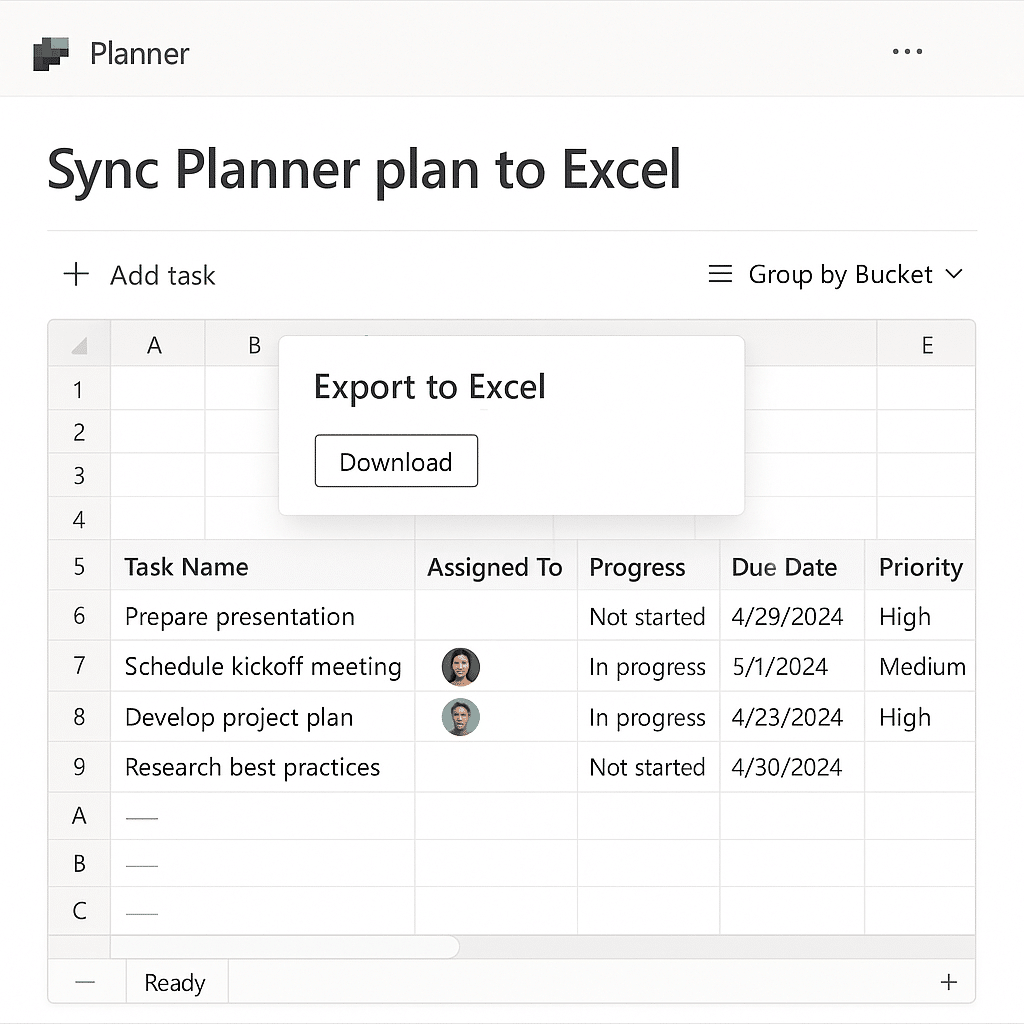
- Create a properly structured Excel file that will receive Planner data by creating a table with columns matching Planner fields such as Task Name, Assigned To, Due Date, Progress, Priority, Bucket, and any other relevant task information you want to track and analyze over time.
- Access Power Automate and start a new automated cloud flow by selecting “Automated cloud flow” from the “Create” menu, then naming your flow something descriptive like “Planner to Excel Sync” and choosing a trigger such as “When a task is created or modified” from the Planner connector to initiate the synchronization process.
- Configure the Planner trigger by selecting your Plan ID from the dropdown list, which allows the flow to monitor specific Planner plans for any task changes, ensuring only relevant data is synchronized to your Excel spreadsheet.
- Add a “Get task details” action from the Planner connector immediately after your trigger to retrieve comprehensive information about the task that was created or modified, including all metadata such as checklists, attachments, and comments that might not be available in the trigger output.
- Insert an Excel “Add a row into a table” action by selecting your OneDrive for Business or SharePoint location, choosing the Excel file you prepared earlier, and selecting the table that will store your Planner data, which establishes the connection between your Planner tasks and Excel.
- Map Planner task fields to Excel columns by clicking in each Excel column field and selecting the corresponding Planner task property from the dynamic content menu, ensuring that data flows correctly from Planner to your Excel spreadsheet with proper formatting and structure.
- For bidirectional updates, add a scheduled flow that reads from Excel and updates Planner by creating a separate flow that runs daily, reads each row in your Excel table, and uses the “Update task” action in the Planner connector to push changes back to Planner when Excel data has been modified.
- Test your flow thoroughly by creating and modifying tasks in Planner and verifying that the data appears correctly in your Excel spreadsheet, which helps identify and resolve any mapping issues or permission problems before deploying the solution for your team’s regular use.
- Consider adding conditional actions to handle special cases such as deleted tasks, priority changes, or reassignments, which improves the robustness of your integration and ensures that all task states are properly represented in your Excel reporting system.
Enhancing Planner-Excel Integration with Advanced Features
Once your basic Planner-to-Excel sync is operational, consider implementing these advanced capabilities to maximize your reporting effectiveness:
- Filter by bucket or assignment – Modify your Power Automate flow to include condition actions that only sync tasks matching specific criteria, such as particular buckets, assigned team members, or priority levels, reducing data clutter in your Excel reports
- Add timestamp tracking – Include a “Date Synced” column in your Excel table and populate it with the current timestamp using the utcNow() expression, enabling you to track when each task was last updated and identify stale data
- Create summary pivot tables – After your raw task data is imported, build Excel pivot tables and charts that automatically update with each sync, providing instant visual dashboards showing task distribution by assignee, bucket, or completion status
- Implement version history – Rather than overwriting existing rows, configure your flow to append new rows each time a task changes, creating a complete audit trail that enables trend analysis and historical reporting
Common Planner-Excel integration challenges
- Excel file structure errors may prevent successful data synchronization, so ensure your Excel table is properly formatted with consistent column headers that match your flow configuration, and that the table is created using the formal “Table” function in Excel rather than just formatted ranges.
- Permission errors often occur when accessing files across different services, which can be resolved by verifying that your Power Automate account has sufficient permissions to both read from Planner and write to the Excel file in OneDrive or SharePoint, potentially requiring admin assistance to configure proper access.
- Flow run history shows successful completion but data doesn’t appear in Excel, which typically indicates a mapping issue between Planner fields and Excel columns that can be fixed by editing the flow, checking the dynamic content selections, and ensuring all required fields are properly mapped without any syntax errors.
- Date and time format inconsistencies between Planner and Excel can lead to sorting and filtering problems in your reports. Consider adding a “Convert time zone” action or formula expression in your flow to standardize date formatting before writing to Excel.