You’ve been juggling tasks across sticky notes, random documents, and your memory. Teams Planner offers a cleaner solution right inside Microsoft Teams. No need for third-party apps when you can leverage this built-in productivity tool.
Teams Planner transforms how to use Planner in Teams for yourself by centralizing task management in one familiar workspace. Whether tracking personal projects, daily to-dos, or long-term goals, this integration keeps everything organized without switching between multiple applications.
How to access Teams Planner
Teams Planner lives within your existing Microsoft Teams interface. Finding it takes just seconds once you know where to look. During my testing on Microsoft Teams, Windows 11, this access teams planner change took effect immediately without requiring a restart or any additional configuration steps beyond what is described in these instructions.
Locating Planner in Teams interface
Open Teams and click the three dots (…) in the left sidebar. Select Planner from the app list. If you don’t see it immediately, use the search bar to type “Planner” and it appears instantly.
Pin Planner to your sidebar for quick access. Right-click the Planner icon and select Pin. This saves time compared to hunting through menus every session.
Enabling Teams Planner permissions
Some organizations restrict Planner access. Contact your IT administrator if the app doesn’t appear in your available options. Most standard Teams licenses include Planner by default, but enterprise policies might limit installation.
Verify permissions by checking Settings > Privacy > Apps. Ensure Planner has necessary data access to function properly within your Teams environment.
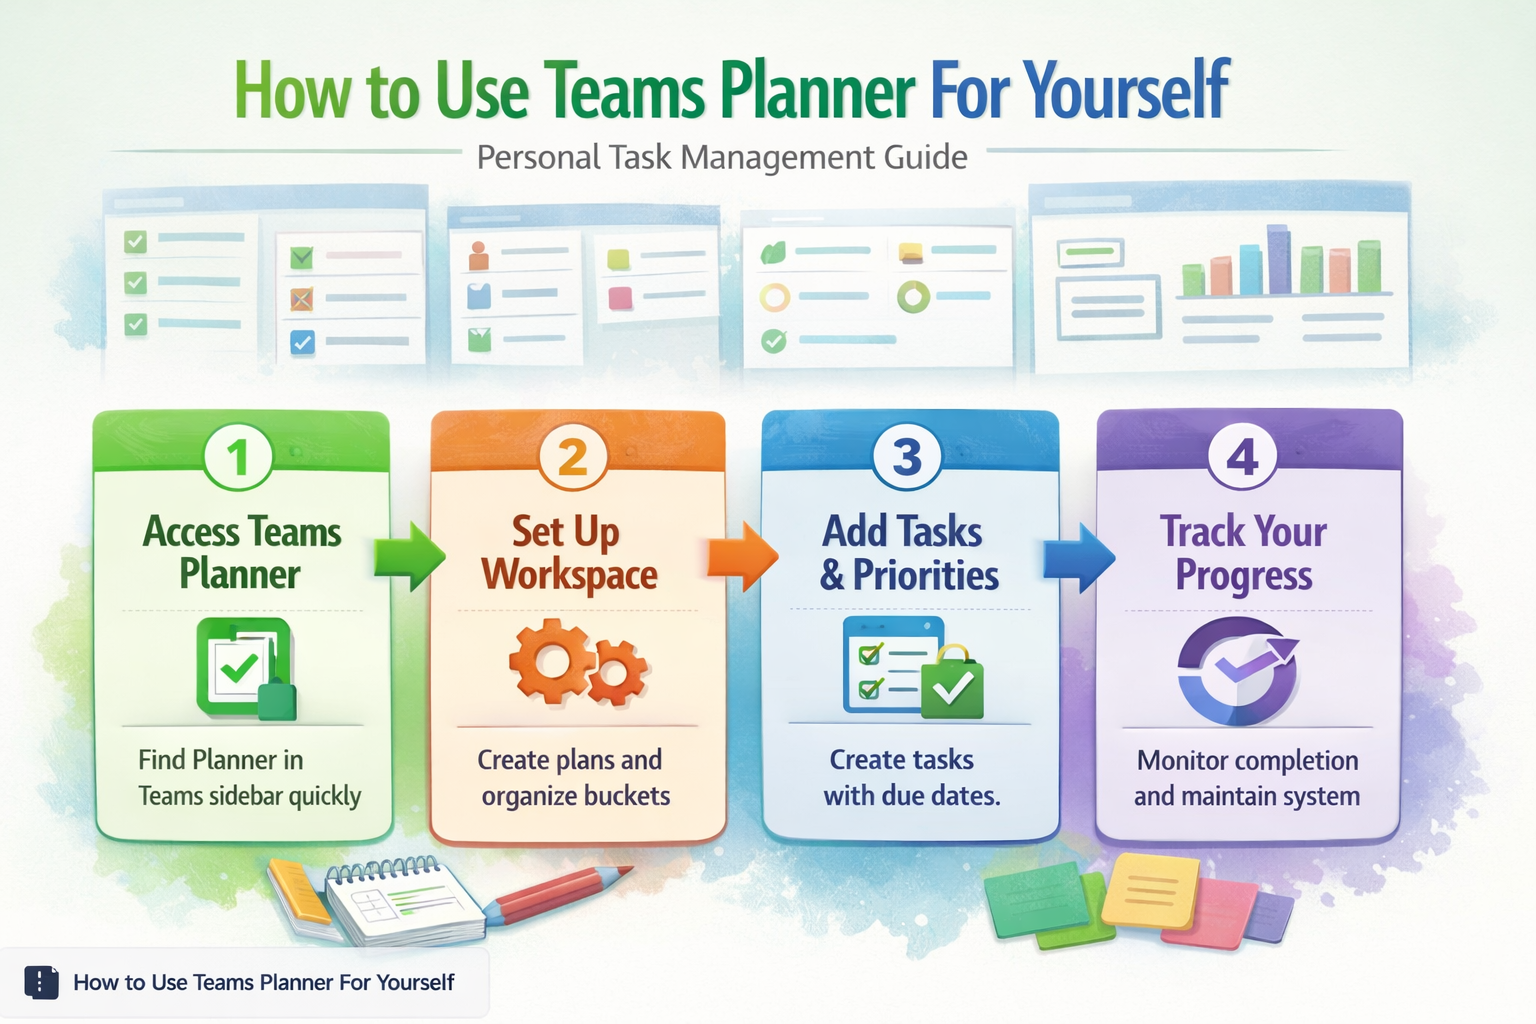
Setting up Teams Planner workspace
Configuring your personal Planner workspace requires strategic thinking about task organization. Learning to set up your personal workspace effectively transforms your productivity system. Structure matters more than you might expect for individual productivity.
Creating personal Teams Planner plans
Click Create a plan within Planner. Choose Build a plan from scratch rather than templates for maximum customization. Name your plan something specific like “Q1 Personal Projects” instead of generic titles.
Set plan visibility to Private unless you want colleagues seeing your personal tasks. This keeps individual productivity separate from team collaboration while maintaining access through Teams.
Add a description explaining the plan’s purpose. Future you will appreciate context when revisiting older plans or deciding where new tasks belong.
Customizing Teams Planner buckets
Buckets organize tasks by category, priority, or timeline. Create 3-5 buckets maximum to avoid overwhelming yourself with too many organizational layers.
Effective bucket names for personal use include This Week, Next Week, Waiting For, and Someday Maybe. Avoid vague labels like “Important” since everything feels important when you’re busy.
Rename default buckets by clicking the bucket title. Delete unused buckets to maintain clean visual organization throughout your personal planning system.
Managing Teams Planner productivity
Effective task management requires consistent habits and smart organization strategies. Random task creation leads to productivity chaos instead of clarity. From start to finish, this managing teams planner procedure was straightforward and required no special technical knowledge, which makes it one of the more accessible configuration changes I have documented.
Adding tasks to Teams Planner
Click the + button within any bucket to create new tasks. Write specific, actionable titles like “Draft Q2 budget proposal” rather than vague entries like “Budget stuff”.
Set due dates for time-sensitive items. Click the calendar icon and select realistic deadlines. Overcommitting creates stress while underestimating leads to missed opportunities.
Add task descriptions for complex items requiring multiple steps. Use the notes section to capture important details, links, or reference materials you’ll need later.
Assigning Teams Planner task priority
Planner offers three priority levels: Important, Medium, and Low. Use these strategically rather than marking everything as important.
Important tasks have real consequences if delayed. Medium priority items contribute to long-term goals but lack immediate urgency. Low priority tasks are nice-to-have improvements or learning opportunities.
Color-coding helps visual learners quickly identify priorities. Red indicates urgent deadlines, yellow suggests moderate importance, and white represents flexible timeline items.
Tracking Teams Planner progress
Progress tracking prevents tasks from becoming forgotten obligations lurking in your system. Regular reviews maintain momentum and accountability.
Monitoring Teams Planner task completion
Check off completed tasks immediately to maintain accurate progress visibility. The satisfaction of clicking Mark complete provides psychological reinforcement for productivity habits.
Review your Planner weekly to identify patterns in task completion. Notice which types of items consistently get delayed or which buckets become overcrowded with aging tasks.
Use the Charts view to visualize progress across different time periods. This bird’s-eye perspective reveals productivity trends and helps optimize your personal planning approach.
Organizing Planner tasks efficiently
Organize tasks efficiently by moving them between buckets as priorities shift or circumstances change. Drag and drop makes reorganization quick when weekly reviews reveal necessary adjustments.
Archive completed plans quarterly to maintain system cleanliness. Old plans create visual clutter while preserved progress records help evaluate productivity improvement over time.
Delete tasks that become irrelevant rather than letting them accumulate guilt. Circumstances change and some items lose importance as other priorities emerge.
Frequently Asked Questions
Can I use Teams Planner for personal tasks?
Yes, Teams Planner works excellently for personal task management. Create private plans that only you can access while leveraging the full functionality of Microsoft’s planning tools. Set plan visibility to private during creation to keep personal items separate from team collaboration.
How do I organize my tasks in Teams Planner?
Organize tasks using buckets based on timing or categories. Create buckets like “This Week,” “Next Week,” and “Waiting For” to maintain clear priorities. Limit yourself to 3-5 buckets maximum to avoid organizational complexity that hinders rather than helps productivity.
What are the best practices for personal Planner management?
Review tasks weekly to maintain system effectiveness. Set realistic due dates, use priority levels strategically, and move completed items to archive folders quarterly. Write specific, actionable task titles and delete items that become irrelevant rather than letting them create visual clutter.
Teams Planner transforms scattered task management into organized productivity when used strategically for personal planning. The key lies in consistent habits, smart organization, and regular system maintenance rather than complex setups.
Start with a simple bucket structure and gradually refine your approach based on actual usage patterns. Your personal productivity system should evolve to match your workflow, not force you into rigid structures that feel unnatural.