
Adding files and folders to Microsoft Teams conversations
“I need to share an entire project folder with my team through Microsoft Teams chat, but I’m not sure how to upload multiple files at once or organize them properly. Can I upload a whole folder directly, or do I need to add files individually to our Teams conversation?”
Understanding Teams file sharing capabilities and attachments
Microsoft Teams provides several methods for sharing files and folders within chat conversations, though the approach differs from traditional email attachments. Teams integrates deeply with SharePoint and OneDrive, creating a collaborative environment where files remain accessible and editable by team members rather than creating static copies.
We will be showing how to upload individual files, also share folders via OneDrive, and use SharePoint document libraries for organized team access. We will cover both direct file uploads to chat and strategic folder sharing through cloud storage. To go through the tutorial you will need a Microsoft 365 subscription with Teams access, proper file-sharing permissions, and basic familiarity with OneDrive or SharePoint.
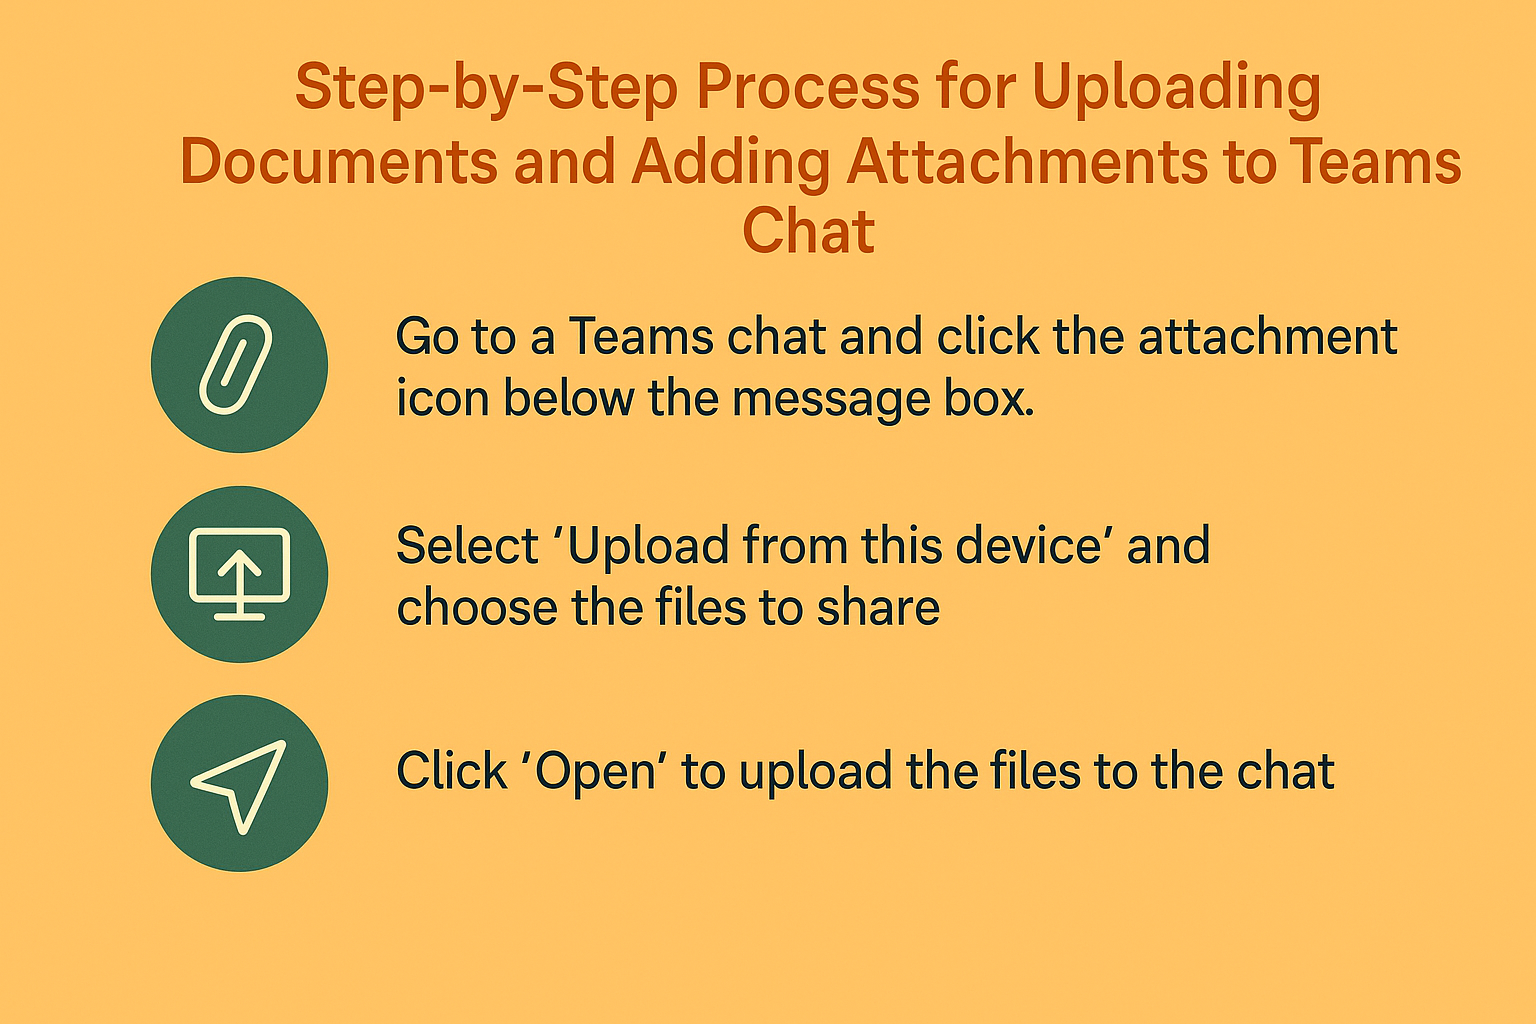
Uploading documents and adding attachments to Teams chat
- Navigate to your desired Teams chat conversation and locate the message composition area at the bottom of the chat window where you’ll find the attachment icon (paperclip symbol) next to the text input field.
- Click the attachment icon to reveal the file sharing menu, which displays options including “Upload from this device,” “Browse Teams and Channels,” and “OneDrive” for accessing your cloud storage files directly within the chat interface.
- Select “Upload from this device” to browse your local computer files, then navigate to the specific files you want to share with your team members in the current conversation thread.
- Choose multiple files simultaneously by holding Ctrl (Windows) or Cmd (Mac) while clicking each file, allowing you to select and upload several documents in a single operation rather than uploading files individually.
- Click “Open” to begin the upload process, and Teams will display a progress indicator showing the upload status for each selected file before they appear in the chat conversation.
Expert Tip: For better organization, rename files with descriptive names before uploading to help team members quickly identify document contents and purpose.
- To share an entire folder, upload the folder contents to OneDrive first, then return to Teams and click the attachment icon followed by “OneDrive” to access your cloud storage files.
- Navigate through your OneDrive folder structure to locate the uploaded folder, then select the entire folder or specific files within that folder to share with your Teams chat participants.
- Choose “Share” when prompted, and Teams will create a link that allows chat participants to access the folder contents directly through OneDrive integration, maintaining live file synchronization and collaborative editing capabilities.
- For ongoing project collaboration, consider creating a dedicated SharePoint document library by clicking “Browse Teams and Channels” and selecting your team’s Files tab to upload folders directly to the shared workspace.
- Verify that uploaded files appear in the chat conversation with preview thumbnails for images and documents, and confirm that team members receive notifications about the newly shared files and folders.
- Access uploaded files later by scrolling through chat history or clicking the “Files” tab at the top of the chat window, which displays all shared documents in a organized list format for easy retrieval.
Challenges when inserting files and sending PDFs in Teams chat
- File size limitations prevent large document uploads: Teams restricts individual file uploads to 250GB, but practical upload speeds may cause timeouts for files exceeding 100MB, requiring you to compress large files or use OneDrive sharing instead of direct uploads.
- Folder upload restrictions require alternative sharing methods: Teams chat doesn’t support direct folder uploads from local devices, so you must either upload files individually or first sync folders to OneDrive before sharing through cloud integration options.
- Permission errors block file access for team members: Shared files may display “access denied” messages if your OneDrive or SharePoint permissions don’t include chat participants, requiring you to adjust sharing settings or organization policies before files become accessible.
Remember: Always verify that external users have appropriate guest access permissions before sharing sensitive documents through Teams chat conversations.
- Mobile app limitations affect file management capabilities: The Teams mobile application provides limited file upload options compared to desktop versions, often requiring you to use the “Files” app integration or switch to desktop for complex folder sharing operations.