Are you looking to replace your cluttered home office or add personality to your virtual meetings? Whether you want a polished corporate backdrop or something more engaging, customizing your Teams meeting background helps you control what colleagues and clients see during video calls.
Setting up and changing your Teams background options
Microsoft Teams background features allow you to blur your surroundings or replace them entirely with preset or custom images. This capability addresses privacy concerns while maintaining professionalism during remote meetings. Understanding how to access and apply these settings ensures you present yourself appropriately in any virtual meeting scenario.
This tutorial covers accessing background settings before and during meetings, uploading custom images with proper dimensions, and selecting appropriate options for different meeting contexts. You will learn to work with both the desktop and web versions of Microsoft Teams, though some features vary by platform. The steps assume you have Microsoft Teams installed with an active Microsoft 365 account and camera permissions enabled.
Accessing and applying backgrounds before joining a meeting
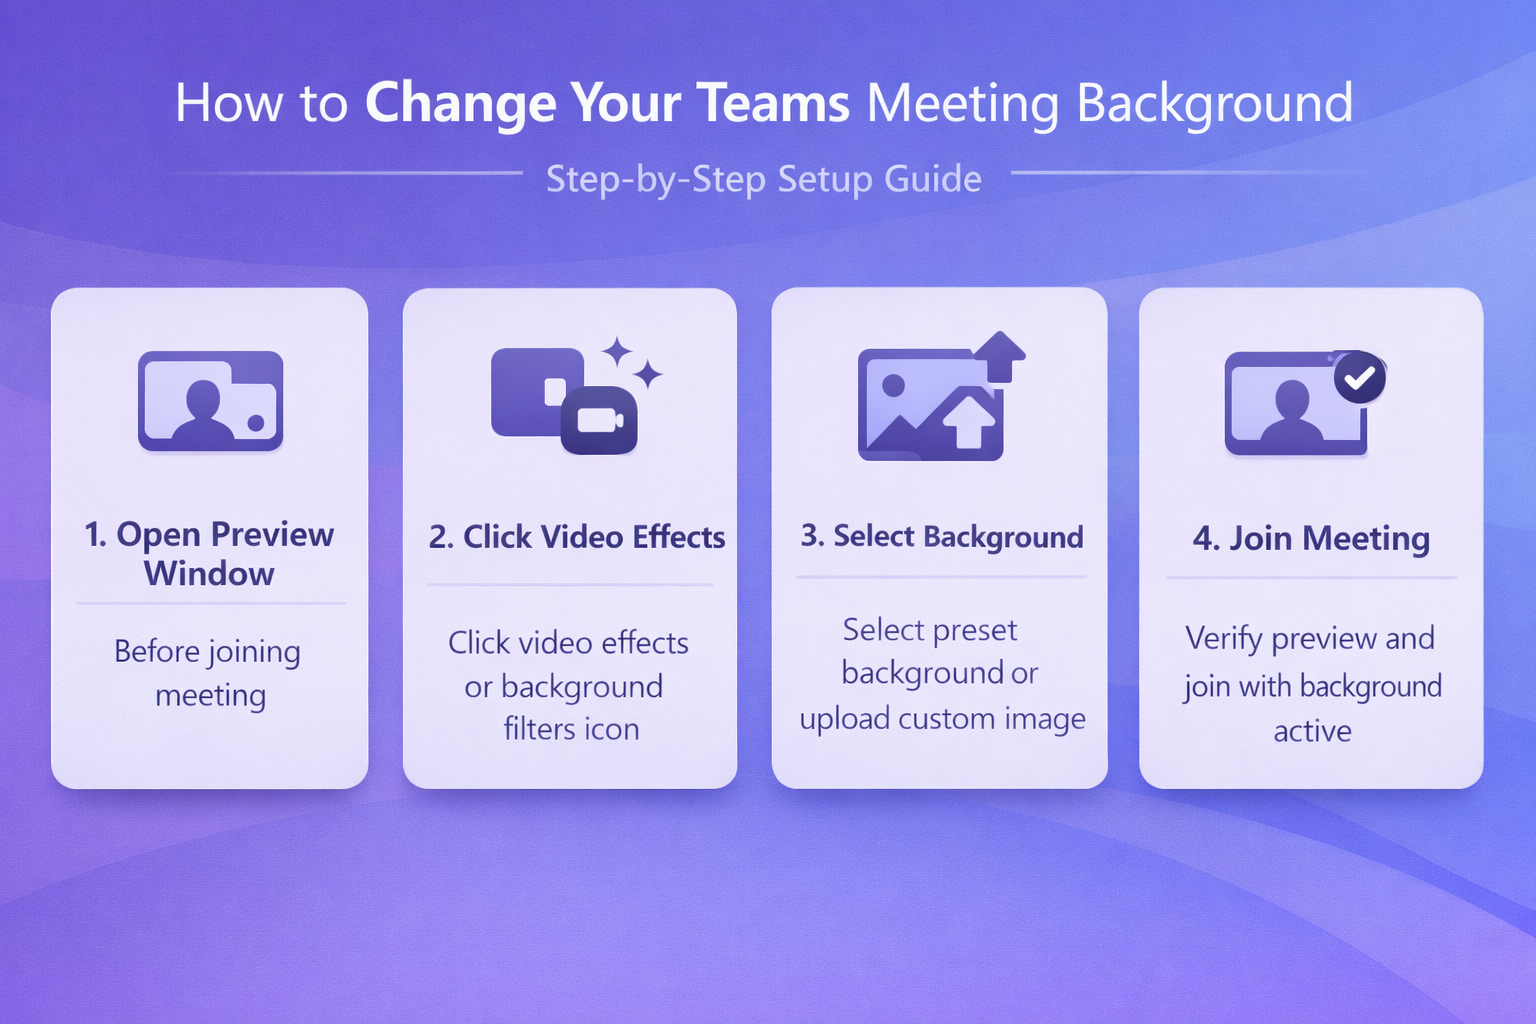
- When you join a Teams meeting, the preview window appears automatically showing your video feed before you enter the call. Look for the video settings icon located in the preview window, typically represented by a camera symbol with adjustment options near the bottom of the screen.
- Click the video effects or background filters icon in the preview window to open the background selection panel. Teams displays a gallery of options including blur effects and preset background images provided by Microsoft for professional and casual settings.
- Browse through the available backgrounds by scrolling through the gallery where you will find categorized options such as office environments, neutral spaces, and themed images. Select any background by clicking on it to see an immediate preview of how it appears with your video feed.
- To upload your own custom background image, click the “Add new” button marked with a plus icon in the background gallery. Navigate to the image file on your computer, ensuring it meets the recommended specifications for optimal display quality during your meeting.
- After selecting your preferred background whether preset or custom, verify the preview shows the effect applied correctly with clean edges around your silhouette. Once satisfied with the appearance, click “Join now” to enter the meeting with your chosen background already active.
Changing backgrounds during an active meeting
- While already in a Teams meeting, locate the more actions menu represented by three dots in the meeting controls bar at the top or bottom of your screen. This menu contains additional settings and features not immediately visible in the primary controls.
- Select “Apply background effects” or “Background settings” from the dropdown menu to open the same background gallery you access during the pre-join preview. The meeting continues while you make these adjustments without disconnecting from the call.
- Choose your new background option from the gallery or upload a different custom image using the same process described earlier. The change applies immediately to your video feed, allowing you to switch backgrounds mid-meeting if needed for different agenda items or presentation contexts.
- Click outside the background panel or select “Close” to return to the normal meeting view with your updated background active. Other participants see the change instantly without any interruption to audio or screen sharing functionality.
Optimizing custom background images for Teams meetings
- Microsoft Teams recommends using images with a 16:9 aspect ratio and minimum resolution of 1920×1080 pixels to ensure sharp display quality across different screen sizes. Lower resolution images may appear pixelated or stretched, reducing the professional appearance you want to achieve.
- Prepare your custom images in JPG, PNG, or BMP formats with file sizes under 10 MB to ensure quick loading and processing by Teams. Larger files may cause delays when applying the background or switching between options during meetings.
- Choose images with relatively simple compositions and avoid overly busy backgrounds that can create visual confusion or make it difficult for Teams to distinguish your silhouette. Solid colors, gentle gradients, and clean office or nature scenes work best for virtual boundary detection.
- Consider the lighting and color tones in your custom backgrounds to ensure they complement your natural lighting rather than clash with it. Backgrounds that are significantly brighter or darker than your actual environment can create an unrealistic appearance that distracts meeting participants.
Important Tip: Test your custom backgrounds in a test meeting or with the preview function before important calls to ensure the edge detection works cleanly with your setup and lighting conditions.
Creating appropriate backgrounds for different meeting types
- For client-facing presentations and formal business meetings, select professional office settings, neutral conference rooms, or branded backgrounds featuring your company logo and colors. These backgrounds reinforce your professional image and maintain focus on the meeting content rather than your personal space.
- Team check-ins and internal collaboration sessions allow more flexibility for personality-driven backgrounds including tasteful humor, hobby-related images, or team-building themes that strengthen workplace relationships. Ensure any humorous backgrounds remain workplace-appropriate and consider your company culture before using unconventional options.
- Virtual events and webinars benefit from branded backgrounds that include event logos, sponsor information, or thematic elements that reinforce the session topic. Coordinate with your marketing team to create consistent backgrounds that all presenters can use for a unified professional appearance.
Troubleshooting common Teams background challenges
- If your background appears distorted or cuts off parts of your body, adjust your camera position to ensure you are properly centered and at an appropriate distance from the webcam. Teams background effects work best when you occupy the middle sixty to seventy percent of the frame with adequate space around your silhouette for accurate edge detection. If you continue experiencing technical difficulties beyond background settings, you may need to clear your Microsoft Teams cache to resolve performance issues affecting video quality.
- When custom backgrounds fail to upload, verify that your image file meets the size and format requirements mentioned earlier and that you have sufficient storage permissions on your device. Try reducing the file size or converting to a different supported format if the upload continues to fail after multiple attempts.
- Poor lighting conditions cause the most common background effect failures where your edges appear fuzzy or portions of your body blend into the virtual background. Position yourself facing a light source rather than sitting with bright windows behind you, and consider adding a desk lamp to improve illumination on your face.
- Users on older computers or devices with limited processing power may experience performance issues when using background effects especially during large meetings with many video participants. Disable background effects temporarily and use the blur option instead, which requires less computational resources while still providing privacy from your actual surroundings.
Expert Tip: The web version of Microsoft Teams offers limited background functionality compared to the desktop application, so install the full Teams client for access to all background features and better performance.