Streaky documents and missing colors usually point to clogged printer nozzles rather than empty ink cartridges. Running a print head cleaning cycle directly from your laptop restores output quality without removing any hardware. You will use built-in Windows printer utilities and manufacturer software to clear dried ink from the nozzle plate and verify that every color channel fires correctly.
Prerequisites for Printer Head Cleaning
Before starting the cleaning process, confirm these requirements:
- Printer connected and powered on — The printer must be online and recognized by Windows. A USB or Wi-Fi connection works, but the device needs to appear under Settings >> Bluetooth & devices >> Printers & scanners. If your laptop does not detect the printer over USB, try fixing USB port detection on Windows 11 before proceeding.
- Ink or toner cartridges installed — Cleaning cycles push ink through the nozzles to flush blockages. Running a cleaning cycle on empty cartridges wastes the pumping mechanism and can introduce air bubbles. Check ink levels in the printer software first.
- Printer driver installed — Windows may install a generic driver automatically, but the manufacturer’s (HP, Epson, Canon etc’) full driver package includes the maintenance utilities you need. Download the latest driver from the printer manufacturer’s support page if the cleaning options described below do not appear.
Cleaning Print Head from Laptop Settings
Open Windows Printer Properties
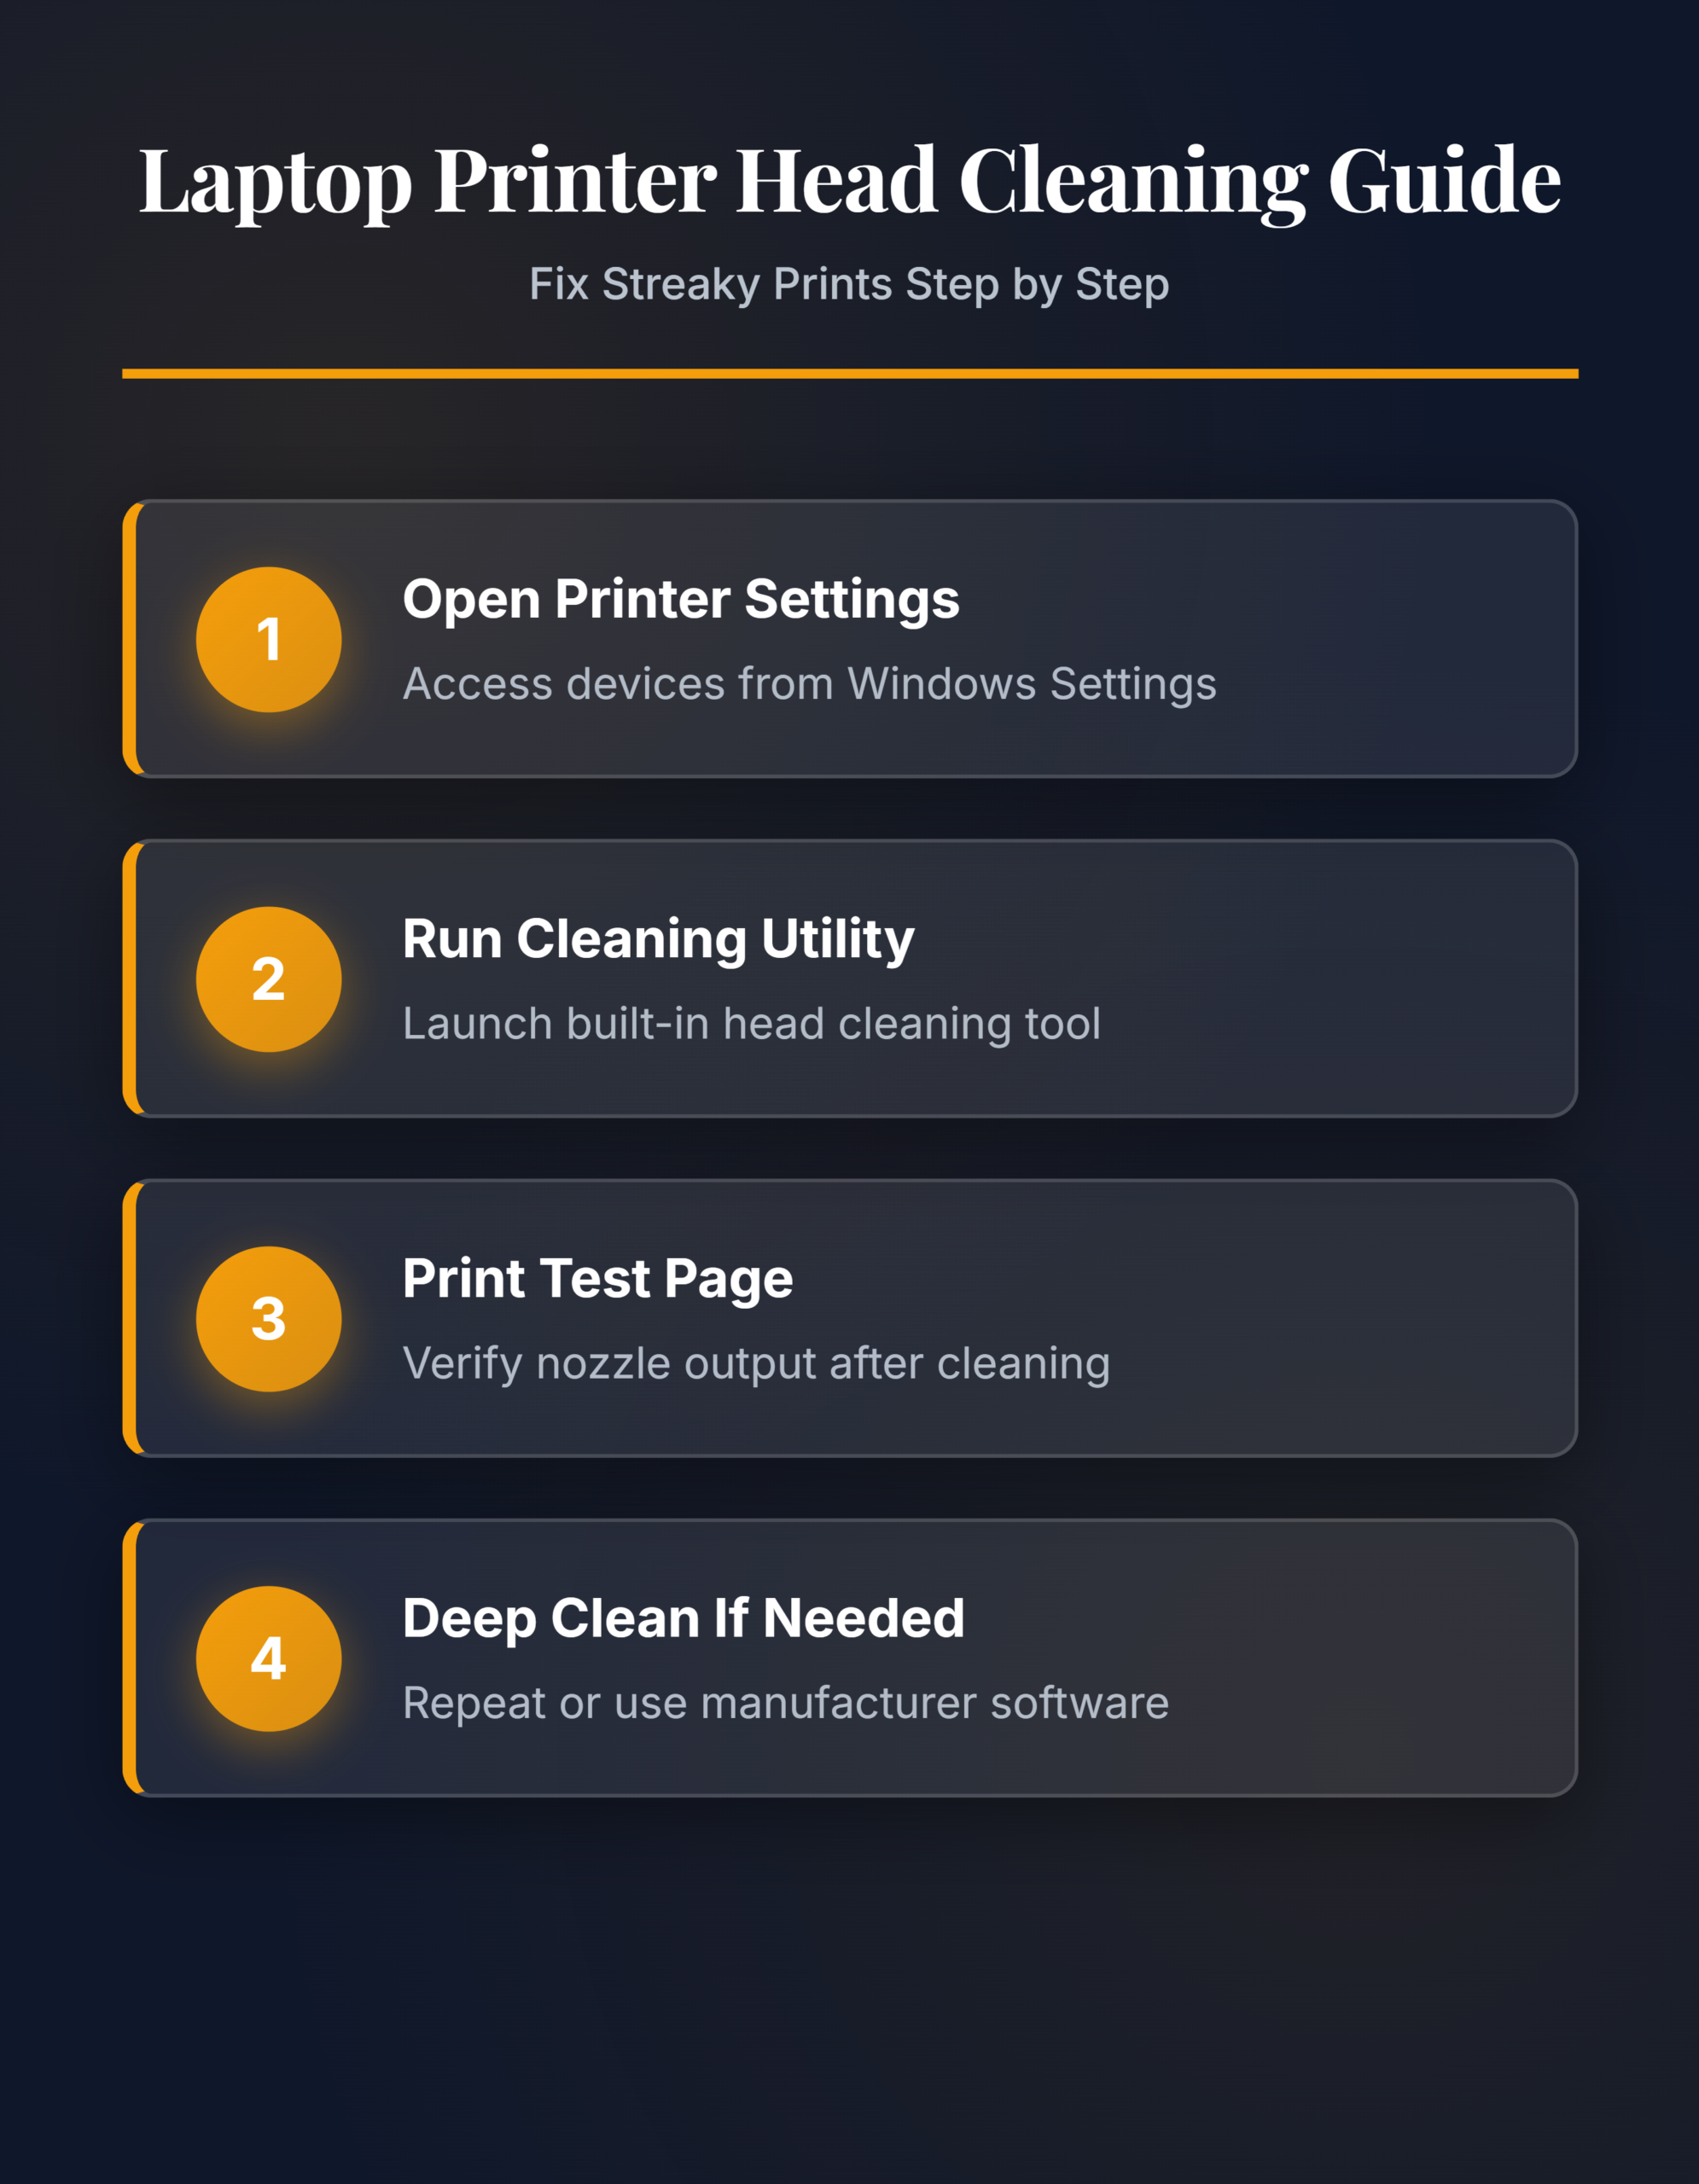
Navigate to Settings >> Bluetooth & devices >> Printers & scanners and select your printer from the list. Click Printer properties (not “Printing preferences” — that controls paper size and quality defaults, not maintenance). The properties dialog opens a tabbed window where Windows exposes hardware-level controls. If you see only generic tabs without a Maintenance or Utility tab, the manufacturer driver is missing and you need to install it from the vendor’s website.
Run the Built-In Cleaning Utility
Switch to the Maintenance tab inside the printer properties dialog. Click Head Cleaning or Clean Print Heads — the exact label varies between HP, Canon, Epson, and Brother models. The printer draws ink through every nozzle to dissolve dried residue. This cycle takes 30 to 90 seconds and you will hear the print head moving back and forth. Do not open the printer cover or power off the device during this process, because interrupting a cleaning cycle can leave air in the ink lines and make the problem worse.
Print a Nozzle Check Pattern
After the cleaning cycle completes, click Nozzle Check or Print Test Page on the same Maintenance tab. The printer outputs a pattern of fine lines in each color. Examine the pattern for gaps, missing segments, or faded bands. If every color prints solid unbroken lines, the cleaning worked and you are finished. If gaps remain, run one more cleaning cycle and recheck. Avoid running more than three consecutive cycles — excessive cleaning wastes ink and does not improve results beyond what two or three passes achieve.
Verify Print Quality with a Document
Open any document or image file and print a page at normal quality settings. Compare the output to what you saw before the cleaning. Colors should appear even without horizontal banding, and black text should look sharp without missing lines. If the output still shows defects after two cleaning cycles, the clog may need a deep cleaning pass or a different approach covered in the advanced section below.
Advanced Printer Head Maintenance
Use Manufacturer Cleaning Software
Most printer brands ship dedicated maintenance applications that offer deeper cleaning options than the Windows driver dialog. HP provides HP Smart, Canon includes Canon IJ Printer Assistant, and Epson ships Epson Printer Utility. Open the manufacturer application and look for options labeled Deep Cleaning or Power Cleaning. These modes run extended purge cycles that push significantly more ink through the nozzles. Deep cleaning uses two to three times the ink of a standard cycle, so reserve it for stubborn clogs that survive normal cleaning. After running a deep clean, always print another nozzle check pattern to confirm the blockage cleared. You can also enable showing file extensions in Windows 11 to identify downloaded driver files more easily when installing manufacturer tools.
Schedule Automatic Print Head Maintenance
Infrequent printing causes most nozzle clogs because ink dries inside the print head when the printer sits idle for weeks. Some manufacturer utilities let you enable automatic maintenance cycles that fire on a set schedule even without a print job. In Epson Printer Utility, open Monitoring Preferences and enable periodic cleaning. HP Smart offers a similar option under Printer Maintenance > Auto Cleaning Schedule. If your printer lacks a scheduling feature, printing one color test page each week prevents clogs more reliably than running cleaning cycles after problems develop. Setting a weekly calendar reminder is the simplest fix for recurring clog issues on printers that see light use.
Troubleshoot Persistent Print Head Issues
When cleaning cycles and deep cleans fail to restore print quality, the problem may sit outside the nozzle plate. Check whether the printer reports an error code on its display panel or in the Windows notification area — error codes narrow the diagnosis. Remove each ink cartridge and inspect the contacts for dried ink or debris. Wipe the copper-colored electrical contacts with a lint-free cloth dampened with distilled water. Reinstall the cartridges and run one more cleaning cycle. If quality still does not improve, the print head assembly may need physical removal and soaking in warm distilled water for 10 to 15 minutes. Consult your printer’s service manual before removing internal components, because disassembly voids the warranty on some models.
FAQ
Why is cleaning print head from laptop not working?
The most common cause is a missing manufacturer driver. Windows generic drivers do not expose maintenance utilities. Install the full driver package from your printer brand’s support website, then reopen printer properties. The Maintenance tab with cleaning options should appear after a driver update and printer restart.
How to fix cleaning print head not working permanently?
Run two standard cleaning cycles followed by one deep clean using the manufacturer utility. If that fails, remove the ink cartridges and wipe the electrical contacts with a damp lint-free cloth. For severe clogs on removable print heads, soak the head in warm distilled water for 15 minutes, dry completely, and reinstall.
What is the cleaning print head not working solution on Windows 11?
Open Settings >> Bluetooth & devices >> Printers & scanners, select your printer, click Printer properties, then go to the Maintenance tab. Click Head Cleaning and follow the prompts. If the Maintenance tab is missing, download the latest driver from the manufacturer’s site and install it before retrying.
Keeping your printer nozzles clear takes less than five minutes when you use the built-in Windows utilities and manufacturer cleaning tools. Print a test page once a week on lightly used printers to prevent clogs from forming in the first place.