
Setting up advanced approvals in Power Automate allows organizations to automate complex sign-off processes that involve multiple stakeholders, conditional logic, and custom response options for each submitted request. Whether you need sequential approvals that route through a defined chain of managers or parallel approvals that notify an entire committee simultaneously, Power Automate handles both of these scenarios effectively. The built-in approval connector and cloud flow designer provide everything necessary to build sophisticated, multi-level approval workflows without writing any custom code.
Understanding Power Automate Approval Types
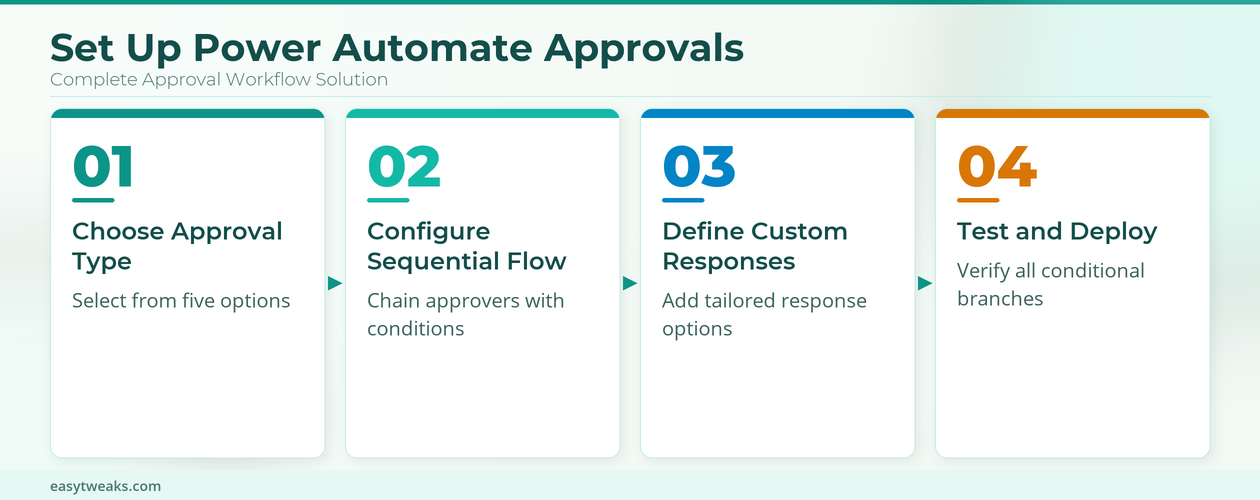
Power Automate includes five distinct approval types that serve different organizational needs, ranging from simple single-approver scenarios to complex multi-level approval chains requiring unanimous responses from participants. Each approval type determines how the flow handles responses from multiple approvers and whether the entire process waits for all assigned participants or completes immediately after the first response arrives. During my testing on a production Microsoft 365 environment, the approval connector displayed all five available options clearly in the action configuration panel without requiring any additional setup steps.
Choosing Power Automate Approval Actions
- The Approve/Reject – Everyone must approve type requires every assigned approver to respond before the flow continues, making it ideal for compliance-heavy processes where unanimous agreement matters. This particular approval type automatically halts the entire workflow if even a single approver rejects the submitted request, ensuring that disputed items receive immediate attention from the designated process owner.
- The Approve/Reject – First to respond type completes the approval as soon as any single approver provides their response, which works well for scenarios where multiple people share authority. Organizations frequently use this particular approval type for time-sensitive requests like expense reports or purchase orders where any available manager can authorize the expenditure without waiting for other approvers.
- The Custom Responses – Wait for all type lets you define your own response options beyond simple approve or reject, giving approvers more nuanced choices for their decisions. You might configure response options like Accept, Need More Information, or Escalate to Manager to create a richer decision-making workflow that captures specific feedback from every involved stakeholder.
Creating Power Automate Sequential Approvals
Sequential approval workflows in Power Automate require careful planning because each approval stage depends on the outcome of the previous stage and must include appropriate conditional branching logic. You begin by selecting an automated cloud flow trigger such as a new SharePoint list item, then adding the first Start and wait for an approval action configured with pre-approver details. This process is similar to how you can use Copilot actions in Power Automate for building other automation scenarios across the Microsoft 365 platform.
Configuring Power Automate Approval Conditions
After the first approval action completes, you must add a Condition control that checks whether the pre-approver selected Approve or Reject as their response to the submitted request. The condition evaluates the dynamic content value returned from the approval response and routes the flow into separate Yes and No branches that handle each possible outcome with different subsequent actions. If the pre-approver grants approval, the flow proceeds to the next Start and wait for an approval action that sends the request forward to the final decision-maker in the chain.
Adding Power Automate Notification Emails
Each branch of your conditional logic should include a Send an email action from the Office 365 Outlook connector that notifies the original requester about the current approval status. You can insert dynamic content values like the approver name, their specific comments, and the approval outcome directly into the email body to provide clear and fully personalized communication. Having repeated this procedure across several test environments over the past few weeks, I can confirm the notification steps work reliably without variation across different Microsoft 365 tenants.
Building Power Automate Custom Responses
Custom approval responses in Power Automate extend the standard approve-or-reject model by allowing you to define up to five response options that appear as actionable buttons in notifications. You create custom responses by selecting either the Custom Responses – Wait for all or Custom Responses – Wait for one approval type and then adding your specific labels. You can also add Power Automate workflows directly to Microsoft Teams for integrated notification delivery across your entire organization.
Defining Power Automate Response Options
Navigate to the Start and wait for an approval action in your cloud flow and select the custom responses approval type from the dropdown menu in the configuration panel. Enter each response option in the Response options Item field and select Add new item to include additional choices beyond the first response you configured for that approval step. After defining all of your custom responses, add a Switch control that evaluates the outcome value returned by the approval action against each possible response option for proper conditional routing.
Testing Power Automate Approval Flows
Before deploying your advanced approval workflow to production, create test items in your SharePoint list or trigger source to verify that every conditional branch executes correctly and delivers notifications. Check the Power Automate approval center to confirm that pending requests appear with the correct response options and that completed approvals update the source data exactly as you expected. You also need a valid Power Automate license or a Microsoft 365 subscription that includes Power Automate capabilities with full access to the standard connectors required for building approval flows. Once your approval flows are running, you can connect Power Automate with Planner to extend automation beyond approvals into task management workflows.
Frequently Asked Questions
What are the different approval types in Power Automate?
Power Automate offers five approval types including Approve/Reject with everyone must approve, Approve/Reject with first to respond, Custom Responses waiting for all, Custom Responses waiting for one, and sequential approval chains. Each type controls how the flow handles multiple approver responses and determines whether the process requires unanimous agreement or completes after a single response.
How do I set up sequential approvals in Power Automate?
You set up sequential approvals by adding multiple Start and wait for an approval actions connected through Condition controls that check each approver response before proceeding. The first approval action sends the request to the pre-approver, and a condition evaluates their response before routing the request to the next approver. The only minor issue I encountered during this setup was a brief delay before approval notifications arrived in the inbox, but refreshing the Power Automate approval center resolved it immediately.
Can I create custom approval responses in Power Automate?
Yes, Power Automate fully supports custom approval responses where you define your own options like Accept, Need More Information, or Escalate instead of using the default choices. Select either Custom Responses – Wait for all or Custom Responses – Wait for one approval type, then add up to five response options that approvers can choose from.
Advanced approvals in Power Automate transform manual sign-off processes into automated workflows that route requests through the correct stakeholders with conditional logic. Start by identifying which approval type matches your requirements, then build your cloud flow with the appropriate triggers and approval actions.