“Our team is struggling with manual task assignment in Microsoft Planner. Every time a new project starts, I spend hours creating and assigning tasks to team members. Is there a way to automate this process? I’ve heard about Power Automate but don’t know how to connect it with Planner to create tasks automatically based on certain triggers.”
The business challenge of manual planner task management
Organizations using Microsoft Planner often face efficiency bottlenecks when managing tasks manually. Project managers spend valuable time creating repetitive task structures, assigning responsibilities, and tracking progress. This manual approach increases the risk of human error, delays project kickoffs, and reduces overall team productivity. By connecting Power Automate to Microsoft Planner, you can automate routine task creation and assignment processes. This integration leverages Microsoft 365’s built-in connectors to streamline workflow management without requiring advanced coding skills. You can even sync Planner tasks with Excel using Power Automate for better reporting and tracking.
Automating planner tasks with Power Automate
The idea is to demonstrate how to connect Power Automate with Microsoft Planner to automate task creation and assignment. We’ll build a flow that creates a new task in Planner when a form is submitted, automatically assigns it to the appropriate team member, and sets due dates based on predefined criteria. You’ll need a Microsoft 365 account with access to Power Automate and Microsoft Planner. This tutorial will assume you already have a Planner plan created for your team.
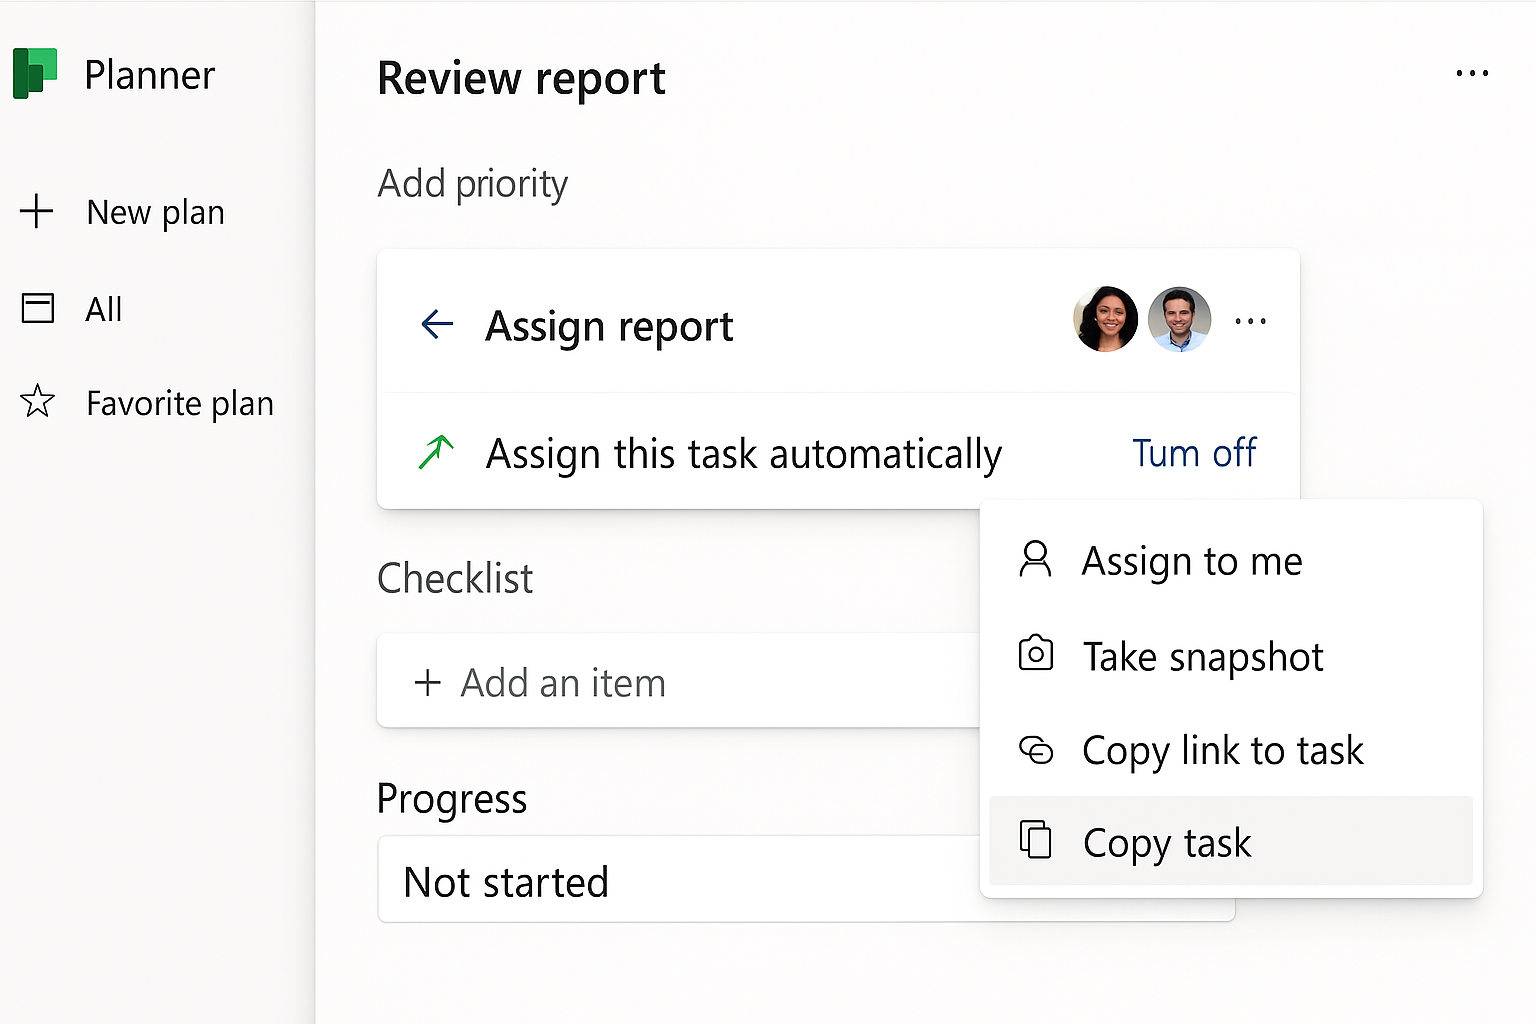
Create planner tasks automatically using Power Automate
- Sign in to Power Automate and log in with your Microsoft 365 credentials to access the full range of connectors available for your automation needs.
- Create a new automated flow by clicking “Create” in the left navigation menu, then selecting “Automated flow” to begin building your workflow that will connect to Microsoft Planner.
- Choose your trigger based on your specific needs, such as “When a new response is submitted in Microsoft Forms” if you want to create Planner tasks from form submissions.
- Add the Microsoft Forms connector by searching for “Forms” in the connector search box and selecting the “When a new response is submitted” trigger, then choosing your form from the dropdown menu.
- Add a “Get response details” action to retrieve the specific information submitted in the form that will be used to populate your Planner task with relevant details.
- Insert the Planner connector by clicking “New step” and searching for “Planner” in the actions search box, then select “Create a task” from the available Planner actions.
- Configure the Planner task creation by selecting your Plan ID and Bucket ID from the dropdown menus, then map form responses to task fields like Title, Assignments, Start Date, and Due Date.
- Set up dynamic assignments using the Assignments field, which requires a specific JSON format – click on the “Switch to input entire array” option and use an expression like
{"<user-id>":{"@odata.type":"#microsoft.graph.plannerAssignment"}}. - Add conditional logic if needed by clicking “New step” and selecting “Condition” to create different task parameters based on form responses or other criteria.
- Test your flow by clicking the “Test” button in the upper right corner, then trigger your flow by submitting a test form response to verify that tasks are created correctly in Planner.
Verify the Planner destination before creating tasks
The Planner connector selects a group, plan, and optionally a bucket. Similar display names can hide different underlying identifiers, so confirm the target plan with a controlled test task before enabling a high-volume trigger. Give the test a unique title, then open Planner and verify its plan, bucket, creator, dates, and assignments. Delete only the known test item after the checks are complete.
Use current connector actions
Review the flow for actions marked deprecated and replace them with the current Create a task or update actions where practical. The current Planner connector supports basic plans, so a flow designed for another plan type can fail even when the user can open that plan in the Planner interface. Check the connector documentation and destination type before treating the problem as a licensing error.
Add task details in the correct sequence
Task creation and task-detail updates can be separate actions. Capture the task ID returned by Create a task and use that dynamic value for later description, checklist, assignment, or update steps. Do not search by task title to find the new item; titles are not guaranteed to be unique and parallel runs can select the wrong task.
Protect against duplicate Planner items
Build an idempotency key from the source record, such as a SharePoint item ID, email message ID, or request number. Store that key with the created Planner task ID and check it before creating another task. If a retry occurs after Planner accepted the first request, the flow can then update or end instead of producing a duplicate. Review run history after any timeout because a failed-looking action does not always prove that no task was created.
When assignments fail, confirm that each assignee is eligible for the target plan and use the identifier format accepted by the current action. Create the task first, then verify assignment in Planner before notifying the assignee.
Troubleshooting Power Automate and Microsoft Planner connector issues
- “Invalid Plan ID” error message typically occurs when you don’t have sufficient permissions to the Planner plan you’re trying to access, so verify that you have owner or member permissions to the plan and try using the dynamic content selector to choose the plan rather than entering the ID manually.
- Tasks appear in Planner but assignments aren’t working correctly is often caused by incorrect JSON formatting in the Assignments field, so double-check your syntax and ensure you’re using the correct user IDs, which can be found by viewing the user’s profile in Microsoft 365 admin center or using the Office 365 Users connector.
- Flow runs successfully but no task is created might be due to missing required fields in your Planner task configuration, so ensure you’ve provided all necessary information including Title and Plan ID, and check flow run history for specific error messages that might provide additional troubleshooting clues.
Pro tip: For more complex scenarios, consider using premium Power Automate features like custom connectors or business process flows to extend your Planner automation capabilities beyond the standard connectors. Once the Planner connection works, the next flow can send selected tasks into OneNote.