If Zoom cannot find your webcam just before a meeting, the problem is usually easier to isolate than the warning suggests. Zoom may be blocked from using the camera, connected to the wrong video device, or competing with another app for access. This guide takes you through practical checks for built-in and external cameras on Windows and macOS, helping you determine whether the fault sits with Zoom, your operating system, the camera connection, or the device driver.
Why can’t Zoom detect your camera?
Zoom reports that it cannot detect a camera when the app receives no usable camera device from the operating system. The camera may be disabled, disconnected, or unavailable to Zoom because system or browser permissions are off. Zoom can also be configured to use a different webcam than the one you expect. An outdated Zoom installation or camera driver may prevent the device from initializing correctly, especially after an operating system update or a hardware change.
Another common cause is a resource conflict. Camera apps, browser tabs, streaming tools, and other meeting clients can keep the webcam busy, leaving Zoom unable to open it. Security or privacy software may block webcam access as well. This can look like a Zoom problem even when the restriction is applied at the device level. Similar checks are useful when another meeting client loses access to the webcam, because both apps depend on the same system permissions and hardware.
Test the webcam in the Windows Camera app, Photo Booth on macOS, or another trusted video app before changing several settings at once. If the camera fails everywhere, check its physical connection, privacy controls, and driver. If it works outside Zoom, close every app that might use video, reopen Zoom, and select the intended camera in Video settings. On a managed work computer, ask IT to confirm that endpoint security or organization policy is not blocking camera access.
Zoom will not recognize your camera
This tutorial will guide you through a systematic approach to diagnose and fix camera detection problems in Zoom. We’ll cover everything from basic permission checks to more advanced troubleshooting techniques. These solutions work for both built-in laptop cameras and external webcams across Windows, Mac, and mobile devices. You’ll need administrative access to your device and the latest version of Zoom for best results.
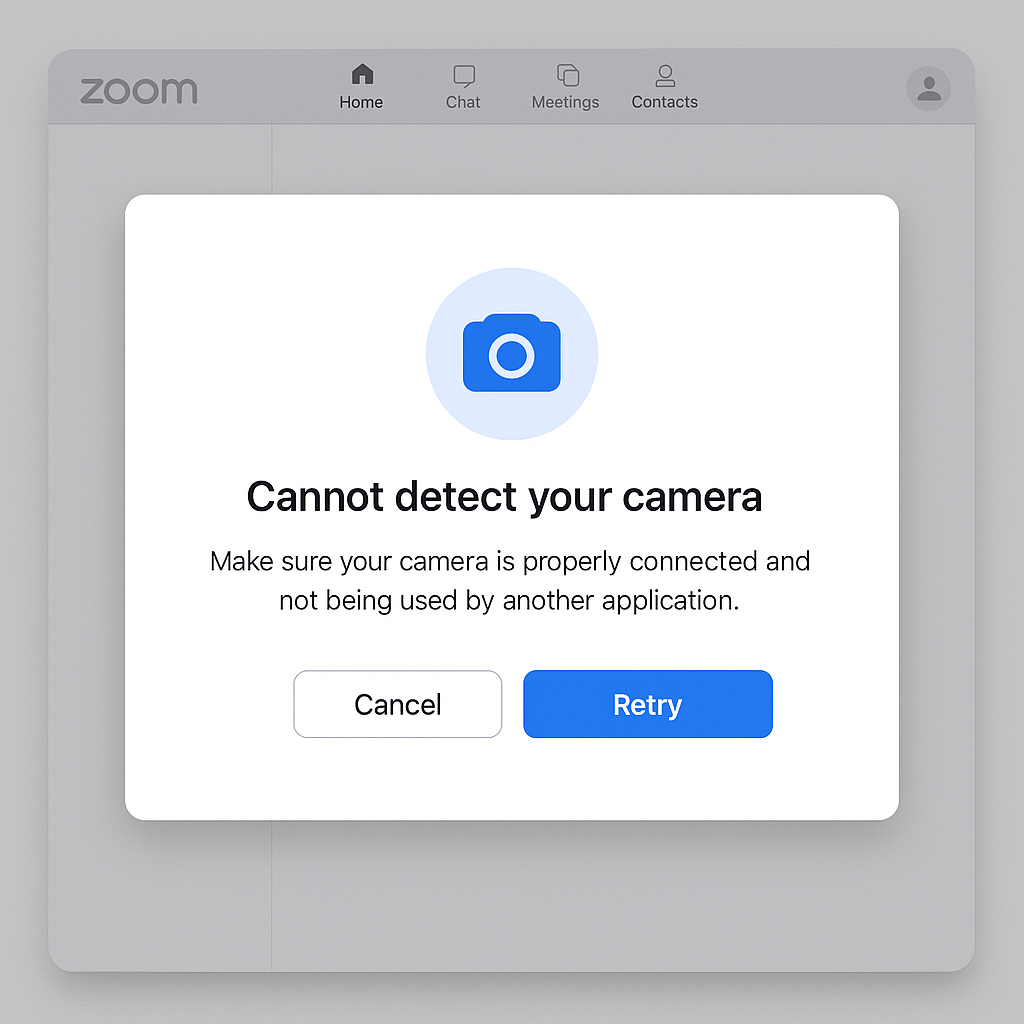
Step-by-step fixes when Zoom says camera not detected
Check Zoom camera permissions
- Verify that Zoom has permission to access your camera by opening your device’s system settings and locating the privacy or permissions section where camera access is controlled.
- On Windows, navigate to Settings > Privacy > Camera and ensure that “Allow apps to access your camera” is turned on, then check that Zoom specifically is allowed.
- For Mac users, go to System Preferences > Security & Privacy > Privacy > Camera and make sure the checkbox next to Zoom is selected to grant camera access.
- After adjusting permissions, completely close and restart Zoom to allow the changes to take effect properly and check if your camera is now detected.
Verify camera functionality in other applications
- Test your camera in another application like the built-in Camera app on Windows or Photo Booth on Mac to determine if the issue is specific to Zoom or affects your entire system.
- If your camera works in other applications but not in Zoom, the problem likely lies within Zoom’s settings or the application itself rather than with your hardware.
- Should your camera fail to work in any application, this indicates a system-wide issue with your camera drivers, hardware connection, or operating system settings that needs addressing.
- For external webcams, try connecting to a different USB port to rule out port-specific issues that might be preventing proper detection and functionality.
Reset Zoom video settings
- Open Zoom and click on your profile picture in the top-right corner, then select Settings from the dropdown menu to access the configuration options.
- Navigate to the Video tab in the settings panel where you can see all camera-related options and the preview window that should display your camera feed.
- Click on the camera dropdown menu and select each available camera option one by one to see if any are working, as sometimes Zoom might be trying to use the wrong camera.
- Look for the “Turn off HD” option and toggle it to see if reducing the required bandwidth helps with camera detection issues on slower connections.
Update camera drivers and Zoom application
- For Windows users, right-click on the Start button, select Device Manager, expand the Cameras or Imaging devices section, right-click on your camera, and select Update driver.
- Mac users should check for system updates by clicking the Apple menu > System Preferences > Software Update, as camera drivers are typically updated with system software.
- Ensure your Zoom client is updated to the latest version by clicking your profile picture > Check for Updates, as older versions may have known camera compatibility issues.
- After updating drivers and software, restart your computer completely before attempting to use Zoom again to ensure all changes are properly implemented.
Advanced fixes for persistent issues
- Try the Zoom web client instead of the desktop application by navigating to zoom.us/join in your browser and joining a test meeting to see if your camera works there.
- For Windows users experiencing persistent issues, uninstall your camera device from Device Manager, restart your computer, and allow Windows to reinstall the camera automatically.
- Check for any security software that might be blocking camera access, including antivirus programs, firewalls, or privacy tools that could be preventing Zoom from accessing your camera.
- As a last resort, completely uninstall Zoom, restart your computer, and reinstall the latest version from the official website to eliminate any corrupted settings or files.
Isolate the camera before reinstalling Zoom
Close Teams, browser meeting tabs, Camera, and any utility that may already be using the webcam. Open the Windows Camera app and test the image. If Camera also fails, focus on the physical shutter, cable, USB port, Windows privacy settings, driver, or hardware before changing Zoom.
If Windows Camera works, open Zoom settings and select Video. Choose the exact camera instead of System default. A dock, virtual camera, or disconnected webcam may remain selected after the hardware changes.
Check every permission layer
In Windows, open Settings, Privacy and security, Camera. Confirm camera access for the device and the appropriate app category. Traditional desktop applications use the desktop-app control. The Zoom web client also needs camera permission for the browser and the zoom.us site.
For a browser test, select the site-permissions control near the address bar, allow the camera, and reload the page. A Windows permission cannot override a browser-level block.
Compare clients and connections
Test the same Zoom account in the desktop client and web client. If one works, the camera hardware and account are likely usable, and the problem is local to the failing client or permission layer. Connect a USB camera directly instead of through the dock for one test.
Update Zoom and install approved camera or dock drivers from Windows Update or the device manufacturer. Restart after driver changes. Use Zoom’s complete removal tool only after preserving settings and confirming that simpler tests failed.
If the camera is detected but the picture is black, inspect the privacy shutter, lens cover, lighting, and virtual-background settings. For intermittent loss, record whether it happens after sleep, docking, or switching applications.
Give support the Zoom version, camera model, Windows Camera result, selected Zoom device, connection path, and exact error. This evidence separates hardware failure, device contention, permissions, and client corruption without unnecessary reinstallations.
Common problems when Zoom cannot detect your camera
- If you see a black screen where your video should be, this typically indicates that while Zoom can detect your camera, there might be another application currently using it exclusively, preventing Zoom from accessing the video feed.
- When experiencing intermittent camera detection where Zoom recognizes your camera sometimes but not consistently, this often points to USB power issues or conflicts with other peripherals sharing the same USB controller.
- Users encountering the “Camera Failed” error message should check their camera’s physical connection and ensure it hasn’t been disabled in BIOS settings, which can happen after certain system updates or hardware changes.
- If your camera works initially but stops functioning during longer meetings, this could indicate thermal issues with your device or memory leaks in the Zoom application that require updating your app or improving device cooling.
Note: Before diving into complex solutions, first verify that your camera works properly in other applications. You can also try testing your camera in other meeting platforms like Webex to determine if the issue is specific to Zoom or affects multiple applications.
By following these systematic troubleshooting steps, you should be able to resolve most camera detection issues in Zoom and get back to productive, face-to-face virtual meetings.
Frequently Asked Questions
Does Zoom work with multiple cameras simultaneously?
Zoom allows you to switch between cameras during a meeting but cannot display multiple camera feeds from the same participant simultaneously. To switch cameras mid-meeting, click the arrow next to Stop Video and select your preferred camera from the list. This feature is particularly useful for presenters who want to alternate between a webcam and a document camera, or for users with both front and rear cameras on tablets.
Why does my camera work in Zoom test meetings but fail in actual meetings?
This scenario typically occurs when network bandwidth limitations prevent video transmission during meetings with many participants. Test meetings use minimal resources, while actual meetings with multiple video feeds require significantly more bandwidth. Try disabling HD video in Settings > Video, closing bandwidth-intensive applications, or asking the host to disable gallery view. Some corporate networks also implement restrictions during peak hours that affect video functionality.
Can browser extensions interfere with Zoom camera detection?
Browser extensions that manage privacy settings or control media access can block Zoom’s camera permissions, especially when using the web client. Extensions like ad blockers, privacy guards, or VPN tools may prevent proper camera initialization. Temporarily disable extensions one at a time to identify conflicts, or use Zoom in an incognito window where most extensions are automatically disabled. For consistent performance, consider using the desktop application instead.
How do I fix camera detection on Chromebooks?
Chromebooks require specific permission management through Chrome OS settings. Navigate to Settings > Privacy and security > Site Settings > Camera, then ensure zoom.us has camera access. If using the Android Zoom app on a Chromebook, check permissions under Settings > Apps > Zoom > Permissions. Clear the Zoom app cache if issues persist, and verify your Chrome OS is updated to the latest version for optimal compatibility.