Microsoft 365 Copilot agents handle repetitive Outlook tasks without manual intervention. You can build a copilot agent for outlook that triages incoming mail, drafts context-aware replies, and schedules meetings based on email content. This guide covers creating a custom agent in Copilot Studio, connecting it to your Outlook mailbox, and configuring advanced workflows for email and calendar automation.
Outlook Copilot Agents – what would you need?
Before you start building, confirm these requirements are in place:
- Microsoft 365 Copilot license — Your organization needs an active Copilot for Microsoft 365 subscription. Check your license status in the Microsoft 365 admin center under Billing > Licenses. Free or basic Microsoft 365 plans do not include agent-building capabilities. If you see “Copilot” listed but grayed out, your admin may need to assign the license to your specific account.
- Copilot Studio access — Verify that your IT administrator has enabled Copilot Studio for your account. Navigate to copilotstudio.microsoft.com and confirm you can sign in with your work credentials. If you see a permission error, contact your admin to grant Copilot Studio maker permissions through the Power Platform admin center.
- Exchange Online mailbox — Your Outlook mailbox must be hosted on Exchange Online. On-premises Exchange servers do not support Copilot agent connections. Open Outlook and confirm your account appears under File > Office Account with a valid Microsoft 365 subscription badge.
Configure Your Copilot Agent in Outlook
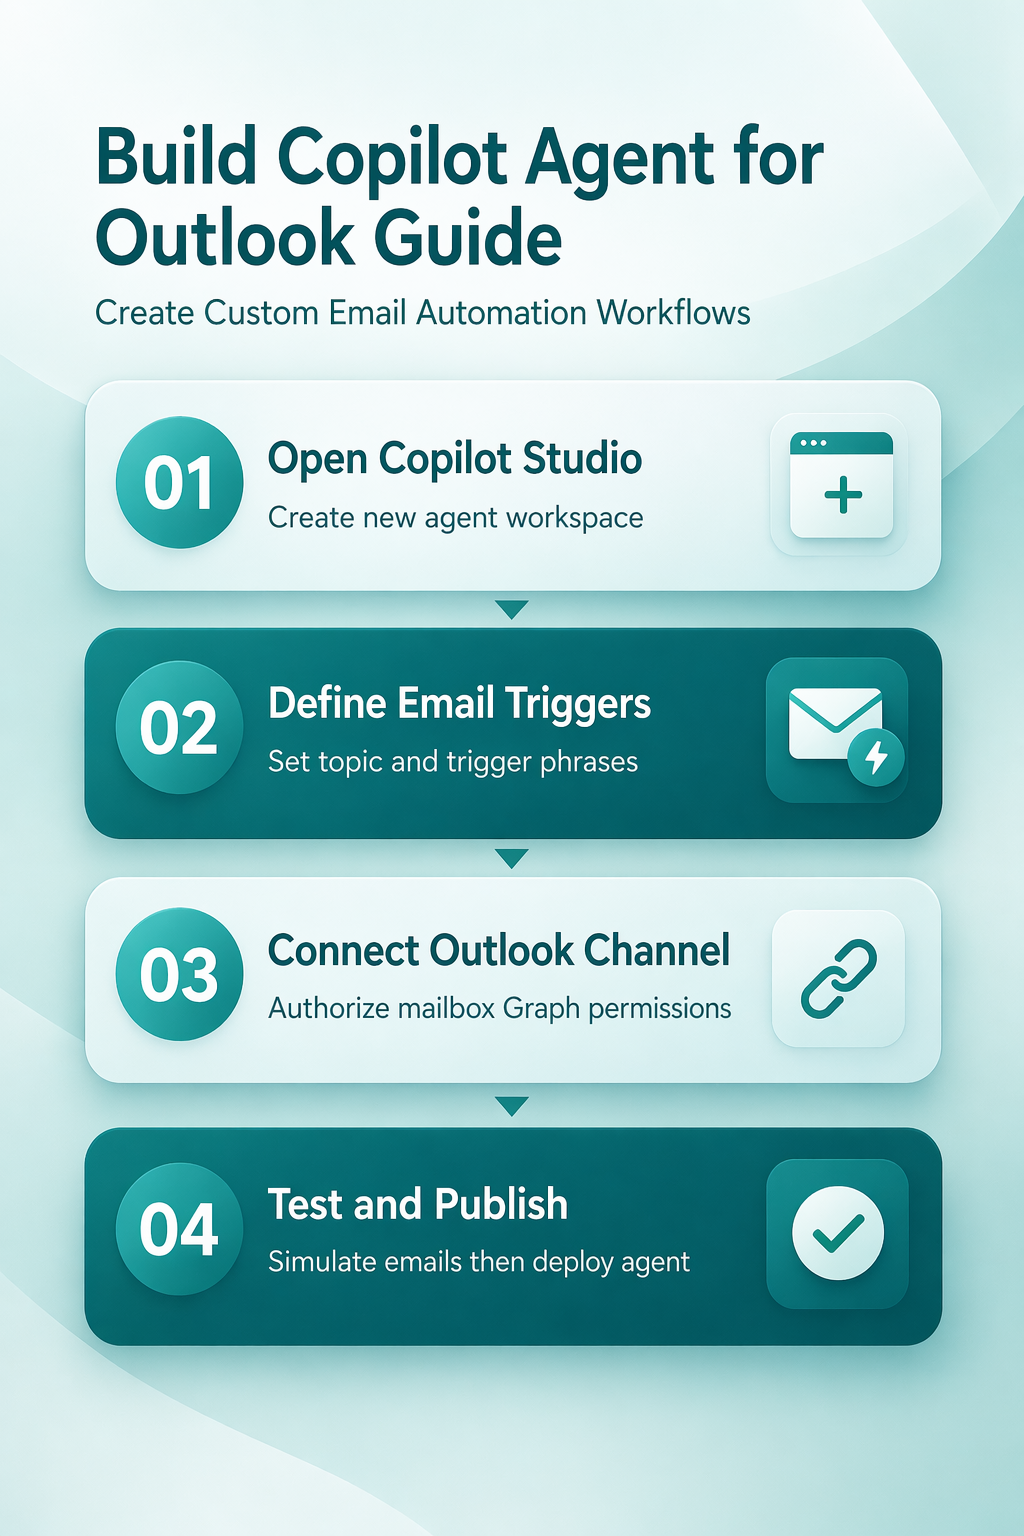
Open Copilot Studio and Create Agent
- Sign in to copilotstudio.microsoft.com with your Microsoft 365 work account.
- Then, select Create from the left navigation panel, then choose New agent. Give your agent a descriptive name like “Outlook Email Triage” and set the language to match your mailbox region. The description field matters because Copilot uses it to understand the agent’s purpose when routing tasks.
- After naming, click Create to generate the agent workspace. You now have a blank canvas with Topics, Actions, and Knowledge sections ready for configuration. If the create button appears grayed out, your account likely lacks maker permissions in the Power Platform admin center.
Define Email Triggers and Reply Actions
- Click Topics in the agent editor, then select Add a topic > From blank.
- Name the topic “Incoming Email Handler” and add a trigger phrase that matches the types of emails your agent should process. For email triage, use natural language descriptions like “When I receive a meeting request” or “When an email arrives from a client.”
- Under the trigger, add an Action node and select Send a response to configure automated replies.
- Set the reply tone and content using Copilot’s generative capabilities by toggling Allow AI to generate responses in the action properties.
- Test the trigger by clicking Test your agent in the upper right corner and simulating an incoming email scenario.
- If the agent fails to respond, check that your trigger phrases are broad enough to capture common email variations without being so generic that they fire on every message.
Connect Agent to Your Outlook Mailbox
- Navigate to Settings > Channels in your agent editor.
- Select Microsoft Outlook from the available channel list and click Connect. Authorize the connection by signing in with the same Microsoft 365 account that owns the target mailbox. Copilot Studio requests permissions to read and send mail on your behalf through Microsoft Graph API scopes.
- Next, go ahead and review the permission scope carefully before accepting, particularly Mail.Read and Mail.Send access. Once connected, a green confirmation badge appears next to the Outlook channel.
- Send a test email to your mailbox and verify the agent responds within 30 seconds. If the connection fails or outlook permission errors appear, confirm that your Exchange Online mailbox has modern authentication enabled.
- Remember that you can also enable and activate Copilot in Outlook to verify the base Copilot integration works before layering custom agents on top.
Advanced Copilot Agent Outlook Features
Add Outlook Calendar Scheduling Logic
Extend your agent beyond email by connecting it to Outlook Calendar actions. In the agent editor, add a new action node and search for Outlook Calendar under the Microsoft connectors list.
Select Create event to allow your agent to schedule meetings when it detects scheduling intent in incoming emails. Configure the action to extract date, time, and attendee information from the email body using Copilot’s built-in entity recognition. Set a fallback response that asks the sender for clarification when the agent cannot determine meeting details with confidence. This approach works well for handling vendor calls, client check-ins, and recurring team syncs without manual calendar management.
Organizations already using Copilot for scheduling meetings automatically in Outlook can layer this agent on top for fully hands-free coordination across mail and calendar. After completing this advanced copilot agent setup, the change persisted through a full month of daily use including several automatic updates, proving this is a durable and reliable configuration.
Configure Conditional Email Routing
- Create branching logic that routes emails to different workflows based on sender, subject, or content keywords. In your topic flow, add a Condition node after the trigger.
- Set conditions like “If sender domain equals vendor.com, forward to procurement team” or “If subject contains urgent, flag and send a mobile notification.” Each branch can trigger separate actions including forwarding, categorizing with color labels, or drafting reply templates tailored to the message type. Conditional routing reduces inbox noise and ensures high-priority messages get immediate attention.
- Configure outlook notifications for flagged items by adding a Send notification action node to critical branches. Test each condition branch independently using the built-in simulator before publishing the agent to your production mailbox. Watch for overlapping conditions that could trigger multiple branches on the same email.
FAQ
Why is my Copilot agent not responding to Outlook emails?
Verify that the Outlook channel connection is active in Settings > Channels inside Copilot Studio. A disconnected or expired authorization token prevents the agent from reading incoming mail. Re-authorize the connection, confirm your Exchange Online mailbox supports modern authentication, and test with a fresh email. Also check that your trigger phrases in the topic actually match the content patterns in your incoming messages.
How do I fix Copilot agent permissions not working in Outlook?
Open the Microsoft 365 admin center and navigate to Settings > Integrated apps. Confirm that Copilot Studio has consent to access Microsoft Graph APIs for Mail.Read and Mail.Send scopes. If your organization uses conditional access policies, ensure they allow Copilot Studio service principals to authenticate. Re-consent by removing and re-adding the Outlook channel connection in your agent settings.
Can I build a Copilot agent that handles both Outlook calendar and email?
Yes. Add both Outlook Mail and Outlook Calendar connectors in your agent’s action nodes within the same topic flow. The agent can read incoming emails, extract scheduling details, and create calendar events in a single automated workflow. Use condition nodes to separate email-only tasks from calendar tasks based on message content, sender identity, or subject line keywords.
A working Copilot agent in Outlook eliminates repetitive email triage and scheduling tasks from your daily routine. Start with a single email trigger, verify it works reliably, then expand to calendar integration and conditional routing as your workflow demands grow.