Power Automate to Teams integration challenges
“How can I set up automated responses in Microsoft Teams using Power Automate? Our team receives dozens of messages daily, and we need a way to automatically acknowledge requests and route them to the right people without manual intervention.”
This question reflects a common challenge many organizations face when managing high-volume communication in Teams. Manual responses consume valuable time and can lead to delayed acknowledgments or missed messages entirely.
Use Power Automate from Teams for streamlined business processes
Modern workplace collaboration requires seamless integration between communication platforms and automation tools to maintain productivity and responsiveness. Teams serves as the central hub for organizational communication, while Power Automate provides the automation capabilities needed to handle repetitive tasks and workflow management efficiently.
Today we will explain how to integrate Power Automate with Microsoft Teams by adding the Power Automate app directly within your Teams environment. You will then learn to create automated workflows that respond to Teams messages, route communications based on keywords, and establish approval processes that operate entirely within your Teams workspace.
You will need an Active Microsoft 365 subscription with Teams and Power Automate licenses, administrative permissions to install apps in Teams, and basic familiarity with Teams channel structure. We will then use Teams desktop application and Power Automate web interface throughout this implementation process.

Integrating Power Automate with Teams
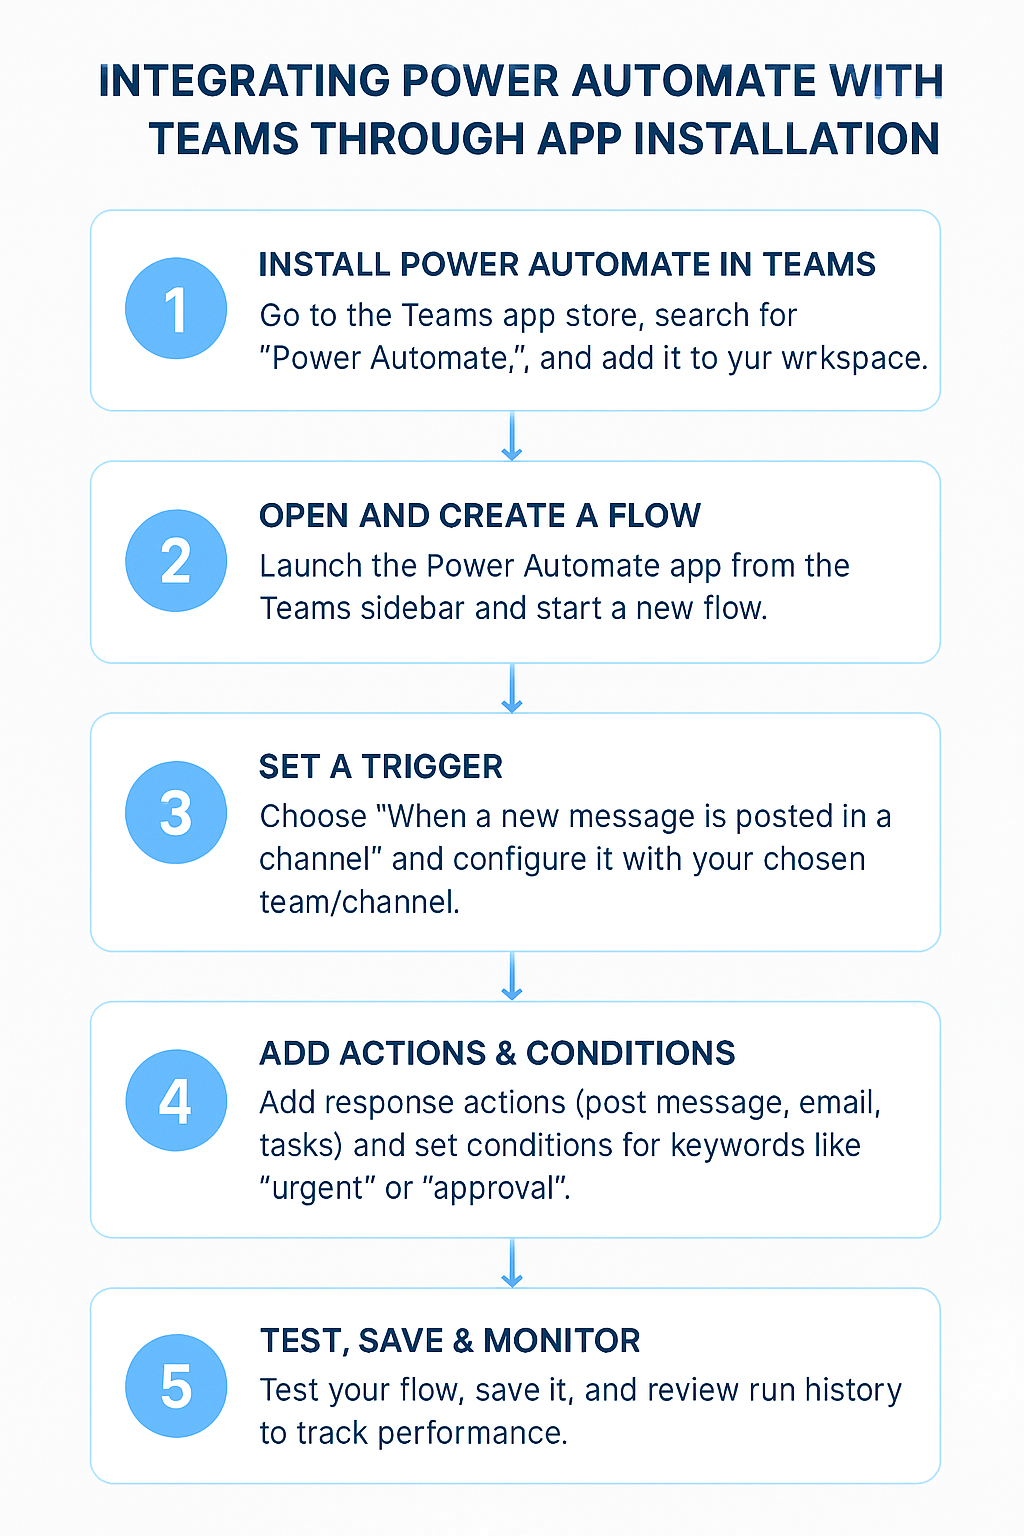
- Navigate to Microsoft Teams and click the Apps icon located in the left sidebar to access the Teams app store where you can browse and install various productivity applications. Search for “Power Automate” in the app store search bar and select the official Microsoft Power Automate app from the search results to begin the installation process. For more complex automation scenarios, you might want to connect Power Automate Planner link integrate to create task-based workflows that enhance your team’s productivity.
- First, search for “Power Automate” in the app store search bar, and then select the official Microsoft Power Automate app from the search results to begin the installation process.
- Next, click “Add” to install the Power Automate app to your Teams environment, which will make automation capabilities available directly within your Teams workspace for immediate use.
- After installation, locate the Power Automate app in your Teams left sidebar, and then click it to open the integrated Power Automate interface within Teams.
- From there, select “Create a flow” from the Power Automate app interface to begin building your first automated workflow that will interact with Teams messages and channels.
- At this point, select “When someone posts a new message in a channel” as your trigger from the available Teams connectors. This establishes the foundation for your automated response system.
- Then, configure the trigger by selecting your specific team and channel where you want the automation to monitor for new messages and respond accordingly.
- Afterward, add an action by clicking “New step,” and search for “Post message in a chat or channel” to create the automated response component of your workflow.
- Finally, configure the response action by specifying the target channel, message content, and any dynamic content from the original message that you want to include in the automated reply.
Expert Tip: Use dynamic content tokens like “Message text” and “From display name” to create personalized automated responses that reference the original sender and message content.
- Set up conditional logic by adding a “Condition” action to evaluate message content and route different types of requests to appropriate team members or channels automatically.
- Configure the condition to check if the message contains specific keywords like “urgent,” “help,” or “approval” to trigger different automated response pathways based on message content.
- Add additional actions such as “Send an email” or “Create a task in Planner” to extend your automation beyond Teams and integrate with other Microsoft 365 applications.
- Test your flow by clicking “Test” in the Power Automate interface and sending a test message to the configured Teams channel to verify the automation responds correctly.
- Save and enable your flow by clicking “Save” to make the automation active and ready to process incoming Teams messages according to your configured rules and responses.
- Monitor flow performance by returning to the Power Automate app in Teams and reviewing the run history to ensure your automation is functioning as expected and processing messages successfully.
Power Automate app in Teams troubleshooting solutions
- Power Automate app not appearing in Teams sidebar: First, check your organization’s app policies in the Teams admin center, and next ensure that Power Automate is approved for installation. Afterward, restart the Teams application, and finally search for the app again in the app store.
- Flow triggers not activating when messages are posted: To begin, verify that the flow is enabled, and then confirm that the trigger is configured for the correct team and channel. Additionally, check if the service account has proper permissions to access the specified Teams channel.
- Automated responses posting to wrong channels or chats: In this case, review the action configuration in your flow, and moreover ensure that the dynamic content references are correctly mapped to the intended destination channel or chat thread.
- Flow execution failing with authentication errors: Re-authenticate your Teams and Power Automate connections by going to the flow settings, clicking on each connection, and signing in again with appropriate credentials that have access to both services. If you’re experiencing persistent issues with Teams notifications related to your automated workflows, you may need to fix Teams notifications not working on Windows 11 to ensure you receive alerts when your flows execute.
