“I’m using Webex for an important client meeting tomorrow, but my home office is a mess. Is there a way to hide my background or use a virtual image instead? I’ve seen colleagues with nice backgrounds, but I’m not sure how to set this up in Webex. Can someone explain the process for changing backgrounds or blurring what’s behind me?”
The challenge of unprofessional meeting backgrounds
When working remotely, your physical environment can sometimes detract from your professional image, similar to how many users face issues with camera detection in video meetings. Cluttered spaces, personal items, or distracting elements in your background might undermine your credibility during important Webex meetings. Many professionals need a quick solution to maintain privacy and project professionalism without rearranging their entire workspace. Fortunately, Webex offers built-in features to blur your background or replace it with virtual images.
Free virtual background options for Webex meetings
Before joining or during a Webex meeting, you can easily change your background using the platform’s built-in features. This solution works across desktop applications and some browser versions, giving you options to blur your existing background or replace it with virtual images. You can use Webex’s default backgrounds or upload custom images from various free resources online, ensuring your meeting environment always looks professional.
Changing your background in Webex
Before your meeting starts:
- Launch the Webex desktop application and sign in to your account to access all background customization features available on your device.
- Click on your profile picture in the top right corner and select “Settings” from the dropdown menu to access your video preferences.
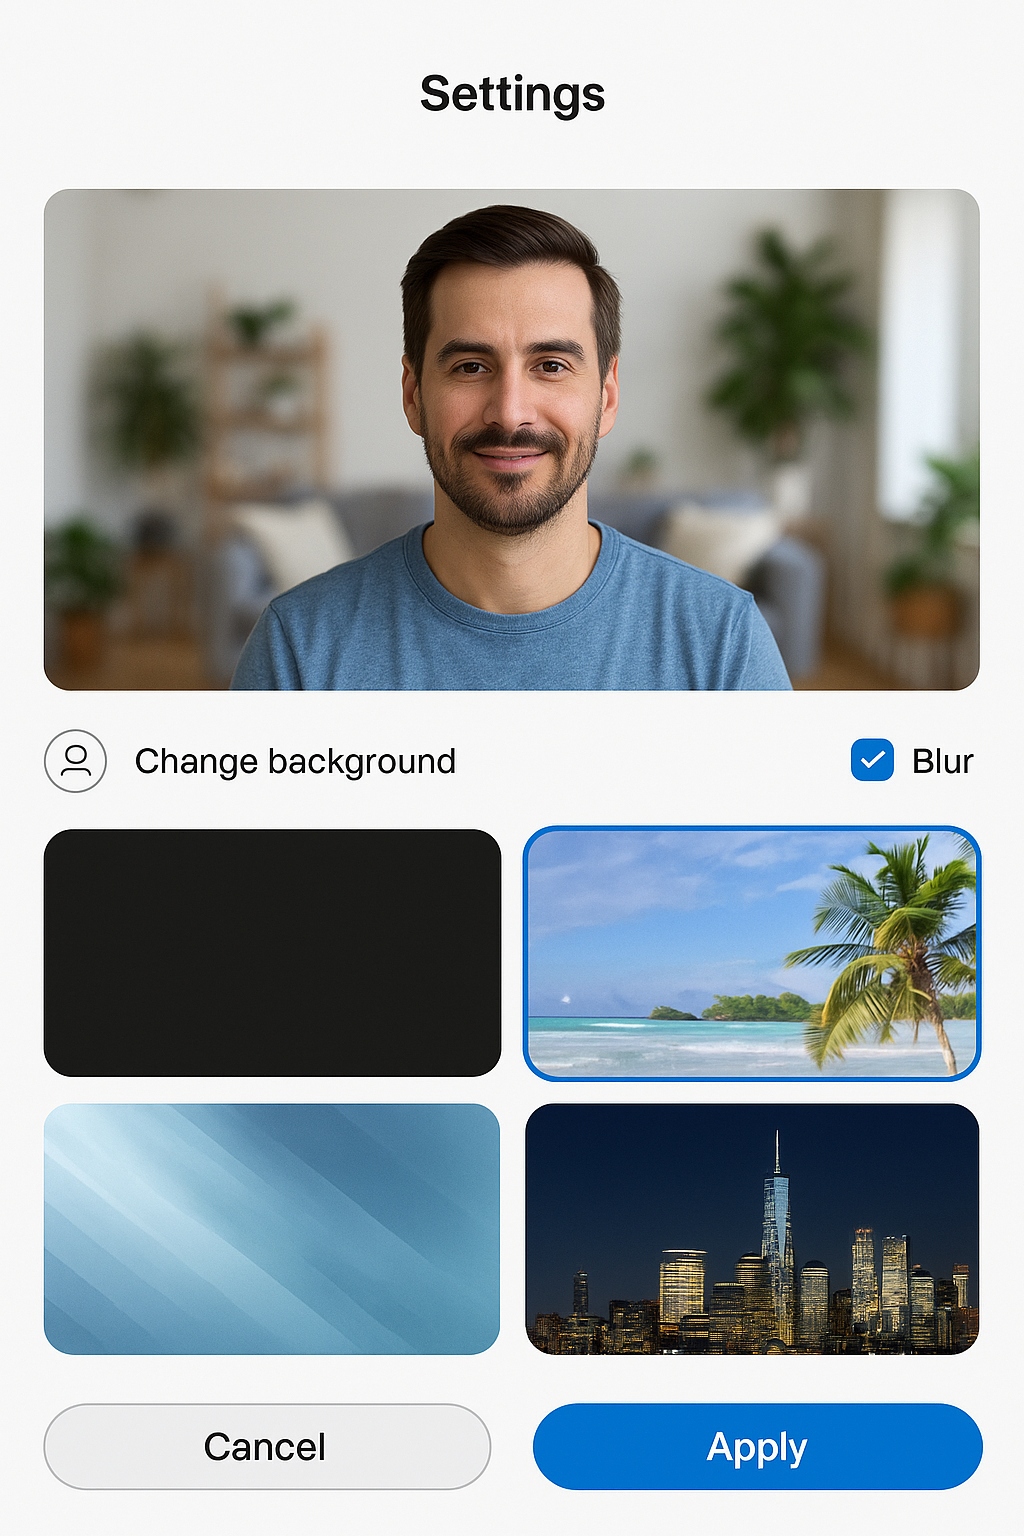
- Navigate to the “Virtual Background” tab where you’ll find options to blur your background or choose from pre-installed virtual backgrounds.
- To upload a custom background image, click the “+” button and browse to select an image from your computer that meets the recommended resolution of 1920×1080 pixels.
- Preview how your selected background looks in the video preview window and make adjustments to ensure your face is clearly visible against the virtual background.
- Click “Apply” to save your background selection, which will now be your default for future meetings until changed.
Tip: Create a folder of professional-looking virtual backgrounds on your computer for quick access during different types of meetings. Consider having industry-specific backgrounds for client meetings and more neutral options for internal team discussions.
During an active Webex meeting:
- Look for the “More options” button (three dots) in your meeting controls at the bottom of your screen.
- Select “Change virtual background” from the menu to open the background selection panel without leaving your meeting.
- Choose from blur options (slight or strong blur) if you simply want to obscure your actual background while maintaining a natural look.
- Select from available virtual backgrounds or click “+” to upload a new image that will be added to your collection for future use.
- For the best results, ensure you’re sitting in a well-lit area with your face clearly visible to improve Webex’s ability to distinguish you from the background.
Common Webex background issues
- If virtual backgrounds appear choppy or your image looks distorted, check that your computer meets Webex’s system requirements for virtual backgrounds, including sufficient processor speed and memory.
- When experiencing “ghost” images or parts of your actual background showing through, try using a solid-colored wall behind you or consider purchasing an inexpensive green screen to improve background replacement quality.
- For users accessing Webex through a browser experiencing limited background options, try installing the desktop application which offers more comprehensive virtual background features and better performance.
- If background changes aren’t saving between meetings, ensure you’ve clicked “Apply” after selecting your background and check that you’re using the latest version of Webex by going to Help > Check for Updates.
- When uploading custom images that don’t appear in your options, verify the file format is supported (JPG, PNG) and the image size doesn’t exceed Webex’s file size limitations of approximately 5MB.