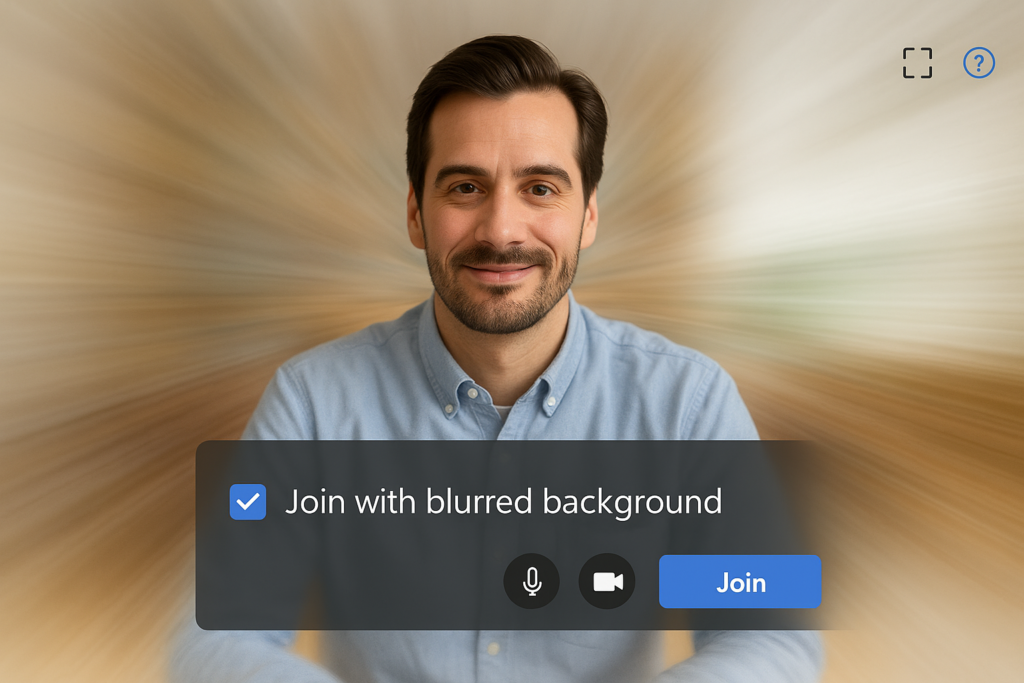
“I need to join an important client meeting on Zoom in 15 minutes, but my home office is a mess! Is there a quick way to hide my actual background and use something more professional? I’m using my laptop and don’t have a green screen. Can I blur my background or use a virtual image instead?”
Professional image backgrounds in virtual meetings
In today’s remote work environment, maintaining a professional appearance during video calls is essential. Distracting or messy backgrounds can undermine your credibility and shift focus away from your message. Fortunately, Zoom offers several options to change your background without requiring specialized equipment. Whether you need to blur your existing surroundings or replace them entirely with a virtual image, the process is straightforward on both desktop and laptop devices.
Further reading: When setting up your virtual background, you might want to consider how this integrates with other meeting tools. If you use multiple platforms, learning how to manage your Webex and Teams status can help maintain consistent professional presence across platforms.
Setting up virtual backgrounds for better meeting experiences
Before changing your Zoom background, ensure you’re using a compatible device with the latest Zoom desktop client installed. This tutorial will guide you through changing your background before joining a meeting, adjusting it during a call, and troubleshooting common issues. You’ll need a Zoom account, the desktop application installed on your laptop or computer, and ideally, uniform lighting for the best results.
Adjusting your Zoom background
Changing your background before joining a meeting
- Launch the Zoom desktop application on your laptop and sign in to your account to access all background features and settings.
- Click on your profile picture in the top-right corner and select “Settings” from the dropdown menu to open the settings panel.
- Navigate to the “Background & Effects” tab in the left sidebar to view all available background options for your meetings.
- You’ll see preview options including “None,” “Blur,” and several default virtual backgrounds that Zoom provides for immediate use.
- To blur your background, simply click on the blur option, and you’ll see a live preview of how it will appear during your meeting.
- For a virtual background, click on any of the preset images, or select the “+” icon to upload your own professional image from your computer.
- Test your selection by checking the preview window to ensure the effect looks natural and professional before joining your meeting.
Adjusting your background during an active Zoom call
- While in an active Zoom meeting, locate and click the “^” arrow next to the “Stop Video” button in the control bar at the bottom.
- Select “Choose Virtual Background” from the menu to open the background settings panel without leaving your current meeting.
- Choose from blur options or virtual backgrounds, with the changes applying immediately to your video feed for all participants to see.
- You can switch between different backgrounds during the meeting as needed, which is useful if you need to move to different locations.
- Close the settings panel when satisfied with your selection to return to the full meeting view while maintaining your new background.
Adding custom backgrounds for professional meetings
- Prepare professional-looking images that reflect your brand or create an appropriate meeting atmosphere ahead of time.
- In the Background & Effects panel, click the “+” icon and select “Add Image” to browse your computer for suitable background files.
- Select high-quality images with 1920×1080 resolution for best results, avoiding images with too many details that might be distracting.
- Once uploaded, your custom backgrounds will remain available in your personal collection for future meetings and calls.
- Consider creating a folder of appropriate backgrounds for different types of meetings to quickly switch between professional options.
- For the most professional appearance, position yourself approximately 2-3 feet from the camera with a plain wall behind you, even when using virtual backgrounds.

Troubleshooting common Zoom background issues
- If your background effect appears glitchy or your image looks distorted, ensure you’re sitting in a well-lit area with even lighting and a contrasting color between you and your physical background.
- When background replacement doesn’t work properly, check that your Zoom desktop client is updated to the latest version by clicking on your profile picture and selecting “Check for Updates.”
- For laptops with limited processing power, try selecting the “I have a green screen” option even without one, as this can sometimes improve performance by reducing the processing requirements.
- If your virtual background isn’t loading or appears pixelated, try restarting the Zoom application completely, as temporary application issues often resolve with a fresh start.
- When using a blur background before meetings, ensure you’re not wearing clothing that closely matches your physical background, as this can cause parts of you to become blurred along with the room.
