“How can I use Microsoft Teams to create training videos for our new hires? Our department needs to standardize onboarding, but we don’t have specialized recording equipment or a dedicated studio space.”
This is a common question from team leaders and trainers who need to produce consistent training content while leveraging the tools they already have. Microsoft Teams offers powerful capabilities for creating training videos without requiring specialized equipment.
The training video recording challenge in modern organizations
Organizations frequently need to create standardized training materials to ensure consistent knowledge transfer. While watching Teams PowerPoint presentations is common for training, creating custom video content provides more flexibility and control over the learning experience.
Microsoft Teams, which many organizations already use for communication, includes built-in recording capabilities that can transform your regular meetings into professional training videos. Using Teams for this purpose leverages existing technology investments while providing an efficient way to create, distribute, and manage training content across Microsoft 365.
Microsoft Teams as your training video solution
Microsoft Teams enables you to record high-quality training videos directly from your computer without additional software. The solution will utilize Teams meetings recording functionality, screen sharing capabilities, and integration with Microsoft Stream or SharePoint for video hosting. You’ll need a Microsoft 365 account with Teams, appropriate recording permissions, and basic familiarity with Teams meetings. This tutorial will guide you through creating professional training videos that can be shared across your organization.

Creating instructional videos in Teams
- Prepare your content and environment before recording by creating a clear outline of your training material, organizing any files or applications you’ll demonstrate, and finding a quiet location with good lighting and minimal background distractions to ensure professional quality recordings.
- Create a private Teams meeting by clicking on “Calendar” in the Teams app, selecting “New meeting,” and scheduling it at a convenient time, making sure to add only yourself as a participant if you want to record alone or include co-presenters if needed for your training video.
- Configure your audio and video settings by clicking the three dots (more options) before joining, selecting “Device settings,” and testing your microphone, speakers, and camera to ensure optimal recording quality for your training video.
- Join the meeting and prepare your presentation view by selecting whether to use your camera for a personal touch or focus on screen sharing for demonstrations, remembering that you can switch between these modes during recording to create dynamic training content.
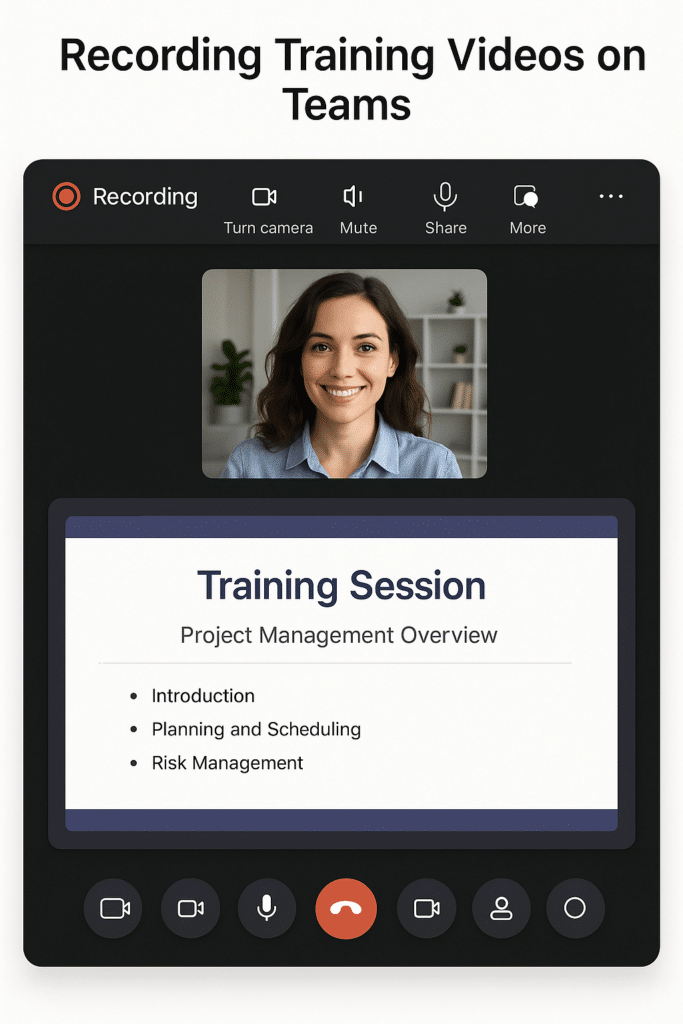
- Start recording your training video by clicking the three dots (…) in the meeting controls and selecting “Start recording,” which will notify all participants that the session is being recorded and save your training content to Microsoft Stream or SharePoint depending on your organization’s configuration.
- Deliver your training content clearly and concisely, using screen sharing (Share content button) to demonstrate processes, switching between applications as needed, and utilizing the Teams whiteboard feature for explanations requiring visual aids or diagrams.
- End the recording and meeting when you’ve completed your training content by clicking the three dots and selecting “Stop recording,” then ending the meeting by clicking the red hang-up button, after which Teams will process your video and generate a shareable link.
- Access and share your completed training video by checking your chat history for an automatic link to the recording or visiting Microsoft Stream/SharePoint where your videos are stored, allowing you to share the content with specific individuals or teams for training purposes.
- Edit your video if needed using Stream’s basic trimming capabilities for minor adjustments or download the file for more extensive editing in applications like Microsoft Clipchamp or other video editing software before resharing the final version.
- Organize your training videos in Microsoft Stream channels or SharePoint libraries with clear naming conventions and descriptions, making it easier for employees to find relevant training materials when needed.
Common Microsoft 365 training video challenges
- Recording option unavailable or greyed out often occurs due to insufficient permissions or organizational policies, which can be resolved by contacting your IT administrator to verify your recording permissions in the Microsoft Teams Admin Center and requesting the necessary rights for creating training content.
- Poor video or audio quality in your recordings typically stems from network bandwidth issues or device limitations, so try connecting to a wired network instead of Wi-Fi, closing unnecessary applications to free up system resources, and using a dedicated microphone or headset for clearer audio in your training videos.

- Participants cannot access shared training videos usually indicates permission issues within your Microsoft 365 environment, requiring you to verify sharing settings in Stream or SharePoint, ensure viewers have appropriate licenses to access the content, and consider moving important training videos to more accessible locations if organization-wide viewing is required.
- Recording notification missing from chat history can occur due to notification delays or sync issues, which can be resolved by checking Microsoft Stream or SharePoint directly for your recordings, waiting 30-60 minutes for processing to complete, or checking your Outlook email as recording notifications are sometimes delivered there instead of Teams chat.
Pro tip: For higher production value in your training videos, consider using Teams together with PowerPoint Live, which allows you to present slides while maintaining visibility of your camera and audience, creating more engaging training materials.
