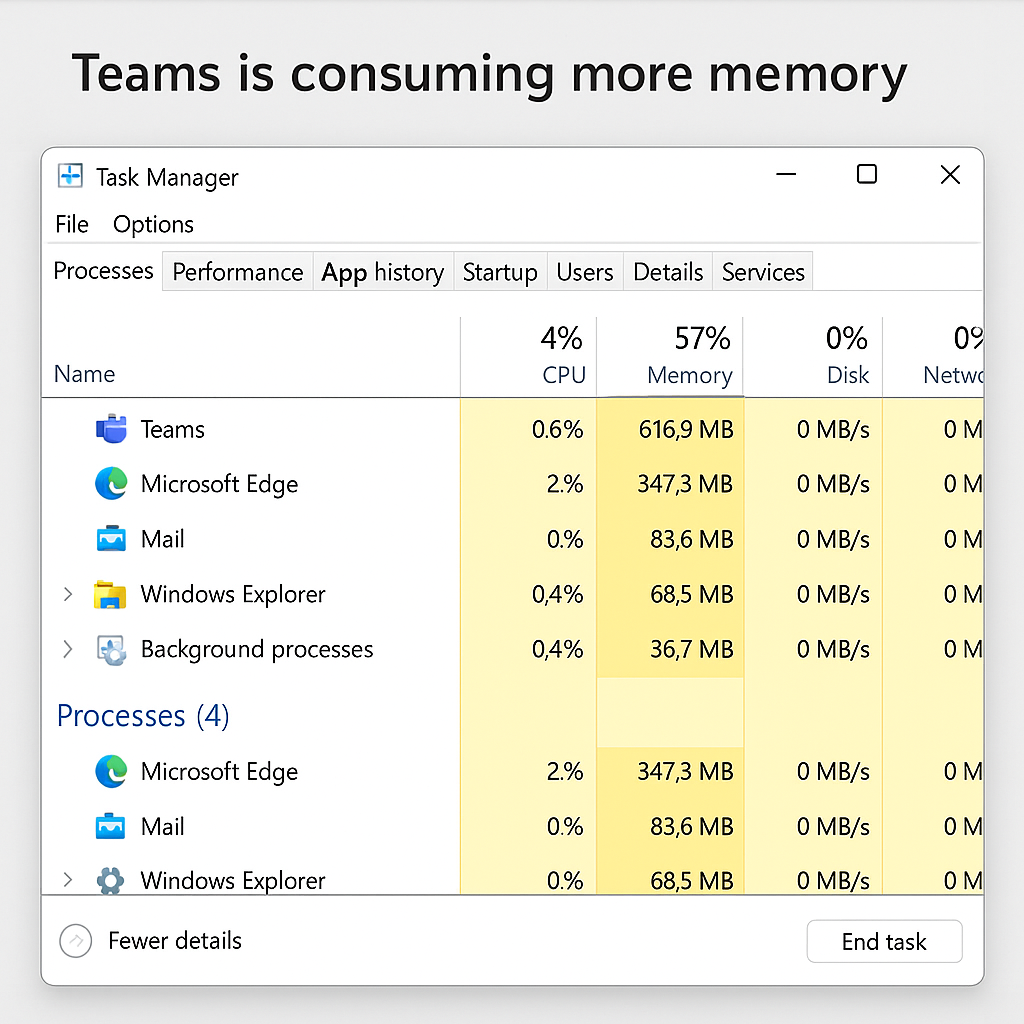
Have you noticed your computer slowing down when Microsoft Teams is running? Many users find that Teams consumes substantial system resources, especially during video meetings or when running in the background for extended periods. This can be particularly frustrating on older devices or when multitasking with other resource-intensive applications.
Understanding Teams memory and CPU consumption issues
Microsoft Teams is designed as a comprehensive collaboration platform integrating chat, video conferencing, file sharing, and app integration. This robust functionality comes at a cost to system resources. High memory and CPU usage can lead to sluggish performance, battery drain on laptops, and overall system instability. For businesses with hundreds of users, these performance issues can significantly impact productivity and user satisfaction.
Teams performance issues can be particularly challenging when running multiple applications. For optimal performance, consider learning how to test microsoft teams connection performance and implementing best microsoft teams tips tricks to maximize efficiency.
Identify and reduce Teams resource consumption
Before implementing fixes, it’s important to understand what’s causing Teams to consume excessive resources. We’ll use built-in Windows tools and Teams settings to identify problem areas and implement targeted solutions that balance functionality with performance.
Step-by-step methods to reduce Teams memory and CPU usage
Disable hardware acceleration in Microsoft Teams
- Open Microsoft Teams and click on your profile picture in the top right corner, then select “Settings” from the dropdown menu to access all configuration options.
- Navigate to the “General” tab in the settings menu where you’ll find various display and performance-related options for the application.
- Scroll down until you find the “Hardware acceleration” option, which is enabled by default to offload processing tasks to your GPU.
- Uncheck the box next to “Hardware acceleration” to disable this feature, as it can sometimes cause high resource consumption on certain hardware configurations.
- Click “Save and restart” when prompted to apply the changes, allowing Teams to close and reopen with the new settings in effect.

Turn off performance tracing and background processes
- Access the Teams settings menu by clicking your profile picture and selecting “Settings” to view all available configuration options.
- Select the “Privacy” tab where you’ll find options related to data collection and background processes that might be consuming resources.
- Look for options such as “Send error reports and usage statistics to Microsoft” and disable them to prevent Teams from consuming resources for data collection.
- Navigate to the “Advanced” section (if available in your version) and disable any background processing options that aren’t essential for your workflow.
- Restart Teams completely after making these changes to ensure all background processes are terminated and restarted with new settings.
Update Microsoft Teams to the latest version
- Check your current Teams version by clicking on your profile picture and selecting “About” > “Version” to see if you’re running outdated software.
- If using the desktop app, Teams should update automatically, but you can manually check by clicking the three-dot menu and selecting “Check for updates”.
- For enterprise environments, contact your IT administrator to ensure you’re using the most current approved version since updates may be managed centrally.
- After updating, restart your computer completely rather than just the application to ensure all components are properly initialized with the new version.
- Monitor performance after updating to see if the newer version addresses memory and CPU usage issues through optimization improvements.
Modify Teams startup behavior
- Press Win+R to open the Run dialog, type “shell:startup” and press Enter to access the Windows Startup folder containing auto-start applications.
- Remove any Microsoft Teams shortcuts from this folder to prevent Teams from automatically starting with Windows and consuming background resources.
- Alternatively, open Task Manager by right-clicking the taskbar and selecting “Task Manager,” then navigate to the “Startup” tab to disable Teams from auto-starting.
- Consider using the Teams web version through your browser instead of the desktop app when you need only basic functionality without video conferencing.
- Create a desktop shortcut to Teams web for quick access without the resource overhead of the full desktop application.
Teams performance issues
- If Teams still exhibits high memory usage even after applying the above fixes, try clearing the Teams cache by navigating to %appdata%\Microsoft\Teams and deleting the contents of the Cache, GPU cache, and blob_storage folders.
- For users experiencing extreme performance degradation during video calls, disable background effects and video filters which require significant processing power and can cause CPU spikes during meetings.
- When Teams causes Windows 11 system-wide slowdowns, check if GPU acceleration is properly configured in your graphics settings by going to Windows Settings > System > Display > Graphics and optimizing Teams for performance.
- Enterprise users should contact IT support if issues persist, as there might be policy settings or integration services running that are controlled at the organizational level and affecting performance.
By implementing these changes, you should see a noticeable improvement in Microsoft Teams performance and overall system responsiveness while maintaining the collaboration features you need for productive work.
