Microsoft 365 Copilot now supports autonomous AI agents that handle repetitive tasks without constant manual prompting. These agents go beyond simple chat responses — they follow multi-step instructions, pull data from connected sources, and complete entire workflows on your behalf. This guide walks you through building and configuring an AI agent using Copilot, from verifying license requirements through deployment across your Microsoft 365 environment.
What you’ll need for Copilot Agent creation
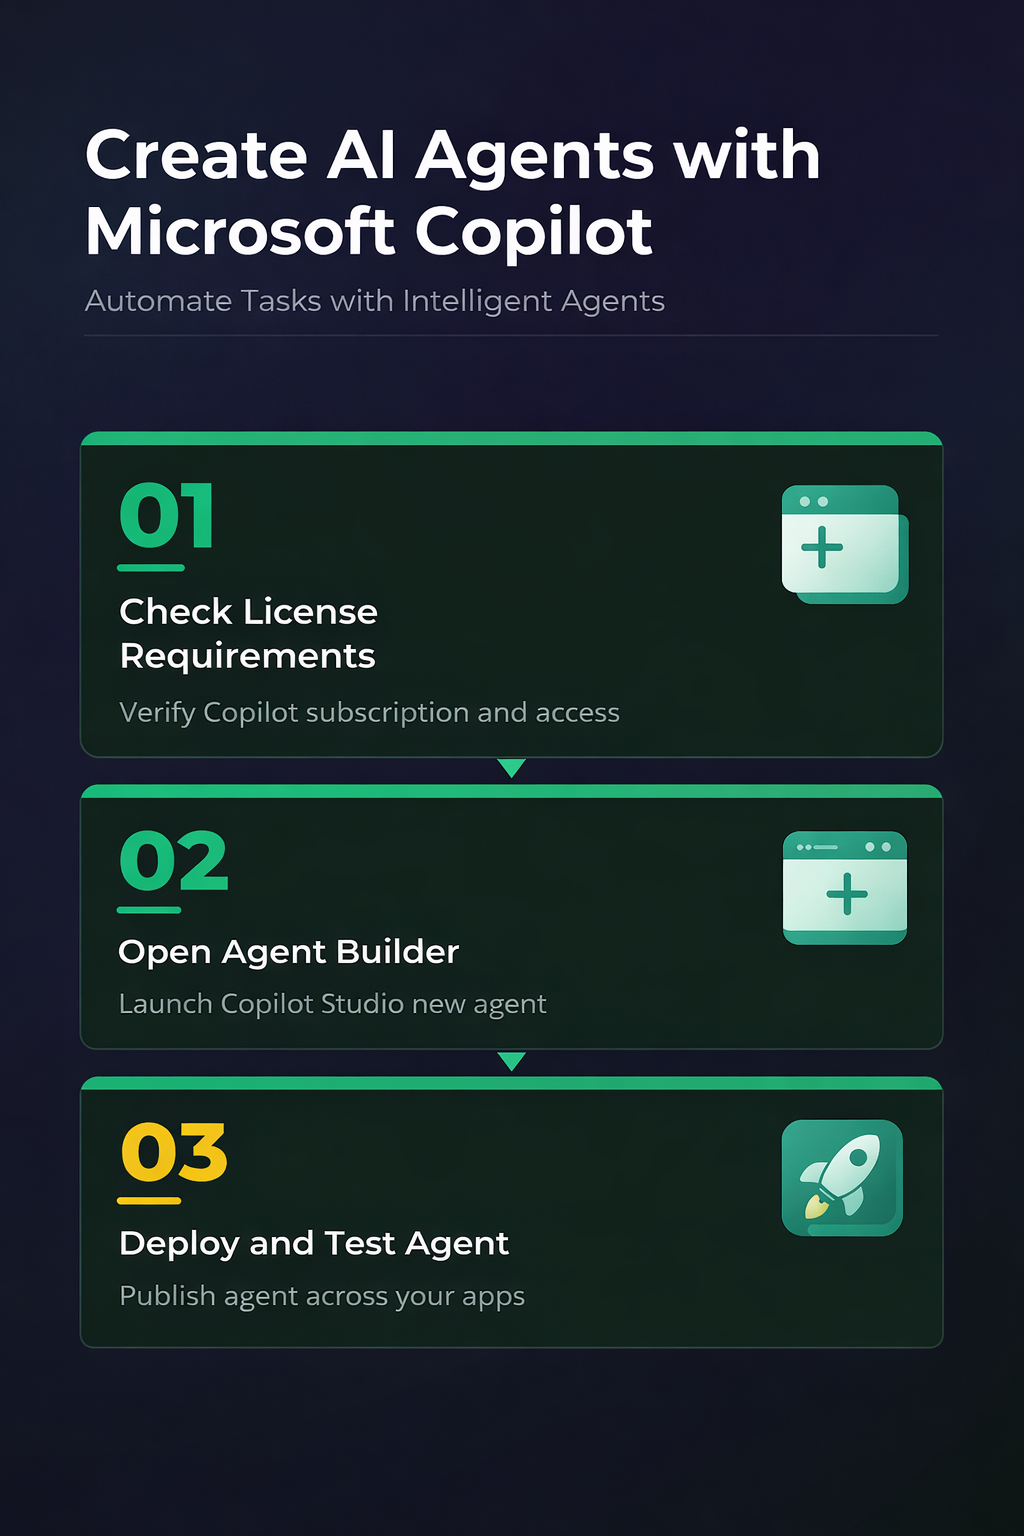
Before creating your first agent, confirm these requirements are in place:
- Microsoft 365 Copilot license — Agent mode requires an active Copilot for Microsoft 365 subscription. A standard Microsoft 365 Business or Enterprise plan alone does not include Copilot capabilities. Verify your license status in the Microsoft 365 admin center under Billing > Licenses.
- Copilot Studio access — Building custom agents requires Copilot Studio, included with most Copilot for Microsoft 365 plans. Your IT administrator may need to enable this feature in tenant settings before it appears in your app launcher.
- SharePoint or OneDrive data sources — Agents perform best when connected to structured knowledge bases. Prepare any documents, spreadsheets, or SharePoint sites your agent will reference during task execution ahead of time.
Configure Your First Copilot AI Agent
Access the Copilot Agent Builder
Open Microsoft 365 Copilot from the app launcher or navigate directly to Copilot Studio through the admin portal. Select Agents from the left navigation panel, then click New Agent. The builder interface presents three configuration tabs: Description, Knowledge, and Actions. If you don’t see the Agents option, your tenant administrator hasn’t enabled agent creation for your role. Contact your IT team to adjust permissions in the Microsoft 365 admin center under Settings > Copilot. You can also activate agent mode in Microsoft 365 to enable agents across all supported apps before building custom ones.
Define Copilot Agent Instructions and Scope
The Description tab controls how your agent behaves. Write a clear system prompt describing the agent’s purpose, tone, and boundaries. For example: “You are a project status reporter. Summarize weekly updates from the Marketing SharePoint site and format them as bullet points.”
Specificity matters here — vague instructions produce vague results. Include these elements in your prompt:
- The exact data sources the agent should reference
- Output format expectations (bullets, tables, paragraph summaries)
- Topics the agent should refuse to answer
- Any approval workflows required before the agent takes action
Switch to the Knowledge tab and connect your SharePoint sites, uploaded files, or web URLs. Each knowledge source receives a relevance score that the agent uses to prioritize sources during responses. Limit knowledge sources to 10 or fewer for optimal response speed, since adding too many sources slows down retrieval and increases the chance of conflicting information.
Test and Deploy Your Copilot Agent
Click Test in the upper-right corner to open a preview chat window. Send several test prompts that mirror real usage patterns — ask the agent to perform its intended task, then try edge cases that fall outside its defined scope. Verify the agent refuses out-of-scope requests gracefully rather than generating inaccurate answers.
Once testing passes, click Publish and choose your deployment scope:
- Personal — Available only to you in Copilot chat
- Team — Shared with specific Microsoft 365 groups
- Organization — Available to all licensed Copilot users in your tenant
After publishing, the agent appears in the Copilot chat sidebar under a dedicated agents section. Users invoke it by typing @AgentName followed by their request. Monitor initial usage through the Analytics tab in Copilot Studio to catch instruction gaps or unexpected user queries that reveal missing knowledge sources.
Advanced Copilot Agent Options
Connect Copilot Agents to External Data
Default agents access Microsoft 365 data only. To pull information from external systems, configure Power Platform connectors in the Actions tab of Copilot Studio. The platform supports hundreds of prebuilt connectors for Salesforce, ServiceNow, Jira, and custom REST APIs. From start to finish, this advanced copilot agent procedure was straightforward and required no special technical knowledge, which makes it one of the more accessible configuration changes I have documented.
Each connector requires authentication setup. Use OAuth 2.0 for cloud services or API key authentication for simpler integrations. Test each connector independently before linking it to your agent — a failed connector causes the entire agent response to error out rather than falling back gracefully. You can also enable agent mode in Word and PowerPoint to let your agents interact directly within documents and presentations for in-context task completion.
Set Agent Permissions and Guardrails
Copilot agents inherit the permissions of the user invoking them, not the agent creator. This means an agent connected to a confidential SharePoint site only returns results if the requesting user already has access to that specific site or library.
Add explicit guardrails in the Description tab to prevent unintended behavior:
- Restrict the agent to specific document libraries or site collections
- Block the agent from creating, editing, or deleting files (enforce read-only mode)
- Require confirmation prompts before sending emails or scheduling meetings on behalf of users
- Set a maximum response length to prevent excessive token usage on verbose answers
Review the Audit log in the Microsoft 365 admin center periodically. Every agent interaction generates a log entry showing the user, prompt text, data sources accessed, and response content. These logs help identify permission gaps, instruction drift, and potential misuse patterns over time. Addressing issues early prevents agents from delivering incorrect information to your team at scale.
Q&A
Why is my Copilot agent not working after deployment?
The most common cause is a knowledge source permission mismatch. Verify that the SharePoint sites or files connected to your agent grant read access to all intended users. Confirm your Copilot license remains active and that your administrator has enabled agent features in tenant settings. Restart the Copilot app and run a test prompt to isolate the issue.
How do I fix a Copilot agent giving wrong answers?
Refine your agent’s system prompt with more specific instructions and clear boundaries. Add constraint statements like “Only answer questions about Q3 marketing data from the Marketing Reports library.” Remove broad knowledge sources that introduce noise, and adjust relevance scores to prioritize your most accurate documents over general reference material.
What is the difference between Copilot chat and a Copilot agent?
Copilot chat responds to individual prompts without persistent context or specialized knowledge boundaries. A Copilot agent follows predefined instructions, connects to specific data sources, and maintains consistent behavior across all user interactions. Agents handle repeatable, structured workflows while standard chat handles ad-hoc one-off questions.
Building an AI agent using Copilot takes under 30 minutes once your license and data sources are ready. Start with a single-purpose agent that solves one repeatable task, verify its outputs through thorough testing, then expand scope as your team identifies additional automation opportunities.