Why does my Windows 11 computer slow down to a crawl even when I’m barely running any programs, and Task Manager shows my disk usage spiking to 100 percent constantly? This frustrating scenario affects productivity across organizations, causing applications to freeze, files to load slowly, and systems to become nearly unresponsive during critical work hours.
Understanding disk utilization 100% in Windows 11
High disk usage in Windows 11 represents a common performance bottleneck where your storage drive operates at maximum capacity, creating system-wide slowdowns that impact every application and process. This issue manifests when background services, system updates, indexing operations, or malfunctioning drivers consume excessive read and write resources, leaving insufficient bandwidth for your active tasks and workflows.
Similar performance issues can affect other system resources, as detailed in our guide on storage optimization techniques how to delete temporary files Windows eleven storage.
You will learn to disable problematic services, adjust system settings, update drivers, and configure Windows features that commonly trigger excessive disk activity without compromising system security or functionality.
The solutions covered address both immediate relief measures and long-term optimizations using native Windows 11 tools, PowerShell commands, and system configuration adjustments.
Fix disk usage increase in Windows 11
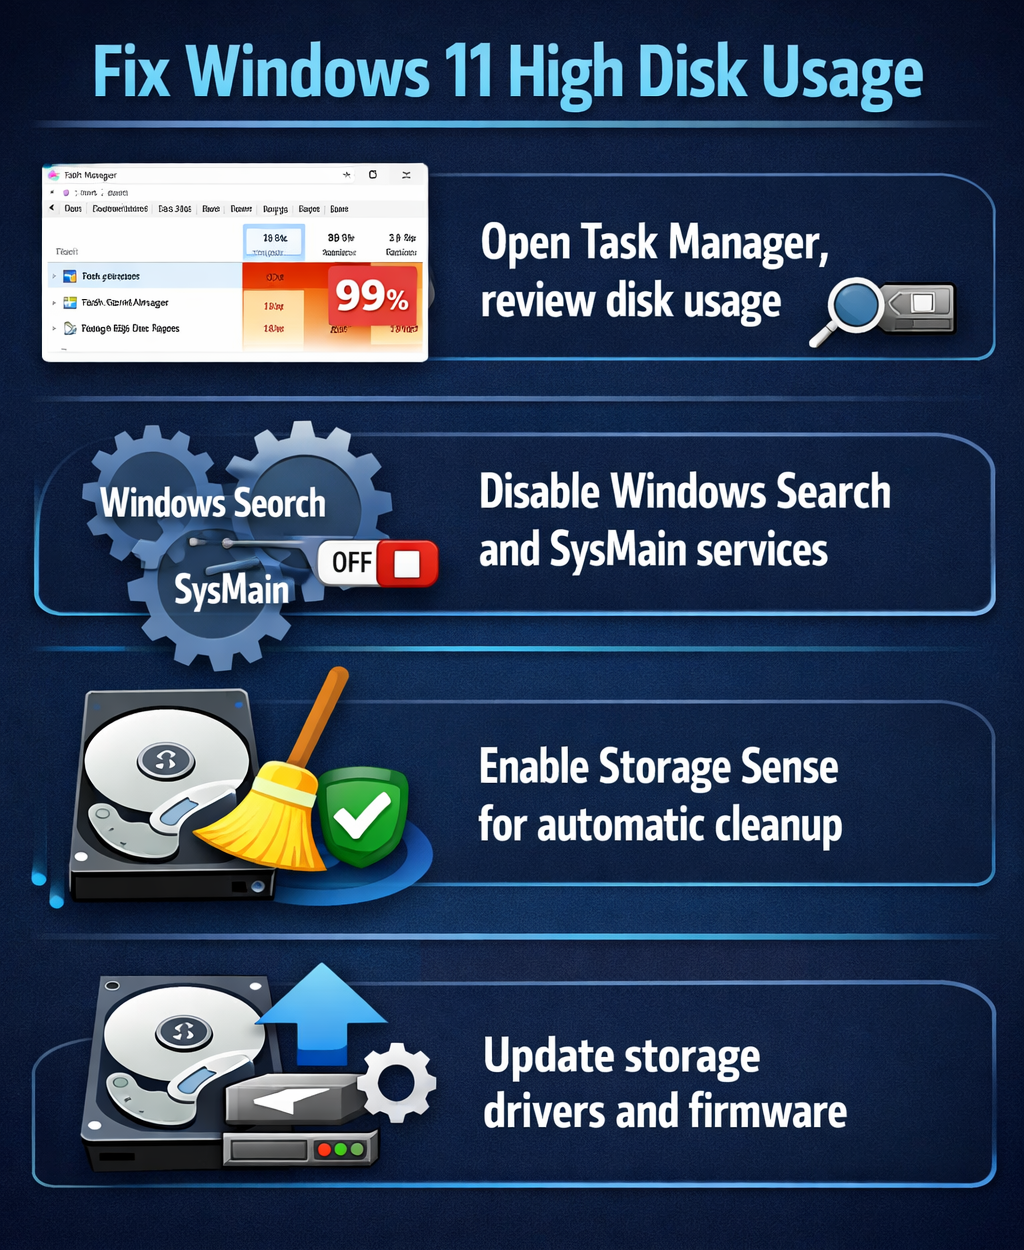
- Open Task Manager by pressing Ctrl + Shift + Esc simultaneously, then click the “Performance” tab to verify your disk usage percentage and identify whether the issue affects your primary system drive or secondary storage volumes.
- Click the “Processes” tab in Task Manager and sort by the “Disk” column to identify which specific applications or system processes consume the highest disk resources, noting any processes consistently showing high percentages over several minutes.
- Right-click the Windows Start button and select “Settings,” then navigate to System > Storage > Storage Sense to enable automatic cleanup features that remove temporary files, downloads, and recycle bin contents on a scheduled basis.
- Press Windows + R to open the Run dialog, type “services.msc” and press Enter, then locate “Windows Search” in the services list, right-click it, select “Properties,” change the startup type to “Disabled,” and click “Stop” to halt the indexing service that frequently causes disk usage spikes.
- Open Windows Settings again, navigate to Privacy & Security > Search permissions, and click “Searching Windows” to exclude specific folders like your Documents or Downloads directories from the search index, reducing background indexing activity significantly.
- Launch Command Prompt as administrator by searching “cmd” in the Start menu, right-clicking Command Prompt, selecting “Run as administrator,” then execute the command
chkdsk C: /f /rto schedule a disk check that repairs file system errors and bad sectors on your next restart. - Return to the Services window, locate “SysMain” (formerly Superfetch), right-click it, select “Properties,” change the startup type to “Disabled,” and stop the service to prevent Windows from preloading frequently used applications into memory, which generates continuous disk activity.
Adjusting Windows 11 disk usage settings through system configurations
- Open Windows Settings, navigate to System > Notifications, and disable unnecessary notification sources that trigger background processes, reducing the frequency of disk writes associated with notification logging and application wake events.
- Press Windows + I to access Settings, go to Update & Windows Update > Advanced options > Delivery Optimization, then click “Advanced options” again and enable “Absolute bandwidth” limits to restrict how much disk and network resources Windows Update consumes during background downloads.
- Open Device Manager by right-clicking the Start button, expand “Disk drives,” right-click your primary drive, select “Properties,” navigate to the “Policies” tab, and ensure “Enable write caching on the device” is checked to improve disk performance through buffered write operations.
- Launch PowerShell as administrator by searching “PowerShell” in the Start menu, right-clicking Windows PowerShell, selecting “Run as administrator,” then execute
Disable-MMAgent -MemoryCompressionto disable memory compression features that can cause excessive disk paging on systems with limited RAM. - Navigate to Settings > System > Power & battery > Power mode, and select “Best performance” instead of “Balanced” to prioritize system responsiveness over energy efficiency, allowing Windows to allocate more resources to disk operations without throttling.
- Open Task Scheduler by searching “Task Scheduler” in the Start menu, expand Task Scheduler Library > Microsoft > Windows, then disable tasks under “Defrag,” “DiskDiagnostic,” and “Maintenance” folders that run automatic optimization during active work hours by right-clicking each task and selecting “Disable.”
Expert Tip: Before disabling system services permanently, monitor your disk usage for 24 hours after each change to identify which specific modification provides the most significant improvement, allowing you to re-enable less impactful services if needed.
Solving persistent disk showing 100% issues in Windows 11
- When disk usage remains at 100 percent after disabling Windows Search and SysMain services, open Resource Monitor by searching “resmon” in the Start menu, navigate to the Disk tab, and examine the “Disk Activity” section to identify specific files being accessed continuously, which may indicate malware or corrupted system files requiring a full antivirus scan and system file checker execution.
- If Windows Update continues consuming excessive disk resources despite delivery optimization limits, open Settings > Update & Windows Update > Advanced options, click “Pause updates” to temporarily halt downloads for up to five weeks, allowing you to complete critical work without interruption, then manually resume updates during off-hours when disk usage won’t impact productivity.
- When Task Manager shows “System” or “Antimalware Service Executable” as the primary disk consumer, open Windows Security > Virus & threat protection > Manage settings, and add exclusions for your frequently accessed work folders to prevent real-time scanning from triggering constant disk reads, though ensure excluded folders don’t contain executable files or downloads.
- If disk usage spikes occur specifically during startup or login, press Windows + R, type “msconfig,” press Enter, navigate to the “Services” tab, check “Hide all Microsoft services,” then systematically disable third-party services in groups of five, restarting after each group to identify which specific application or service causes the startup disk bottleneck through process of elimination.