You open Microsoft Teams to join an important meeting, but instead of launching, you see a message saying “Microsoft Teams needs an update” or “Update required.” You click update, wait for the process to complete, restart the application, and the same message appears again. This update loop prevents you from accessing your chats, meetings, and collaboration tools when you need them most.
Why Microsoft Teams won’t update automatically?
Microsoft Teams typically updates automatically in the background, but several factors can interrupt this process and create persistent update notifications. The application checks for updates when you launch it and downloads new versions while running, but conflicts with cached data, corrupted installation files, or permission restrictions can prevent successful updates from completing.
In this blog post you will learn how to clear Teams cache, perform manual updates, reinstall the application properly, and resolve permission issues that block automatic updates. The solutions work for both the classic Microsoft Teams desktop client and apply to Windows 10 and Windows 11 environments.
Before proceeding, ensure you have administrative rights on your computer and close Microsoft Teams completely, including background processes running in the system tray. If your organization manages Teams through group policies or mobile device management, contact your IT administrator, as some update restrictions may be enforced at the organizational level.
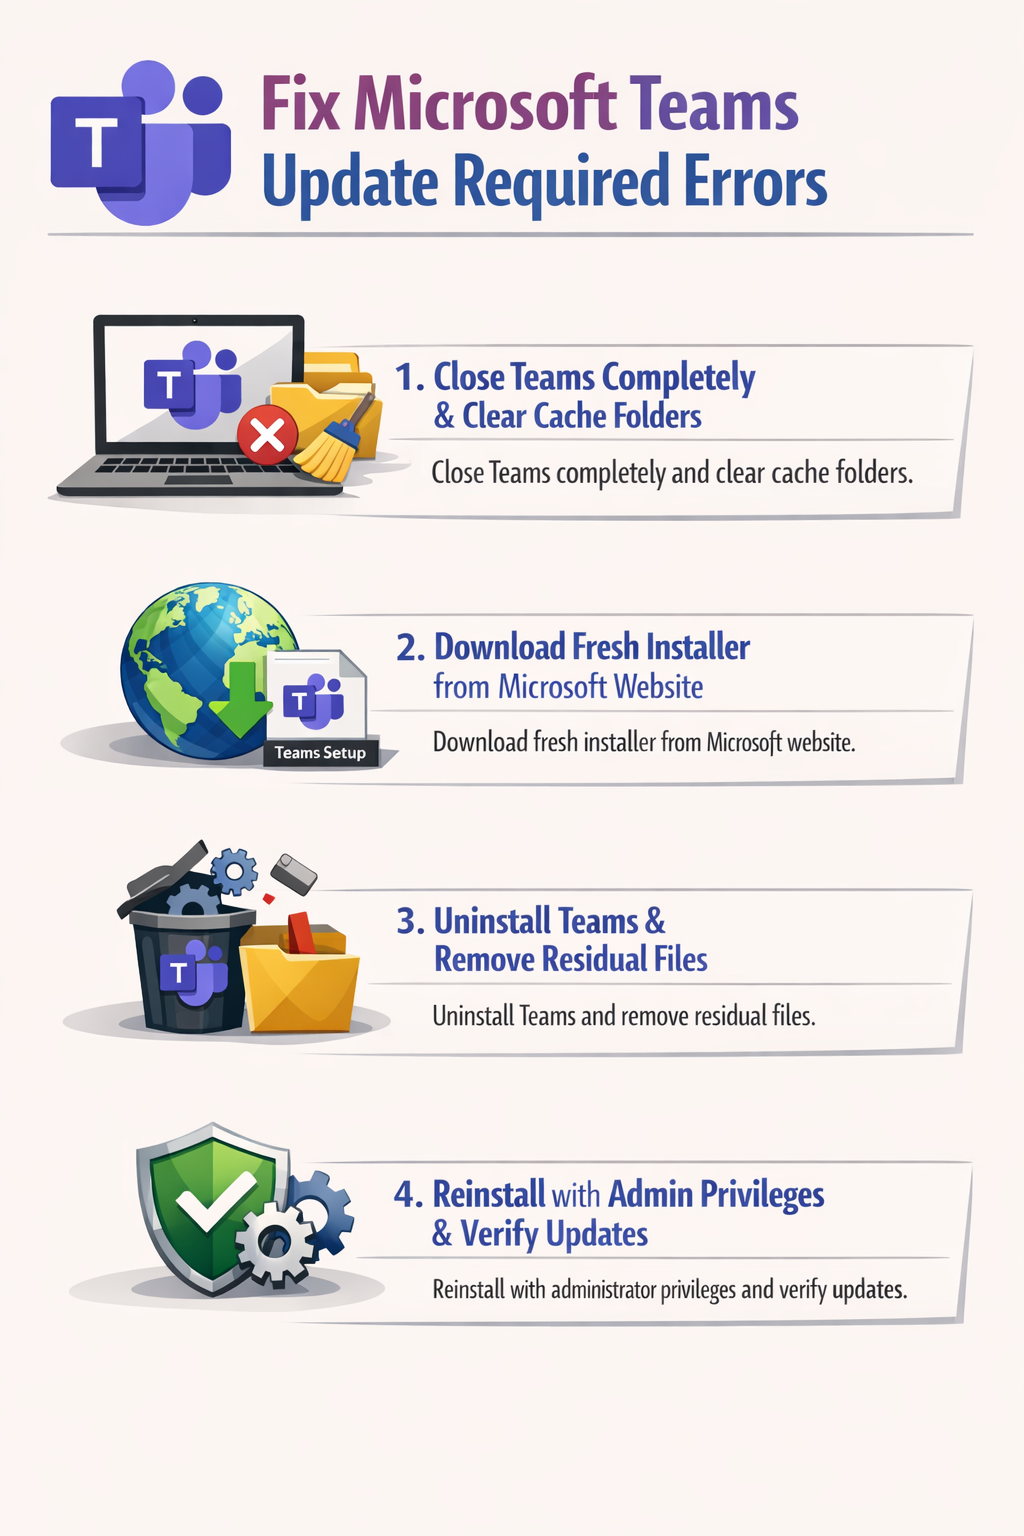
Resolve Microsoft Teams update failures and restore updates
- Close Microsoft Teams completely by right-clicking the Teams icon in your system tray near the clock and selecting Quit, then open Task Manager by pressing Ctrl+Shift+Esc and verify no Teams processes remain running under the Processes tab.
- Navigate to the Teams cache folder by pressing Windows key + R to open the Run dialog, typing %appdata%\Microsoft\Teams, and clicking OK to access the folder containing application data and temporary files.
- Delete the contents of several cache subfolders to remove corrupted data that may prevent updates from installing correctly by opening each of these folders within the Teams directory and deleting all contents: Cache, blob_storage, databases, GPUcache, IndexedDB, Local Storage, and tmp.
- Clear the Teams update cache specifically by navigating to %localappdata%\Microsoft\Teams through the Run dialog, locating the folder named “Update” or “SquirrelTemp,” and deleting these folders entirely to remove failed update files.
- Restart your computer to ensure all Teams processes terminate completely and system resources refresh, which resolves memory conflicts that sometimes prevent the update mechanism from functioning properly after cache clearing.
Manual Microsoft Teams update to fix automatic updates that fail
- Download the latest Microsoft Teams installer directly from the official Microsoft website by opening your web browser and navigating to the Teams download page at teams.microsoft.com, then clicking the download button for the desktop application.
- Run the downloaded installer file with administrative privileges by right-clicking the TeamsSetup.exe file in your Downloads folder and selecting “Run as administrator” to ensure the installation process has sufficient permissions to replace existing files.
- Allow the installer to detect your existing Teams installation and perform an in-place upgrade, which preserves your settings and sign-in information while replacing corrupted application files with fresh versions from the installer package.
- Wait for the installation to complete without interrupting the process, as premature termination can create additional corruption issues, and the installer may take several minutes to extract files, update components, and configure the application properly.
Expert Tip: If the manual update installer fails to run or displays error messages, uninstall Microsoft Teams completely through Windows Settings before running the installer to perform a clean installation instead of an upgrade.
Uninstalling and reinstalling Microsoft Teams to fix update loops
- Uninstall Microsoft Teams through Windows Settings by pressing Windows key + I, navigating to Apps > Installed apps (Windows 11) or Apps > Apps & features (Windows 10), locating Microsoft Teams in the list, and clicking the three-dot menu followed by Uninstall.
- Remove residual Teams files that remain after uninstallation by navigating to %appdata%\Microsoft and deleting the entire Teams folder, then navigating to %localappdata%\Microsoft and deleting the Teams folder there as well to ensure no corrupted files persist.
- Clear the Teams machine-wide installer if present by opening Programs and Features through the Control Panel, looking for “Teams Machine-Wide Installer” in the program list, and uninstalling it separately from the main Teams application.
- Download a fresh copy of the Microsoft Teams installer from teams.microsoft.com rather than using a previously downloaded file, as older installers may contain outdated components that contribute to update problems when used for reinstallation.
- Install Microsoft Teams by running the newly downloaded installer with administrative rights, allowing it to complete the full installation process, then sign in with your Microsoft 365 credentials and verify the application launches without displaying update required messages.
Configuring Windows permissions to enable automatic Microsoft Teams updates
- Verify your user account has appropriate permissions by right-clicking the Microsoft Teams shortcut on your desktop or Start menu, selecting Properties, clicking the Compatibility tab, and ensuring “Run this program as administrator” is unchecked, as running Teams with elevated permissions can interfere with the automatic update mechanism.
- Check Windows Defender or third-party antivirus settings to ensure Microsoft Teams and its update components are not blocked by security software, as overly aggressive antivirus configurations sometimes quarantine update files or prevent the Teams update service from running properly.
- Confirm the Microsoft Teams update service is enabled by pressing Windows key + R, typing services.msc, pressing Enter, scrolling to find any Teams-related services, and verifying they are set to run automatically rather than being disabled or set to manual startup.
- Review Windows Update settings to ensure your operating system receives regular updates, as Microsoft Teams sometimes requires specific Windows components or frameworks that are delivered through Windows Update before Teams updates can install successfully.
Remember: Organizations using Microsoft Endpoint Manager or group policies may centrally control Teams update behavior, and individual users cannot override these settings without administrative intervention from IT departments.