Understanding Edge browser cache storage needs
“I’m running out of disk space on my C: drive and noticed that Microsoft Edge seems to be taking up a lot of storage. Where exactly does Edge store its cache files, and can I move them to another location or at least clean them up? I’m using Windows 11 and need to free up some space without losing my browsing data.”
This is a common concern for users who browse extensively or have limited storage space. Edge cache files can accumulate quickly, especially with media-rich websites and frequent browsing.
Why Edge download cache location matters?
The cache includes temporary internet files, downloaded content, and other browsing data. Managing these locations becomes crucial for system maintenance and storage optimization.
Microsoft Edge stores cache files to improve browsing performance by keeping frequently accessed web content locally. However, as we mentioned before – these files can consume significant disk space over time. Understanding where Edge stores cache data helps you manage storage effectively and troubleshoot performance issues.
Note: When managing Edge cache, it’s helpful to understand how to delete temporary files in Windows 11 as part of your overall storage maintenance strategy. The cache folder contains various temporary files that accumulate over time.
Locating Edge cache folder on Windows 11 systems
Edge stores cache files in specific Windows directories that vary by user profile and system configuration. The tutorial covers finding default cache locations, using Edge cache viewer tools, and managing storage settings.
You’ll need administrator access to modify certain cache locations. Basic familiarity with Windows file explorer and system folders is helpful but not required.

Finding and managing Edge cache files location
Accessing the primary cache directory
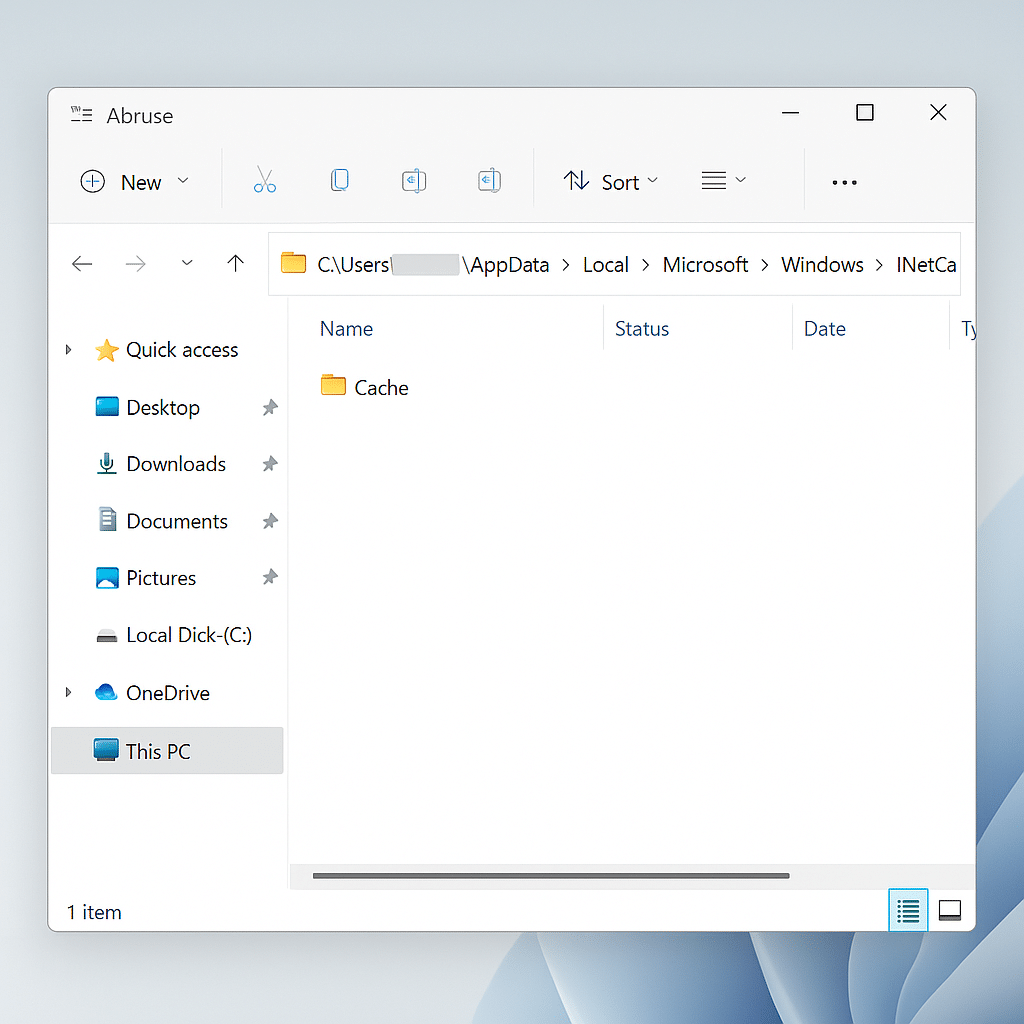
• Navigate to C:\Users\[Username]\AppData\Local\Microsoft\Edge\User Data\Default\Cache to find the main cache folder where Edge stores temporary web content and downloaded files.
• Open File Explorer and enable “Show hidden files” in the View tab since AppData is a hidden system folder that contains important browser data.
• Look for the Cache folder within the Default profile directory, which contains numbered cache files that store website data, images, and other temporary content.
• Check the folder size by right-clicking and selecting Properties to see how much space the cache is consuming on your system drive.
Using Edge cache viewer tools
• Download a third-party cache viewer like NirSoft’s ChromeCacheView, which works with Edge since it uses Chromium architecture for cache file management.
• Install the cache viewer tool and point it to your Edge cache directory to view individual cached files, their URLs, and file types.
• Use the viewer to identify large cache files or specific website content that may be consuming excessive storage space on your computer.
• Export or delete specific cache entries through the viewer interface rather than manually deleting files from the cache folder directly.
Changing Edge cache location settings
• Open Edge browser and navigate to edge://settings/system to access system settings where you can manage storage and cache preferences.
• Look for storage settings or advanced options, though Edge doesn’t provide a direct built-in option to change the cache location like some other browsers.
• Consider using Windows symbolic links (mklink command) to redirect the cache folder to another drive if you need to move cache storage.
• Create a symbolic link by opening Command Prompt as administrator and using mklink /D "original_path" "new_path" to redirect cache storage location.
Clearing cache through browser settings
• Access Edge settings by clicking the three-dot menu and selecting Settings, then navigate to Privacy, search, and services section.
• Click “Choose what to clear” under Clear browsing data to select specific data types including cached images, files, and download history.
• Select the time range for cache clearing, from last hour to all time, depending on how much cached data you want to remove.
• Enable “Cached images and files” checkbox and click Clear now to remove temporary files while preserving other browsing data like passwords and bookmarks.
Common Edge cache location issues
• Cache folder access denied errors occur when Windows permissions prevent access to the AppData directory, requiring you to run File Explorer as administrator or modify folder permissions through Properties > Security settings.
• Cache files not clearing completely happens when Edge is running during cleanup attempts, so close all Edge processes through Task Manager before manually deleting cache files or using cleanup tools.
• Symbolic link creation failures result from insufficient administrator privileges or existing folder conflicts, requiring you to delete the original cache folder first and ensure Command Prompt has full administrative access before creating links.
Expert tip: Use Windows Storage Sense to automatically manage Edge cache files by enabling automatic cleanup of temporary files and browser cache data.
