You just finished recording an important presentation or gameplay session on your Windows 11 device, but now you’re clicking through folders wondering where that video file actually went. This is one of the most common questions Windows 11 users ask after using the built-in screen recording tools for the first time, and the answer depends on which recording method you used.
Understanding Windows 11 screen recording storage locations
Windows 11 offers multiple native tools for capturing your screen, and each one saves recordings to different default locations on your system. The Xbox Game Bar, Snipping Tool, and third-party applications all follow their own storage conventions, which can make locating your files confusing if you’re not familiar with the system architecture.
This tutorial will walk you through finding screen recordings created with different Windows 11 tools, explain how to customize save locations, and provide solutions for recovering recordings that seem to have disappeared. You’ll learn the exact folder paths for each recording method, how to change default save locations, and troubleshooting steps when files don’t appear where expected.
Locating screen recordings in Windows 11
Accessing Snipping Tool video captures in Windows 11
Windows 11’s updated Snipping Tool now includes screen recording functionality alongside its traditional screenshot capabilities, but it handles file storage differently than Xbox Game Bar depending on your save preferences. When you finish a recording with Snipping Tool, you must manually save the file, which gives you control over the destination but also means unsaved recordings are temporarily stored in memory.
- Launch Snipping Tool by pressing Windows Key + Shift + S and selecting the video recording option from the toolbar that appears at the top of your screen
- After stopping your recording, the Snipping Tool window displays your video with a save button that you must click to permanently store the file on your drive
- Click the save icon in the Snipping Tool interface and choose your preferred location, as there is no automatic default folder like with Xbox Game Bar recordings
- Check your Downloads folder or Documents folder if you saved a recording but can’t remember the exact location you selected during the save process
- Use Windows Search by pressing Windows Key and typing the approximate date or a keyword from your recording to locate files saved to non-standard locations
Where screen recordings go with third-party applications
Many users install third-party screen recording software like OBS Studio, Camtasia, or ShareX, which each implement their own default save locations that override Windows 11 system defaults. Understanding where these applications store recordings requires checking their individual settings menus rather than relying on Windows conventions.
- Open your recording application and navigate to Settings or Preferences, typically found under a File, Tools, or Options menu in the application interface
- Look for sections labeled “Output,” “Recording,” or “File Location” where the application specifies its default save directory for captured videos and related media
- Common default locations include Documents > Application Name, Videos > Application Name, or custom folders created during the application’s initial installation process
- Navigate to the specified folder using File Explorer to verify your recordings are being saved there and to access previously captured content
- Change the default save location within the application settings if you prefer storing recordings in a more accessible or organized folder structure
Finding Xbox Game Bar screen recordings folder in Windows 11
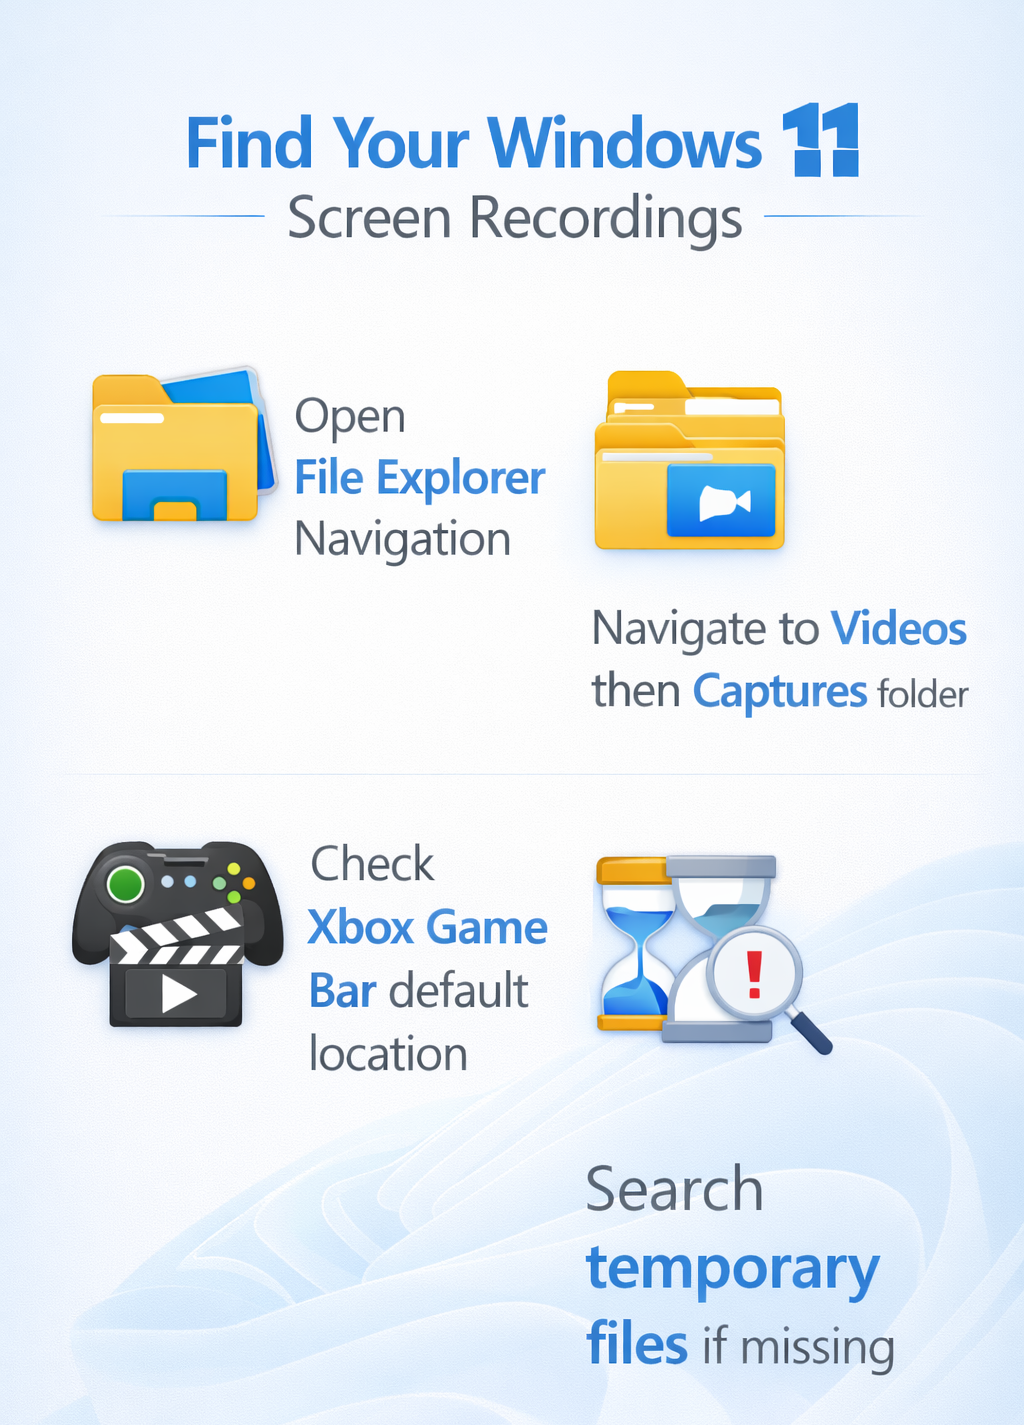
The Xbox Game Bar is the most commonly used built-in screen recording tool in Windows 11, activated by pressing Windows Key + G during any activity you want to capture. By default, this tool saves all screen recordings to a specific subfolder within your user profile that many people never think to check.
- Open File Explorer by pressing Windows Key + E or clicking the folder icon in your taskbar to begin navigating to the default storage location
- Navigate to This PC > Videos > Captures where you’ll find all recordings made with Xbox Game Bar stored as MP4 video files with timestamps in their filenames
- Alternatively, type
%userprofile%\Videos\Capturesdirectly into the File Explorer address bar and press Enter to jump immediately to the correct folder without manual navigation - Look for files named with the application or game title followed by the date and time of recording, which helps identify specific captures when you have multiple recordings
- Right-click any recording file and select “Open file location” if you accessed it through search to reveal its actual storage folder and surrounding files
Expert Tip: Pin the Captures folder to Quick Access by right-clicking it and selecting “Pin to Quick Access” so you can find your screen recordings instantly without navigating through multiple folders each time.
Customizing your screen recordings folder location
Changing Xbox Game Bar default save location
If the default Captures folder doesn’t fit your workflow or storage preferences, Windows 11 allows you to redirect Xbox Game Bar recordings to any location on your system, including external drives or cloud-synced folders for automatic backup.
- Press Windows Key + G to open Xbox Game Bar, then click the Settings icon (gear symbol) in the widget overlay to access configuration options
- Navigate to the Capturing section in the left sidebar where you’ll find all settings related to screenshots and video recordings made through Game Bar
- Scroll down to the “Captures folder” setting and click the Open folder button to view the current location or Change folder to select a new destination
- Browse to your preferred location such as an external drive, OneDrive folder, or custom directory you’ve created specifically for organizing screen recordings and media files
- Click Select Folder to confirm your choice, and all future Xbox Game Bar recordings will automatically save to this new location without additional prompts
Remember: Changing the save location doesn’t move existing recordings from the old Captures folder, so you’ll need to manually transfer previous files if you want everything in one place.
Redirecting the Videos folder for system-wide changes
For a more comprehensive approach that affects multiple applications and Windows features simultaneously, you can redirect the entire Videos library folder to a different drive or partition, which automatically updates the default location for most screen recording tools.
- Right-click the Videos folder in File Explorer’s left sidebar under “This PC” and select Properties from the context menu to access folder configuration settings
- Switch to the Location tab where Windows displays the current path for your Videos library and provides options for changing it system-wide
- Click the Move button and browse to your preferred destination, such as a larger secondary drive or a folder structure that better matches your organizational system
- Confirm the move operation when prompted, and Windows will transfer all existing contents from the old Videos folder to the new location automatically
- Restart any recording applications you have open so they recognize the updated Videos folder location and begin saving to the new path immediately
Recovering unsaved screen recording files in Windows 11
Checking temporary storage for recent captures
When screen recordings don’t appear in their expected locations, they may still exist in temporary system folders where Windows stores in-progress or recently closed files before permanent deletion. These temporary locations can sometimes preserve recordings that were interrupted or not properly saved.If you’re experiencing broader file access issues, you might also want to check our guide on fixing Windows 11 file access problems which covers similar recovery techniques for missing files.
- Navigate to
%temp%by typing this path into the File Explorer address bar and pressing Enter to access your user-specific temporary files directory - Sort files by “Date Modified” by clicking the column header in File Explorer to bring the most recent files to the top of the list for easier identification
- Look for video files with extensions like .mp4, .tmp, or partial filenames that might indicate interrupted recordings from your screen capture session
- Check the Recycle Bin on your desktop by double-clicking its icon to see if you accidentally deleted the recording shortly after creating it
- Search for files using Windows Search by pressing Windows Key and typing “.mp4″ or “.avi” with a date filter to locate video files created during your recording timeframe
Using File History and Previous Versions features
Windows 11’s File History feature, if enabled on your system, automatically creates backup copies of files in your user folders including the Videos and Captures directories where screen recordings are typically stored. This feature can recover recordings that were deleted, corrupted, or overwritten by subsequent saves.
- Right-click the Captures folder or Videos folder in File Explorer and select Restore previous versions from the context menu to view available backup snapshots
- Browse through the dated versions that appear in the dialog box to find a snapshot from when your missing recording should have existed on the system
- Click Open on a previous version to view its contents without restoring, allowing you to verify the recording is present before making changes to your current folder
- Select the recording file within the previous version window and click Restore to copy it back to the current folder location on your drive
- If File History wasn’t enabled, check if you have OneDrive backup active by opening OneDrive settings and looking in the Backup tab for folder protection options
Important Tip: Enable File History in Windows Settings under System > Storage > Advanced storage settings > Backup options to automatically protect future recordings from accidental loss or deletion.
Recovering from system restore points and shadow copies
For more severe data loss scenarios where recordings have been deleted and aren’t available through standard recovery methods, Windows 11’s System Restore and Volume Shadow Copy features may preserve earlier versions of your files from automatic system snapshots.
- Type “Create a restore point” in Windows Search and open the System Properties dialog that appears to access System Restore and protection settings
- Click System Restore button and review available restore points, noting that restoring your system will revert many settings and installed applications to an earlier state
- Before performing a full system restore, try accessing shadow copies by opening Command Prompt as administrator and typing
vssadmin list shadowsto view available snapshots - Use third-party recovery tools like Recuva or Windows File Recovery (available from Microsoft Store) which can scan for deleted video files in unallocated disk space
- Contact your IT administrator if you’re on a managed device, as enterprise environments often have additional backup systems that can recover deleted or lost user files