Why your microphone setup matters in Windows 11?
“I keep switching between my headset and desktop microphone during Microsoft Teams meetings, but Windows 11 never remembers which one I want to use as my primary input device.” This scenario affects countless professionals who work with multiple audio devices and need consistent microphone performance across different applications and video conferencing platforms.
Windows 11 microphone configuration and setup
Modern workplace environments often require users to work with various audio input devices throughout their day. You might use a wireless headset for Teams calls, switch to a USB desktop microphone for recordings, or rely on your laptop’s built-in microphone when working remotely. Windows 11 provides comprehensive audio device management that allows you to designate a default microphone for system-wide use while maintaining flexibility for application-specific overrides.
We will walk you through the complete process of setting your default microphone in Windows 11, including both the modern Settings app method and the traditional Control Panel approach. We’ll then cover how to test your microphone settings, configure application-specific preferences, and ensure your chosen device works seamlessly with Microsoft Teams and other collaboration tools. You will need administrative access to your Windows 11 device and at least one functioning microphone connected to your system.
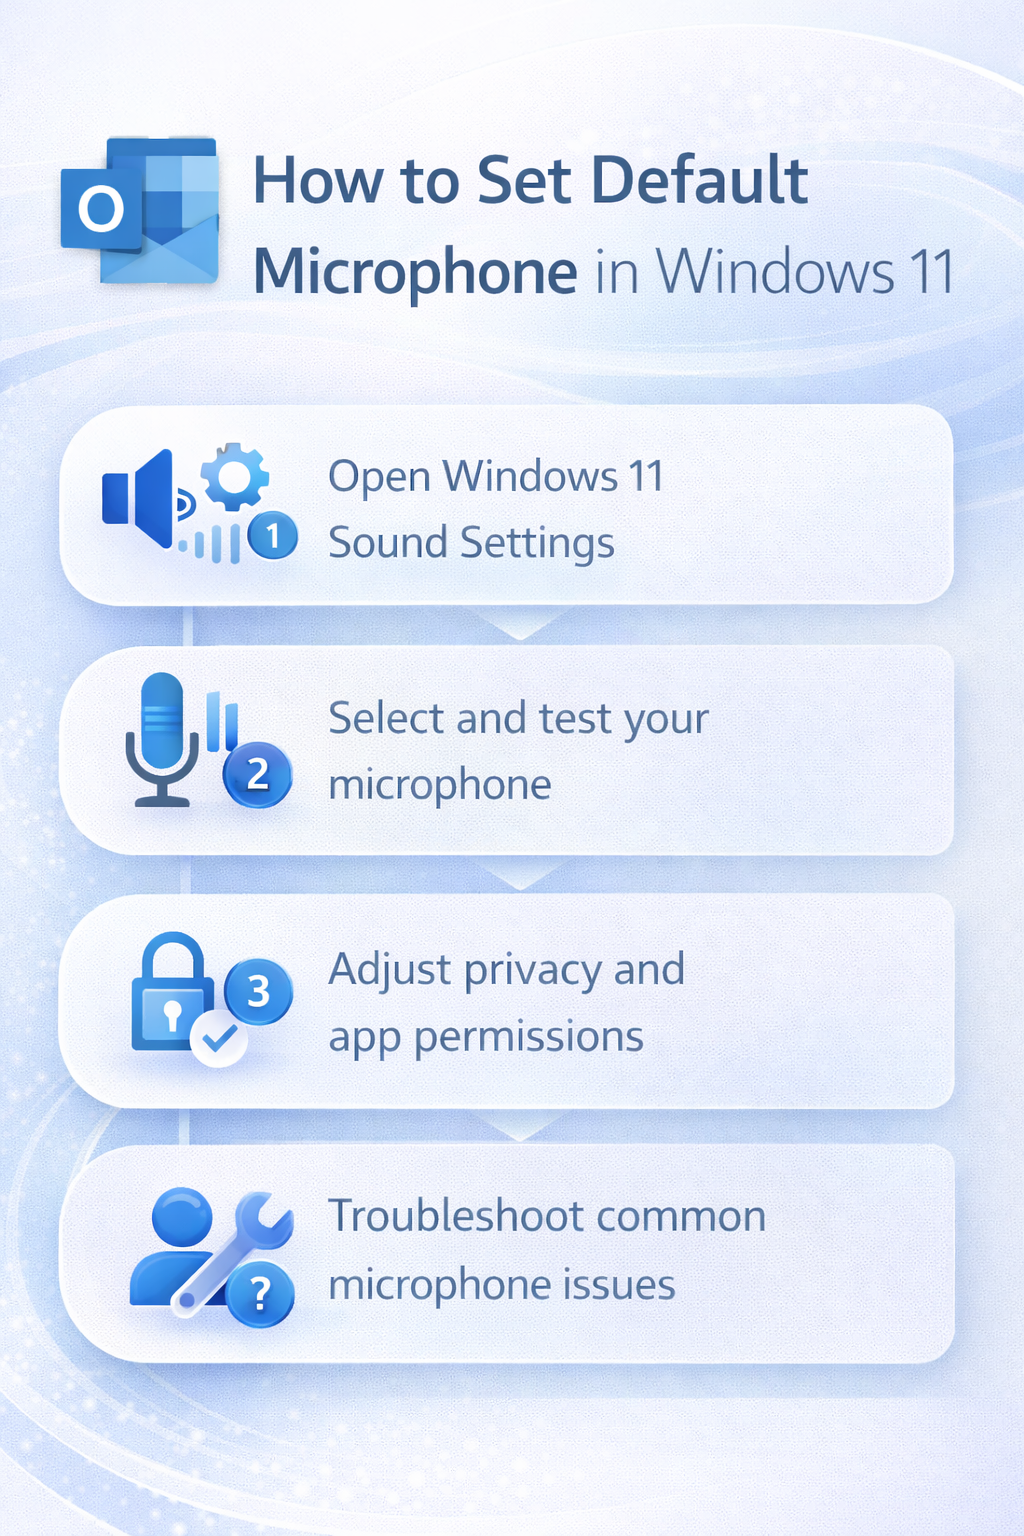
Set up your primary microphone through Windows 11 settings
Accessing Windows 11 sound settings for microphone configuration
- Navigate to the Windows 11 Settings app by clicking the Start button and selecting the gear icon, or use the keyboard shortcut Windows key + I to open the settings interface directly.
- Select “System” from the left sidebar menu, then click on “Sound” to access the comprehensive audio device management panel where all your input and output devices are listed and configured.
- Locate the “Input” section on the Sound settings page, which displays all available microphone and audio input devices currently connected to your Windows 11 system for selection and configuration.
- Click on the dropdown menu next to “Choose your input device” to view all available microphones, including built-in laptop microphones, USB headsets, wireless audio devices, and external desktop microphones.
- Select your preferred microphone from the dropdown list to designate it as the system-wide default input device that Windows 11 will use for all applications unless specifically overridden.
Testing and adjusting your selected microphone device
- Click on your chosen microphone device name to access detailed device properties, volume controls, and advanced configuration options specific to that particular audio input device.
- Use the “Test your microphone” feature by speaking into your device and observing the blue volume bar that appears below the microphone selection area to confirm proper audio input detection.
- Adjust the input volume slider to optimize your microphone sensitivity, ensuring the blue bar reaches approximately 50-70% when speaking at normal conversation volume for optimal audio quality.
Expert Tip: Keep your microphone volume between 50-80% to prevent audio distortion while maintaining clear voice pickup for Teams calls and recordings.
- Enable “Enhance audio” if available for your device to access Windows 11’s built-in noise suppression and echo cancellation features that improve call quality in noisy environments.
Set advanced microphone properties and permissions
Configuring microphone privacy and app access permissions
- Navigate to Settings > Privacy & security > Microphone to control which applications can access your default microphone and manage system-wide privacy settings for audio input devices.
- Toggle “Microphone access” to On to allow applications to use your microphone, or disable this setting to block all microphone access across your Windows 11 system for enhanced privacy.
- Review the list of Microsoft Store apps and desktop applications that have requested microphone access, toggling individual app permissions based on your security preferences and usage requirements.
- Ensure Microsoft Teams, Zoom, and other essential communication applications have microphone access enabled to prevent audio issues during important meetings and collaborative work sessions. For detailed guidance, visit allow microphone access.
Using Control Panel for legacy microphone configuration options
- Access the traditional Control Panel by typing “Control Panel” in the Windows search bar and selecting the classic desktop application for additional audio device configuration options.
- Navigate to Hardware and Sound > Sound to open the legacy Sound properties dialog that provides advanced microphone configuration options not available in the modern Settings app.
- Right-click on your preferred microphone in the Recording tab and select “Set as Default Device” to establish it as the primary system microphone for all applications and system sounds.
- Access the Properties dialog for your microphone to configure advanced settings like microphone boost, noise suppression, and exclusive mode options that can improve audio quality for specific use cases.
Solve common microphone configuration issues in Windows 11
- Microphone not appearing in device list: Check physical connections for wired devices, ensure wireless devices are properly paired via Bluetooth settings, and verify that device drivers are installed correctly through Device Manager.
- Applications ignoring default microphone settings: Many applications like Microsoft Teams allow users to override system defaults within their own audio settings, so check individual app preferences to ensure they match your Windows 11 configuration. For help, see Teams microphone settings.
- Poor audio quality or low volume levels: Update your audio drivers through Windows Update or the manufacturer’s website, adjust microphone positioning closer to your mouth, and experiment with different USB ports for external devices.
- Microphone access denied errors: Review Windows 11 privacy settings to ensure microphone access is enabled system-wide, check that specific applications have microphone permissions, and restart applications after changing privacy settings to apply new configurations properly.