“How do I get Microsoft Copilot working on my Windows 11 machine when it doesn’t appear in my taskbar or system settings?” This question reflects a common challenge many Windows 11 users face when trying to access Microsoft’s AI assistant feature. While Copilot represents a significant advancement in Windows productivity tools, its availability and activation process can vary depending on your system configuration, Windows version, and regional settings.
Turning on Microsoft Copilot Windows 11 requirements
Microsoft Copilot integration in Windows 11 provides users with AI-powered assistance directly within their desktop environment, offering capabilities from system management to content creation. However, Copilot availability depends on specific Windows 11 build versions, regional availability, and system requirements that may not be immediately obvious to end users.
We will go through 2 approaches that you can use to activate Copilot functionality on Windows 11 systems, covering both standard activation methods through Windows Settings and advanced techniques including registry modifications for systems where Copilot doesn’t appear by default. We’ll address scenarios where users need to force enable Copilot Windows 11 functionality despite regional restrictions or system limitations.
You will need:
- Windows 11 version
- Administrator access to your Windows 11 system
- Internet connectivity for Copilot functionality
- Microsoft account (recommended for full feature access)
How to activate Copilot in Windows 11?
The most straightforward method to install Copilot on Windows 11 involves using the built-in Windows Settings application, provided your system meets the necessary requirements and regional availability criteria.
- Navigate to Windows Settings by pressing Windows key + I, then select “Personalization” from the left sidebar menu to access customization options.
- Click on “Taskbar” within the Personalization section to reveal taskbar configuration settings where Copilot toggle options should be visible.
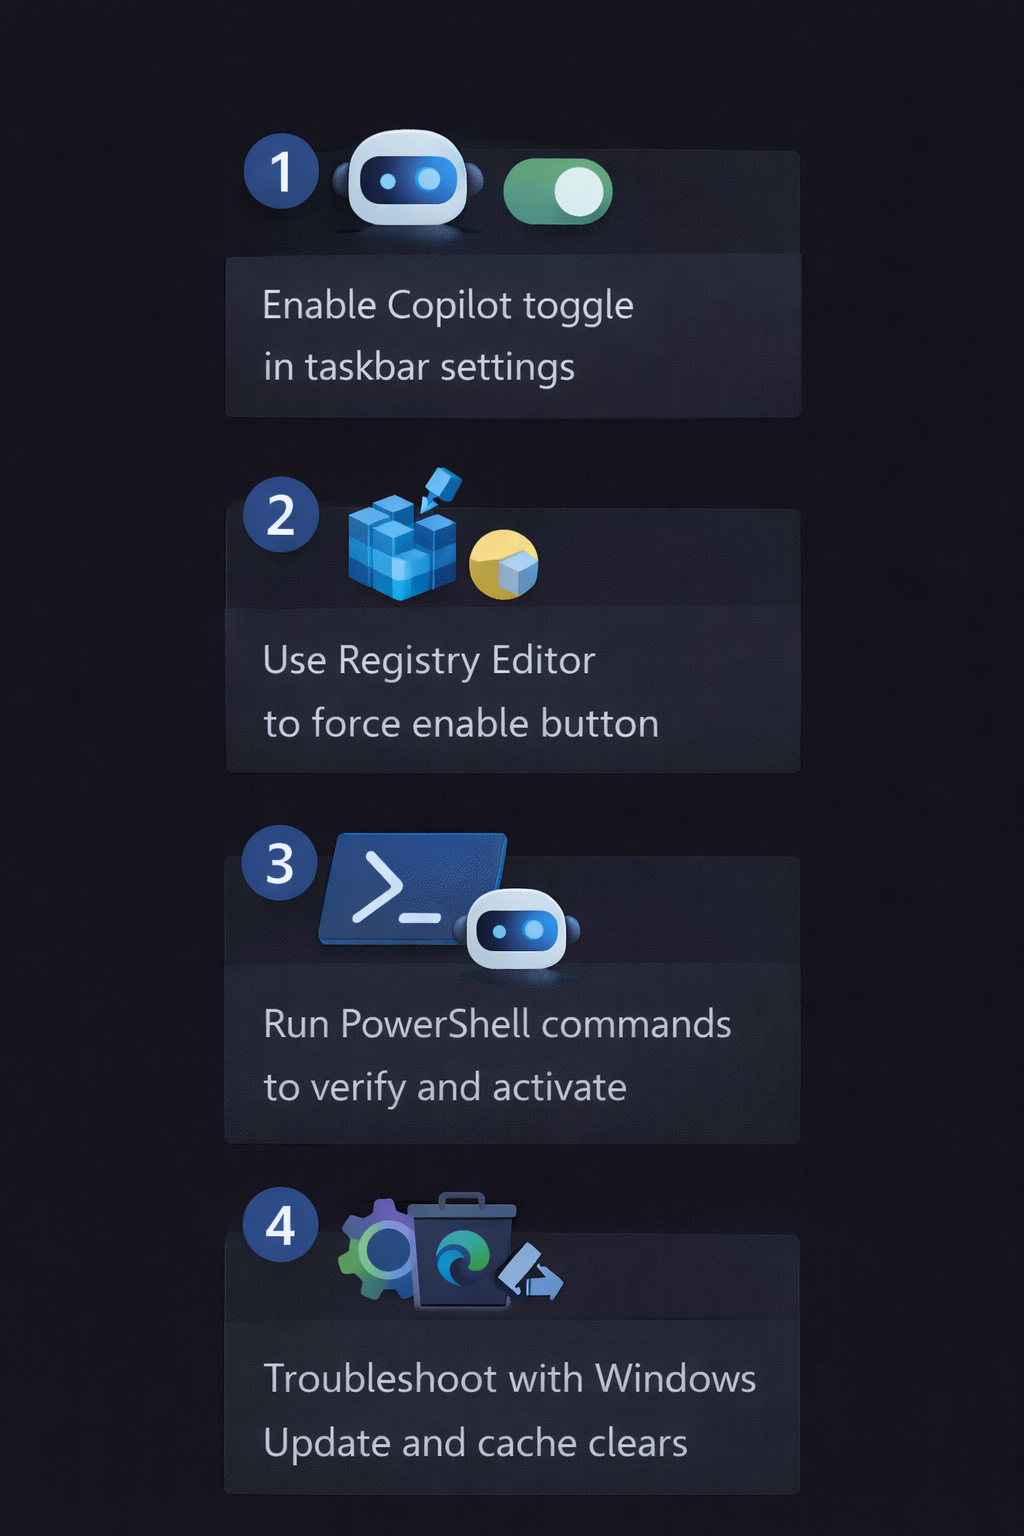
- Locate the “Copilot (preview)” toggle switch within the taskbar settings and ensure it’s set to “On” position to enable the feature.
- Verify Copilot activation by checking for the Copilot icon in your taskbar, typically appearing as a distinctive circular icon near the system tray area.
- Test Copilot functionality by clicking the taskbar icon or using the Windows key + C keyboard shortcut to open the Copilot panel interface.
Expert Tip: If the Copilot toggle doesn’t appear in your taskbar settings, your Windows 11 version may require updating to the latest build through Windows Update before proceeding with alternative activation methods.
Advanced: Copilot in Windows 11 through PowerShell
Advanced users can leverage PowerShell commands to configure Copilot settings and verify proper installation across their Windows 11 environment with greater precision than GUI-based methods.
- Launch PowerShell as Administrator by right-clicking the Start button, selecting “Windows PowerShell (Admin)” or “Windows Terminal (Admin)” depending on your system configuration.
- Execute the following command to check current Copilot status:
Get-ItemProperty -Path "HKCU:\Software\Microsoft\Windows\CurrentVersion\Explorer\Advanced" -Name "ShowCopilotButton" -ErrorAction SilentlyContinue - Enable Copilot through PowerShell by running:
Set-ItemProperty -Path "HKCU:\Software\Microsoft\Windows\CurrentVersion\Explorer\Advanced" -Name "ShowCopilotButton" -Value 1 -Type DWord - Verify system compatibility with Copilot requirements using:
Get-ComputerInfo | Select-Object WindowsProductName, WindowsVersion, WindowsBuildLabExto confirm your Windows 11 build meets minimum requirements. - Force refresh taskbar settings by executing:
Stop-Process -Name explorer -Force; Start-Process explorerto immediately apply Copilot visibility changes without system restart.
Remember: PowerShell commands provide immediate feedback about registry modifications and can help identify specific system limitations preventing Copilot activation on your Windows 11 installation.
Troubleshooting common Copilot activation issues
Several technical challenges can prevent successful Copilot activation even when following standard procedures, requiring targeted troubleshooting approaches for resolution.
- Copilot icon remains invisible after enabling settings: Verify your Windows 11 build number by running
winvercommand, ensuring you have build 22631.2428 or newer installed through Windows Update. - Registry modifications don’t take effect immediately: Clear Windows icon cache by navigating to
%localappdata%\Microsoft\Windows\Explorerand deleting the “iconcache” files, then restart Windows Explorer process. - Regional restrictions prevent Copilot availability: Use VPN services to temporarily appear in supported regions during initial activation, though this method may not provide permanent access.
- Group Policy blocking Copilot functionality: Check Local Group Policy Editor (gpedit.msc) under Computer Configuration > Administrative Templates > Windows Components > Windows Copilot for conflicting policies.
- Microsoft account authentication failures: Sign out and back into your Microsoft account through Settings > Accounts, ensuring proper authentication for Copilot cloud services integration.
- Insufficient system resources causing activation failures: Monitor system performance during activation attempts, ensuring adequate RAM and processor availability for Copilot background processes to initialize properly.