Why is my calendar not syncing properly in the new Outlook?
Many users have encountered calendar synchronization problems after transitioning to the new Outlook application, experiencing missing appointments, delayed updates, or complete sync failures. These issues typically stem from account configuration problems, cache corruption, or conflicts between multiple calendar sources. The new Outlook’s architecture handles calendar data differently than the classic version, which can create unexpected synchronization challenges for users managing multiple accounts or shared calendars across their organization.
Understanding calendar sync problems and resolution approach
Calendar synchronization issues in the new Outlook often result from the application’s updated sync engine and modified account integration methods compared to the classic Outlook client. These problems frequently manifest as missing calendar events, delayed appointment updates, duplicate entries, or complete failure to sync with Exchange Online or third-party calendar services.
We will walk you through systematic troubleshooting steps to resolve calendar sync issues in the new Outlook application. We will cover account verification, cache clearing procedures, sync setting adjustments, and advanced configuration options to restore proper calendar functionality. The solutions address both Exchange Online and third-party calendar integration problems.
In the tutorial, we will primarily work within the new Outlook application interface, Windows Settings, and occasionally PowerShell for advanced troubleshooting scenarios.
Account verification and basic sync restoration
The first step in resolving calendar sync issues involves verifying your account configuration and ensuring proper authentication with Microsoft 365 services.
- Open the new Outlook application and navigate to File > Account Settings to verify that your primary email account displays as connected and authenticated properly.
- Click on your account name and select “Account Settings” to review the server configuration, ensuring that the Exchange server details match your organization’s specifications.
- Navigate to File > Options > Mail and locate the “Send/Receive” section, then click “Send/Receive Groups” to verify that your account is included in the automatic sync schedule.
- Access the Calendar section in the left navigation pane and right-click on your primary calendar, then select “Properties” to confirm that the calendar permissions and sharing settings are configured correctly.
- Check the sync status by clicking the “Send/Receive” button in the ribbon and observing any error messages that appear during the synchronization process.
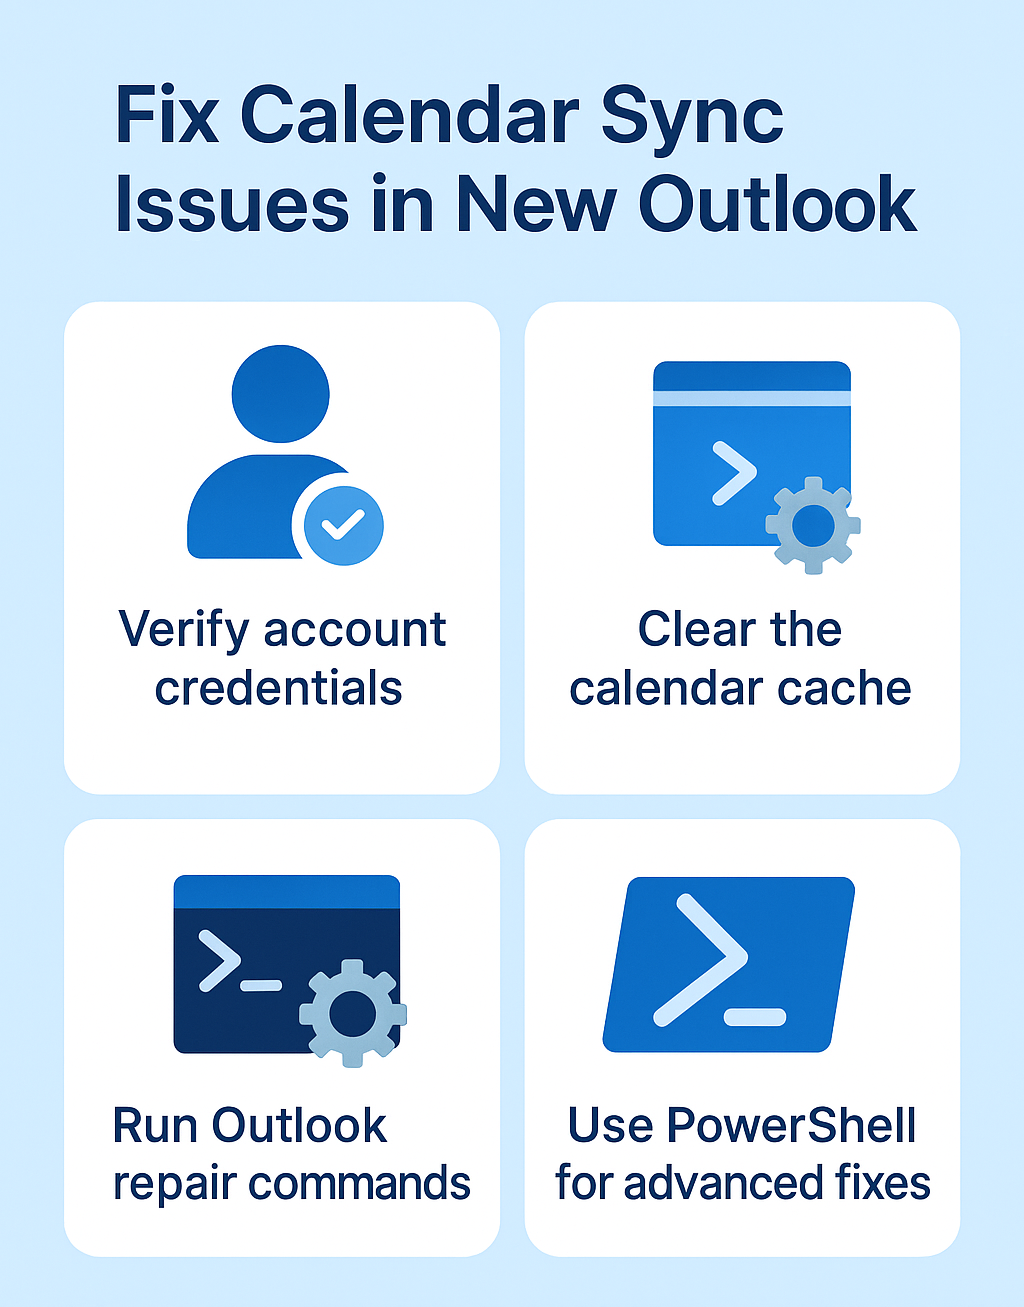
Cache clearing and application reset procedures
Calendar sync problems often stem from corrupted local cache files that prevent proper synchronization with Exchange Online servers.
- Close the new Outlook application completely and navigate to Windows Settings > Apps > Installed Apps, then locate “Microsoft Outlook” and click the three-dot menu.
- Select “Advanced Options” and scroll down to find the “Reset” section, then click “Repair” to fix corrupted application files without losing your data.
- If the repair process doesn’t resolve the issue, return to the same location and click “Reset” to completely reinstall the application while preserving your account configurations.
- Alternatively, you can manually clear the cache by opening File Explorer and navigating to %localappdata%\Microsoft\Outlook, then deleting the contents of the cache folder while Outlook is closed.
- Restart the new Outlook application and allow it to rebuild the cache by synchronizing your calendar data from the server, which may take several minutes for large calendars.
Advanced sync configuration and PowerShell solutions
For persistent calendar sync issues, advanced configuration adjustments and PowerShell commands can resolve deeper synchronization problems.
- Open PowerShell as an administrator and connect to Exchange Online using the command Connect-ExchangeOnline -UserPrincipalName your-email@domain.com to access advanced mailbox settings.
- Run Get-MailboxFolderStatistics -Identity “your-email@domain.com” -FolderScope Calendar to examine the calendar folder structure and identify any corruption or permission issues.
- Execute Set-MailboxCalendarFolder -Identity “your-email@domain.com:\Calendar” -PublishEnabled $true to reset calendar publishing settings and refresh synchronization parameters.
- Use the Test-OutlookConnectivity cmdlet to verify that your Outlook client can properly communicate with Exchange Online servers and identify any network or authentication barriers.
- Navigate to File > Options > Advanced in the new Outlook and locate the “Export” section, then click “Export to a file” to create a backup of your calendar data before implementing advanced fixes.
Resolving common calendar sync errors and configuration issues
Calendar synchronization problems in the new Outlook often present themselves through specific error messages and symptoms that require targeted solutions.
- When encountering “Cannot connect to server” errors, verify your internet connectivity and check if your organization’s firewall or proxy settings are blocking Outlook’s communication with Microsoft 365 services.
- If you see duplicate calendar entries appearing after sync, navigate to File > Account Settings > Data Files and remove any redundant PST files that might be causing conflicts with your primary mailbox.
- For calendars that show as “offline” or “not responding,” right-click on the problematic calendar in the navigation pane and select “Update Folder” to force a manual synchronization attempt.
- When shared calendars fail to display properly, verify your permissions by asking the calendar owner to reshare the calendar and ensure you have at least “Reviewer” level access to view appointments and events.
- Address missing calendar events by checking the calendar view settings, ensuring that all relevant date ranges are displayed and no filters are inadvertently hiding appointments from specific time periods.
Important Tip: Always create a backup of your calendar data before implementing advanced troubleshooting steps to prevent accidental data loss during the repair process.