“I’m on a Teams call with a client, but I need to transfer them to my colleague who has the technical expertise they need. How can I smoothly transfer this call without losing the connection or making the client wait?”
Understanding Teams call transfer options and workflow setup
Call transfer functionality in Microsoft Teams enables users to redirect active calls to other team members, external phone numbers, or voicemail systems without disconnecting the caller. This essential communication feature supports various business scenarios including escalating customer inquiries, routing calls to subject matter experts, and managing call coverage during busy periods.
The tutorial will demonstrate how to execute different types of call transfers within Microsoft Teams, including transferring calls to internal colleagues, external phone numbers, and voicemail systems. You’ll learn to perform both attended transfers where you speak with the recipient first and unattended transfers for immediate call routing.
Prerequisites include an active Microsoft Teams Phone license, appropriate calling permissions within your organization, and basic familiarity with Teams calling interface. The workflow assumes you’re currently engaged in an active Teams voice call and need to redirect the caller to another destination.
Teams voice transfer call methods and implementation steps
Transferring a call on Teams to internal contacts
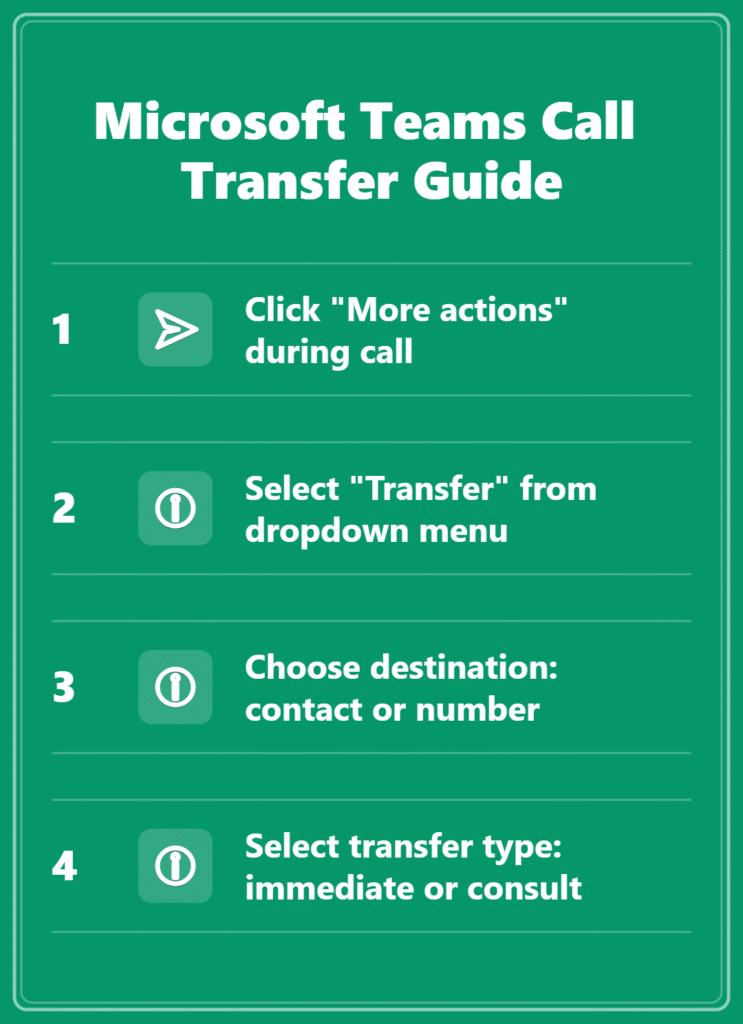
- Click the “More actions” button (three dots) in the active call window to access the comprehensive call management menu with transfer options.
- Select “Transfer” from the dropdown menu to open the transfer interface where you can choose between different transfer destinations and methods.
- Choose “People in my org” to view your organization’s directory and locate the specific colleague or department you want to transfer the call to.
- Type the recipient’s name in the search field or browse through your contacts list to find the appropriate person for handling the caller’s request.
- Decide between “Transfer now” for immediate unattended transfer or “Consult first” to speak with the recipient before completing the transfer process.
- If selecting “Consult first,” wait for the recipient to answer, explain the situation briefly, then click “Transfer” to complete the handoff successfully.
Expert Tip: Use the consult option when transferring complex customer issues to ensure the receiving party understands the context and can provide immediate assistance.
Transfer Teams call to phone numbers outside your organization
- Access the transfer menu by clicking the “More actions” button during your active call to reveal external transfer capabilities for routing calls outside Teams.
- Select “Transfer” and then choose “Phone number” to enable transferring the call to external landlines or mobile devices not connected to Teams.
- Enter the complete phone number including country code and area code to ensure proper routing to the intended external recipient’s device.
- Verify the number format matches your organization’s dialing requirements, as some tenants require specific prefixes for external calls or long-distance numbers.
- Choose your transfer method by selecting either immediate transfer for quick handoff or consultation transfer to speak with the external recipient first.
- Monitor the transfer progress through the Teams interface and confirm successful connection before ending your participation in the original call session.
Teams transfer call to voicemail systems
- Navigate to the transfer options during an active call and select the voicemail destination to route callers to appropriate message recording systems.
- Choose “Transfer to voicemail” from the available options to send the caller directly to a specific person’s voicemail box for message recording.
- Select the target voicemail recipient from your organization’s directory, ensuring the person has voicemail configured and accessible through Teams Phone system.
- Confirm the transfer by clicking the final transfer button, which immediately routes the caller to the selected voicemail greeting and recording system.
Important Tip: Verify that the recipient’s voicemail is properly configured and has sufficient storage space before transferring important calls to avoid message delivery failures.
Microsoft Teams send call back and advanced transfer features
Managing call transfer notifications and follow-up
- Configure your Teams notification settings to receive alerts when transferred calls are completed, declined, or result in voicemail messages for proper follow-up.
- Use the “Send call back” feature when a transfer attempt fails by accessing the recent calls list and selecting the callback option for reconnection.
- Monitor transfer success through Teams call history where you can track completed transfers, failed attempts, and caller feedback for quality improvement purposes.
- Set up automatic call forwarding rules in Teams admin center to handle systematic call routing when specific team members are unavailable or busy.
Transfer to voicemail in Teams with custom messaging
- Access advanced voicemail transfer options by selecting specific voicemail boxes during the transfer process to ensure appropriate message routing and handling.
- Customize voicemail greetings for different transfer scenarios to provide callers with relevant information about response times and alternative contact methods.
- Configure voicemail transcription settings to ensure transferred messages are automatically converted to text for faster review and response by recipients.
- Establish voicemail notification workflows that alert recipients immediately when transferred calls result in new messages requiring urgent attention or follow-up actions.
Remember: Most transfer issues stem from licensing limitations or administrative policies, so consult your IT department when experiencing persistent problems with call transfer functionality.

