“I need to create a comprehensive sales report with sample data for my quarterly presentation, but manually entering hundreds of rows seems overwhelming. Can Copilot in Excel help me generate realistic data quickly and create the formulas I need for analysis? I’m working with Excel desktop and want to understand how to leverage AI to streamline my spreadsheet creation process.”
Setting up your Excel environment for Copilot integration
Excel Copilot transforms how you approach spreadsheet creation by automating data entry and formula writing. Like how you can use Copilot for data entry automation in Excel, this AI-powered feature addresses the common challenge of spending excessive time on manual data entry and complex formula construction.
This post covers opening Copilot in Excel desktop, creating sample datasets, generating formulas, and downloading completed files. Your workflow will involve accessing Copilot through Excel’s ribbon interface and using natural language prompts to generate data. You’ll need an active Microsoft 365 subscription with Copilot access and Excel. The process assumes basic Excel familiarity and understanding of your data requirements.
How to open Copilot in Excel and generate spreadsheet content
- Launch Excel desktop and create a new workbook or open an existing file where you want to generate data
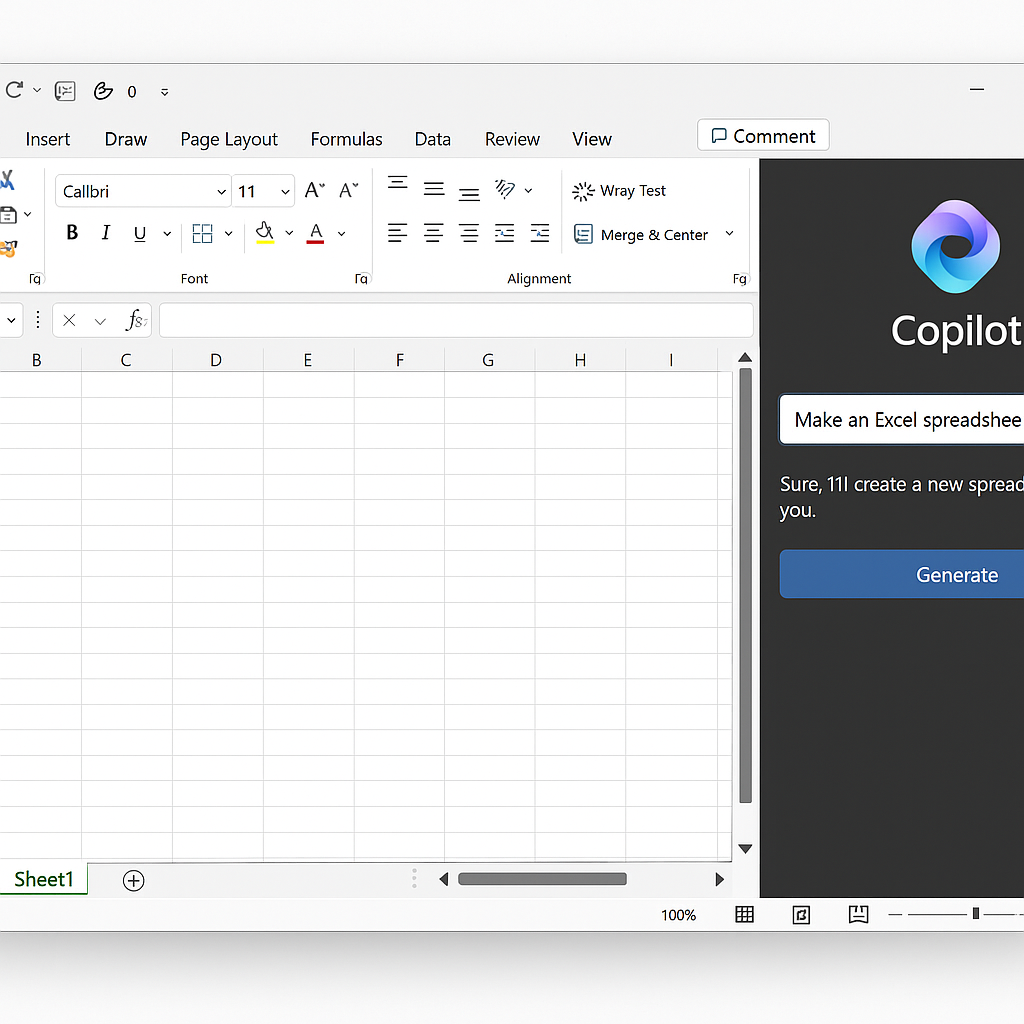
- Click the Copilot icon in the Home ribbon, which appears as a colorful circular symbol next to other Excel tools
- Select “Get started” if this is your first time using Copilot, then choose “Generate data” from the available options
- Type your data generation request using natural language, such as “Create 100 rows of customer data with names, emails, purchase amounts, and dates”
- Review the generated data preview and click “Insert” to add the information to your current worksheet location
- Use the “Suggest formulas” feature by selecting your data range and asking Copilot to “Calculate total sales by month” or similar requests
- Request additional columns by typing prompts like “Add a column calculating commission at 5% of purchase amount” directly in the Copilot panel
- Generate charts and visualizations by asking “Create a bar chart showing sales by customer segment” after your data is populated
- Save your completed spreadsheet using Ctrl+S, and the file will include all Copilot-generated content for future use and sharing
- Export or download your file in various formats by going to File > Export and selecting your preferred format option
Tip: Start with smaller data requests to understand Copilot’s output format, then scale up to larger datasets once you’re comfortable with the results.
Challenges when using Copilot for Excel data generation
- Copilot generates unrealistic or inconsistent data patterns that don’t match your business requirements, requiring you to refine your prompts with more specific parameters like “Generate customer ages between 25-65” or “Use only US state abbreviations for location data”
- Formula suggestions don’t work correctly due to data type mismatches, which you can resolve by checking that Copilot generated appropriate data formats and manually adjusting cell formatting to Number, Date, or Text as needed
- The Copilot panel doesn’t appear in your Excel ribbon, indicating either an outdated Excel version or missing subscription permissions that require updating Office 365 or contacting your IT administrator for Copilot license activation
- Generated spreadsheets become too large for your system to handle efficiently, so consider requesting smaller datasets initially and using Excel’s filter features to manage large amounts of Copilot-created information
- Downloaded files lose formatting or formulas when shared with colleagues who don’t have Copilot access, requiring you to save files in compatibility mode or convert dynamic formulas to static values before distribution