“How can I change the Windows 11 Start menu to better suit our company needs?”
As an IT administrator for a mid-sized company, you’ve recently upgraded your systems to Windows 11. While the new operating system offers many improvements, your users are struggling with the default Start menu layout. You need to customize it to include company-specific applications and resources while removing unnecessary items. Is there a way to create a standardized Start menu layout that can be deployed across all company devices?
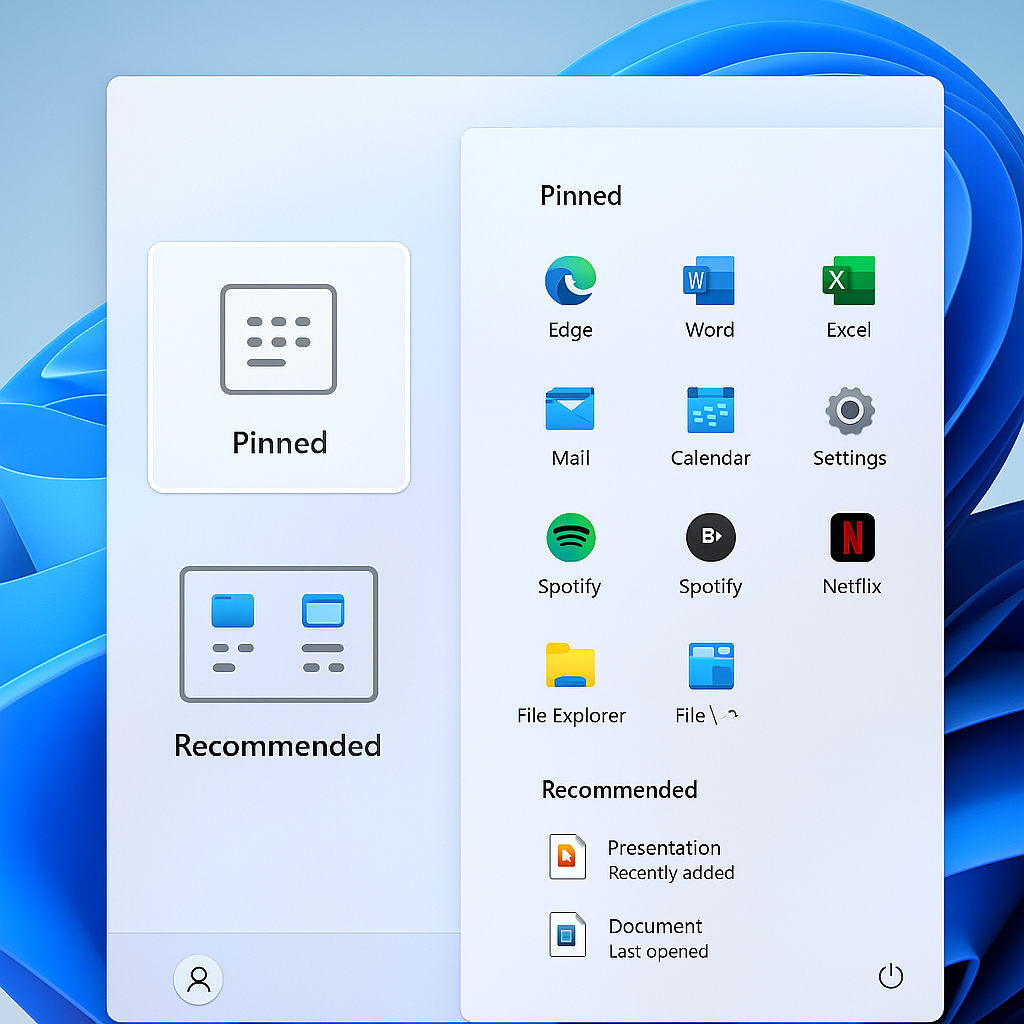
Personalizing the Windows 11 Start menu
The Start menu serves as the primary navigation hub for Windows users. In business environments, a well-organized Start menu can significantly improve productivity by providing quick access to essential applications and resources.
Windows 11 introduced a completely redesigned Start menu with centered icons and a simplified layout. However, this new design may not align with your organization’s workflow. By customizing the Start menu layout, you can create a consistent user experience across all devices, reduce training needs, and streamline access to business-critical applications.
Remember: you can also adjust desktop icon sizes in Windows 11 to create a fully optimized workspace.
Windows 11 Start menu customization options overview
This tutorial will guide you through various methods to customize the Windows 11 Start menu layout. We’ll cover both individual user customizations and enterprise-wide deployment options. You’ll learn how to pin applications, organize items, modify the Start menu settings, and create a standardized layout using XML configuration files. These techniques work for Windows 11 21H2 and later versions. You’ll need administrator privileges to implement some of these changes, especially for organization-wide deployments.
Change Windows 11 Start menu layout
Individual user customization options
- Pin and unpin applications by right-clicking on any app in the Start menu or All Apps list and selecting “Pin to Start” to add frequently used applications to your Start menu for quick access.
- Rearrange pinned items by simply dragging and dropping icons within the pinned section of the Start menu, allowing you to group related applications together for more efficient workflow organization.
- Create application folders by dragging one app icon onto another in the pinned section, which creates a folder containing both apps and helps reduce clutter when you have many applications.
- Resize the pinned section by clicking and dragging the handle at the top of the “Recommended” section up or down to allocate more or less space for your pinned applications.
- Customize the “Recommended” section by going to Settings > Personalization > Start and toggling options for recently opened items, most used apps, and other recommendations.
Organization-wide Start menu configuration
- Create a custom Start layout XML file by configuring a reference device with your desired Start menu layout and then exporting it using PowerShell with the command:
Export-StartLayout -Path C:\StartLayout.xml. - Modify the XML file if needed using a text editor to add or remove applications, change positions, or adjust other elements according to your organization’s requirements.
- Deploy the custom layout using Group Policy by navigating to Computer Configuration > Administrative Templates > Start Menu and Taskbar > Start Layout and enabling the “Start Layout” policy.
- Import the layout file through the Group Policy editor by browsing to your XML file location after enabling the Start Layout policy, which will apply this configuration to all users in the selected scope.
- Test the deployment on a small group of computers before rolling out to the entire organization to ensure the layout works as expected and meets user needs.
Make sure to create a test user account to experiment with different Start menu configurations before deploying changes organization-wide. This allows you to perfect the layout without disrupting productive work environments.
Advanced customization with PowerShell
- Remove default pinned apps with PowerShell by running scripts that target the default Windows 11 applications, giving you a clean slate for your custom Start menu design.
- Add company-specific applications programmatically using PowerShell commands that can pin applications based on their installation path or application ID.
- Create and deploy a partial lockdown where certain elements of the Start menu are fixed while allowing users to customize other sections for a balance of standardization and personalization.
Solving Windows 11 Start menu setup issues
- Layout not applying correctly often occurs due to XML syntax errors in your configuration file, so verify the XML structure and ensure all application references are correct with proper app IDs and installation paths.
- Users still able to modify locked layouts might happen if the Group Policy is not properly applied or if there are permission issues, so check the Group Policy application status and ensure proper security settings are in place.
- Missing applications in the deployed layout typically occurs when the referenced applications are not installed on target machines, so ensure all applications in your layout file are deployed to user devices before applying the Start menu configuration.
- Start menu reverts to default after updates can happen with major Windows updates, so plan to reapply your custom layout after significant Windows updates or create a scheduled task to periodically reapply the configuration.
- Inconsistent appearance across devices might be caused by different Windows 11 versions or feature updates, so standardize your Windows builds and test your layout on different versions if your environment has mixed Windows 11 releases.