“Microsoft Teams keeps crashing on my Windows 11 laptop, and I’ve tried everything from clearing the cache to restarting the application multiple times. The video calls freeze constantly, and my colleagues can barely hear me during meetings. Should I completely remove Microsoft Teams and start fresh with a clean installation?”
Microsoft Teams uninstall challenges and complete removal
Many Windows 11 and Windows 10 users encounter persistent Microsoft Teams issues that standard troubleshooting cannot resolve, including application crashes, audio problems, sync failures, and performance degradation. These problems often stem from corrupted installation files, conflicting user profiles, or incomplete previous uninstallation attempts that leave behind registry entries and cached data.
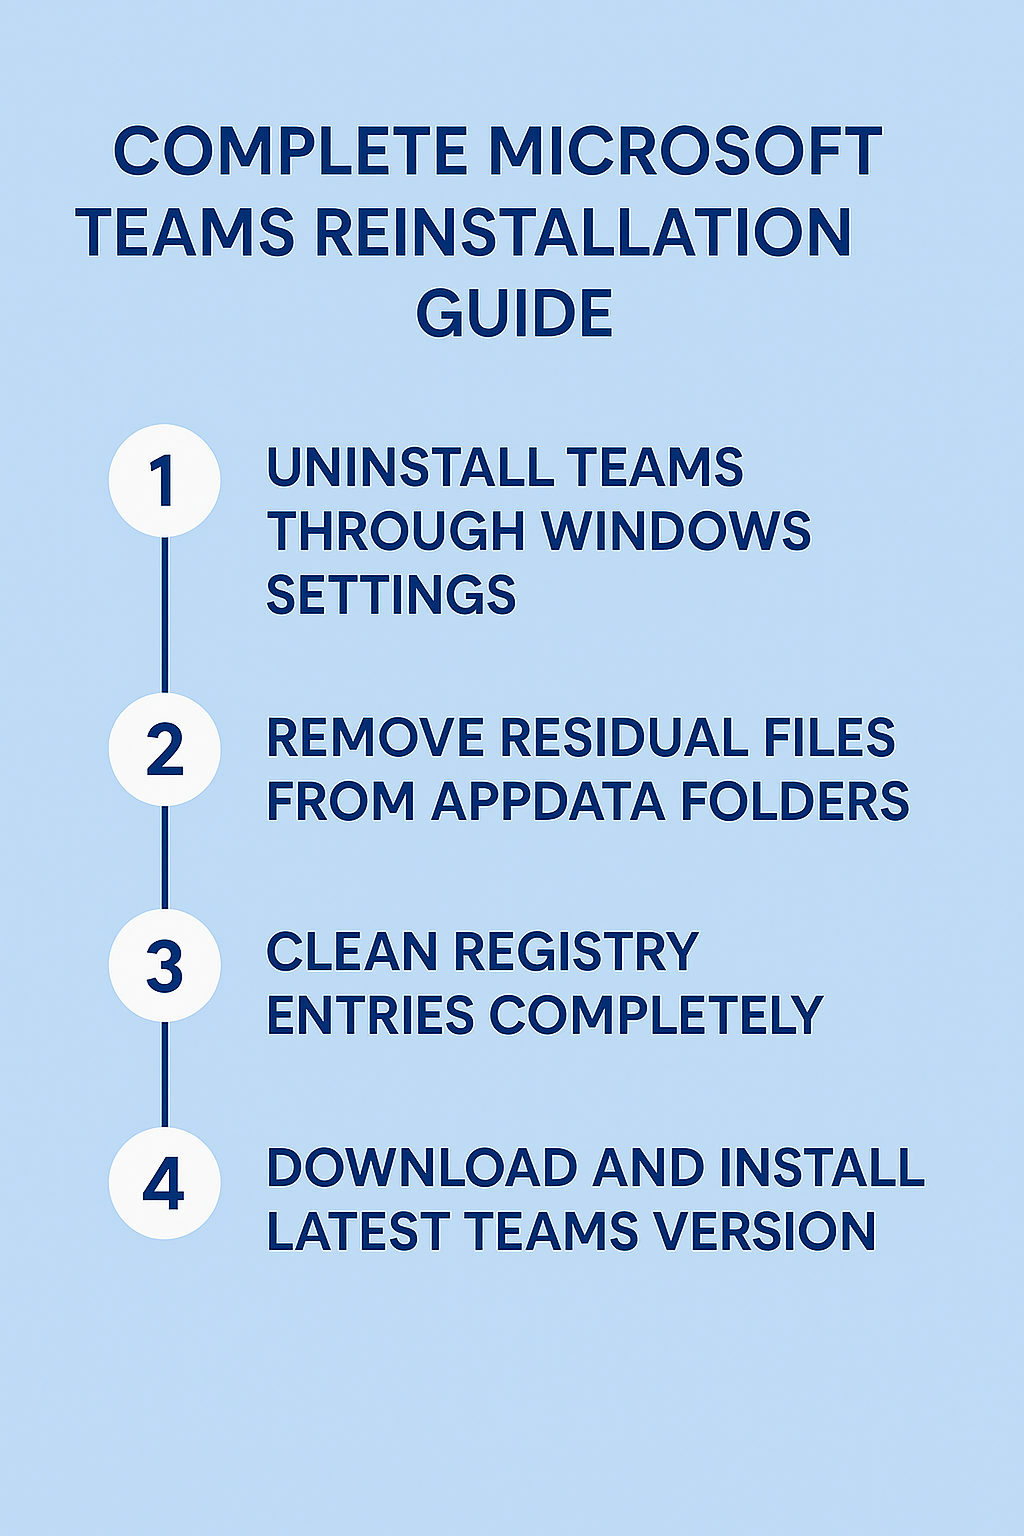
Today we will provide a step-by-step process for completely uninstalling Microsoft Teams from Windows and performing a clean reinstallation. It covers both the classic Microsoft Teams app and the new Teams client, ensuring that every component is fully removed before reinstalling the latest version. The procedure includes uninstalling Teams through Windows Settings, manually clearing leftover files, and downloading a fresh installer to restore full functionality.
Prerequisites: Administrator access to your Windows device, a stable internet connection for downloading Microsoft Teams, and a backup of any important data or personalized settings you want to retain.
Tools required: Windows Settings, File Explorer, the Microsoft Teams installer, and optionally PowerShell for deeper cleanup tasks.
Complete Microsoft Teams removal for Windows systems
Uninstall Microsoft Teams through Windows settings
- Navigate to Windows Settings by pressing Windows key + I, then select “Apps” from the main menu to access your installed applications list.
- Search for “Microsoft Teams” in the search bar at the top of the Apps page, which will filter the results to show all Teams-related installations on your system.
- Click on “Microsoft Teams” when it appears in the search results, then select the three-dot menu (More options) and choose “Uninstall” from the dropdown menu.
- Confirm the uninstallation by clicking “Uninstall” again in the confirmation dialog, and wait for Windows to complete the removal process which may take several minutes.
- If you see multiple Microsoft Teams entries (such as Teams Machine-Wide Installer or Teams for personal use), repeat this process for each entry to ensure complete removal.
Expert Tip: Some organizations deploy Microsoft Teams through Group Policy, which may prevent standard uninstallation. Contact your IT administrator if the uninstall option appears grayed out or unavailable.
Remove Microsoft Teams residual files and folders manually
- Open File Explorer and navigate to the following location:
%AppData%\Microsoft\Teamsby typing this path directly into the address bar and pressing Enter. - Delete the entire “Teams” folder if it exists, which contains user-specific configuration files, cache data, and temporary files that can cause issues with fresh installations.
- Navigate to
%LocalAppData%\Microsoft\Teamsand delete this folder as well, ensuring you remove all locally stored Microsoft Teams data and application components. - Check the
%ProgramFiles%\Microsoft\Teamsand%ProgramFiles(x86)%\Microsoft\Teamsdirectories, deleting any remaining Teams folders to eliminate system-wide installation remnants. - Empty your Recycle Bin completely to ensure all deleted Microsoft Teams files are permanently removed from your system and cannot interfere with the new installation.
Download and install the latest Microsoft Teams version
- Visit the official Microsoft Teams download page at teams.microsoft.com using your preferred web browser to access the most current installation files.
- Click the “Download Teams” button and select the appropriate version for your system (Work or School account, or Personal use) based on your requirements.
- Run the downloaded installer file as an administrator by right-clicking the file and selecting “Run as administrator” to ensure proper installation permissions.
- Follow the installation wizard prompts, accepting the license agreement and choosing your preferred installation location if prompted by the setup process.
- Allow the installer to complete the download and installation of additional components, which may include Visual C++ redistributables and other required dependencies.
- Launch Microsoft Teams from the Start menu or desktop shortcut, then sign in with your credentials to verify the installation completed successfully.
Troubleshooting Teams uninstall and reinstall on Windows
Microsoft Teams will not uninstall through standard Windows methods
- Open PowerShell as Administrator by searching for “PowerShell” in the Start menu, right-clicking it, and selecting “Run as administrator” for elevated privileges.
- Execute the command
Get-AppxPackage *Teams* | Remove-AppxPackageto force remove Microsoft Teams if it was installed as a Windows Store application. - Use the command
wmic product where name="Microsoft Teams" call uninstallto attempt removal through Windows Management Instrumentation if standard uninstall fails. - Download the Microsoft Teams cleanup tool from the official Microsoft support website, which provides specialized removal capabilities for stubborn installations.
Unable to reinstall Microsoft Teams after successful removal
- Temporarily disable Windows Defender and any third-party antivirus software during installation, as security programs sometimes block Microsoft Teams installation files incorrectly.
- Clear the Windows Store cache by opening Command Prompt as Administrator and running
wsreset.exeto resolve potential conflicts with Store-based installations. - Download the Microsoft Teams MSI installer instead of the standard executable, which provides more installation options and bypasses certain Windows restrictions.
- Check Windows Update for pending updates and install them before attempting Microsoft Teams reinstallation, as outdated system components can prevent successful installation.
Microsoft Teams installation fails with error messages
- Run the Windows System File Checker by opening Command Prompt as Administrator and executing
sfc /scannowto repair corrupted system files affecting installations. - Reset Windows Store applications by running
Get-AppXPackage | Foreach {Add-AppxPackage -DisableDevelopmentMode -Register "$($_.InstallLocation)\AppXManifest.xml"}in PowerShell as Administrator. - Create a new Windows user account temporarily and attempt Microsoft Teams installation from that account to isolate user-specific configuration conflicts.
- Check available disk space and ensure you have at least 3GB free on your system drive, as insufficient storage commonly causes Microsoft Teams installation failures.
New Microsoft Teams conflicts with classic Teams installation
- Use the Teams deployment cleanup script from Microsoft’s official GitHub repository to remove all Teams components including machine-wide installers and user-specific installations.
- Manually check the
%ProgramFiles%\WindowsAppsfolder for any remaining Microsoft Teams packages and remove them using PowerShell with appropriate permissions. - Clear the Microsoft Teams cache completely by deleting contents of
%AppData%\Microsoft\Teams\Cacheand%AppData%\Microsoft\Teams\GPUCachedirectories. - Install only the new Microsoft Teams client from the Microsoft Store or official website, avoiding simultaneous installation of multiple Teams versions on the same system.
Common Microsoft Teams Reinstallation Questions
Q: Will uninstalling Teams delete my chat history and files?
Chat history and shared files are stored in Microsoft 365 cloud services, not locally. Your conversation history, shared documents, and team memberships will remain intact after reinstallation when you sign back in with the same account.
Q: Can I install Teams without administrator rights?
The standard Teams installer requires administrator privileges for system-wide installation. However, Teams can install to your user profile automatically when launched for the first time if your organization allows per-user installations through Group Policy.
Q: Should I choose the MSI installer or the standard executable?
Use the MSI installer for enterprise environments requiring centralized deployment and configuration control. The standard executable provides automatic updates and is suitable for individual users and small businesses.
Q: How do I prevent Teams from starting automatically after reinstallation?
Open Teams Settings > General and disable “Auto-start application.” Alternatively, disable Teams in Windows Task Manager’s Startup tab to prevent automatic launching at system boot.