“I’ve heard about Copilot for Word, but I can’t see it anywhere in my application. How do I actually turn this feature on so my team can start using AI assistance for our reports and proposals?” This question comes up frequently in organizations that have access to Microsoft Copilot but haven’t yet configured it properly for their Word applications. Many users expect Copilot to appear automatically once they have the appropriate licenses, only to discover that additional setup steps are required.
Understanding Copilot activation requirements and workflow
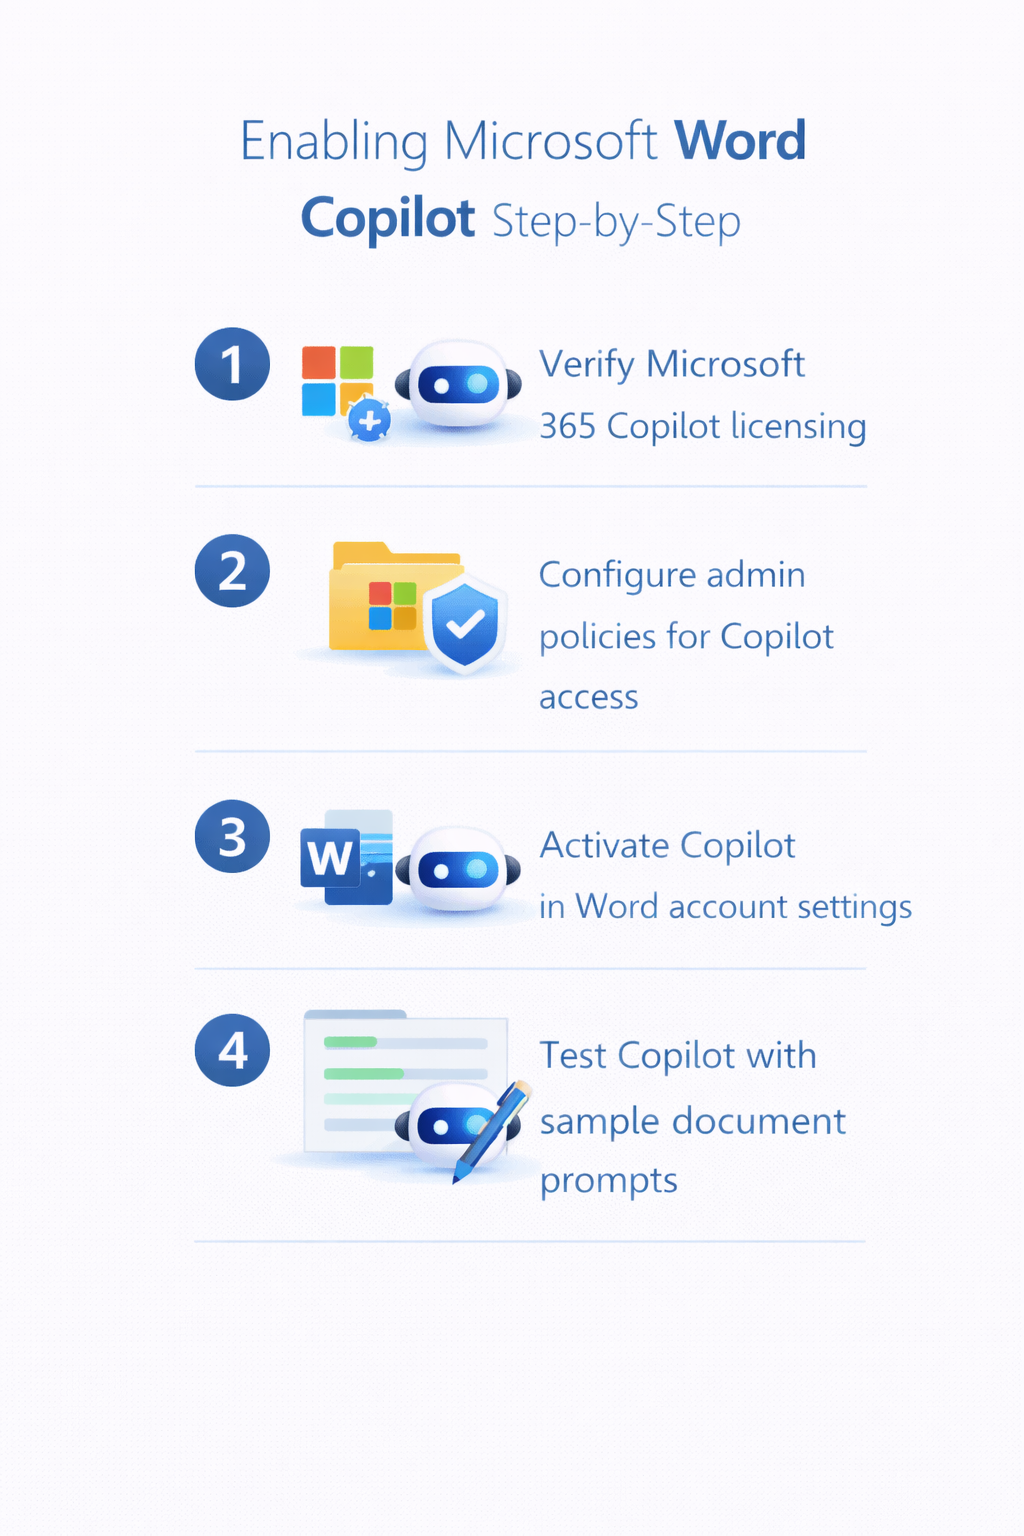
Enabling Copilot in Word involves more than just having the right subscription. Your organization needs proper licensing, admin configuration, and user-level activation to unlock the full potential of AI-powered document creation. This tutorial will walk you through the complete process of enabling Copilot in Word, from verifying your licensing requirements to activating the feature for individual users.
Enabling M65 Copilot in Microsoft Word
User account setup and Word application configuration
- Open Word for Microsoft 365 on your desktop or navigate to office.com and launch Word online to begin the user-level activation process for Copilot functionality within the application.
- Sign in with your organizational Microsoft 365 account that has been assigned the appropriate Copilot licensing, ensuring you’re using the same account that appears in your admin center user list.
- Look for the Copilot icon in the Word ribbon, typically located in the “Home” tab near the right side of the toolbar, which may appear as a small diamond or “Copilot” button depending on your Word version.
- If the Copilot icon doesn’t appear immediately, click “File” then “Account” to verify your subscription status shows “Microsoft 365 Apps for Enterprise” or “Business Premium” with Copilot included in your license details.
- Select “Update Options” from the Account page and choose “Update Now” to ensure you have the latest version of Word that supports Copilot functionality, as older versions may not display the feature properly.
- Restart Word completely after any updates to ensure all new features load correctly, then reopen the application and check again for the Copilot icon in your ribbon toolbar.
Activating Copilot features within Word documents
- Create a new document or open an existing one where you want to use Copilot assistance, ensuring the document format is compatible with AI features by using modern Word document formats rather than legacy versions.
- Click the Copilot icon in the ribbon to open the Copilot pane on the right side of your Word window, which will display various AI assistance options and prompt suggestions for your document.
- Accept any terms of service or privacy agreements that appear during your first Copilot activation, as these are required to enable the AI features and ensure compliance with your organization’s data policies.
- Test the Copilot functionality by typing a simple prompt such as “Write an introduction paragraph about project management” in the Copilot pane to verify the feature responds with generated content suggestions.
Admin only: Configuring Copilot for Word in the Admin Center
The process begins with verifying your organization’s licensing status and ensuring proper administrative settings are configured before users can access Copilot functionality.
- Create a new policy by clicking “Create” and selecting “Security Policy” to establish the framework for Copilot usage, ensuring you enable the “Allow Copilot in Office apps” setting for your targeted user groups.
Common activation issues and solutions - Navigate to the Microsoft 365 admin center by visiting admin.microsoft.com and signing in with your administrative credentials to access tenant-wide settings and licensing information.
- Select “Billing” from the left navigation menu, then click “Your products” to review your current subscriptions and verify that Microsoft 365 Copilot licenses are available and assigned to the appropriate users.
- Click on “Users” and then “Active users” to view your organization’s user list, then select individual users who need Copilot access and verify their license assignments include both Microsoft 365 and Copilot licenses.
- Access the Microsoft 365 Apps admin center by navigating to config.office.com to configure deployment settings for Copilot across your organization’s Word installations.
- In the Apps admin center, select “Customization” from the left menu, then choose “Policy Management” to create or modify policies that will enable Copilot features for your users’ Word applications.
Troubleshooting Copilot activation on Word
Several technical challenges can prevent Copilot from appearing or functioning properly in Word, ranging from licensing misconfigurations to application version incompatibilities.
- Copilot icon missing from Word ribbon typically indicates incomplete licensing assignment or outdated application versions that require administrative intervention to resolve through license reallocation and application updates.
- “Copilot not available in your region” error messages occur when your tenant location doesn’t support Copilot features, requiring you to contact Microsoft support for region-specific availability information and potential workarounds.
- Authentication failures when accessing Copilot features usually stem from cached credential issues that can be resolved by signing out completely from Word and clearing browser cache before signing back in.
- Limited Copilot functionality or grayed-out options often result from policy restrictions set in your organization’s Microsoft 365 admin center that prevent certain AI features from operating at full capacity.
Expert Tip: If Copilot doesn’t appear after following all activation steps, wait 24-48 hours for license changes to propagate through Microsoft’s systems, as there can be delays between administrative changes and feature availability.