
Why is my Windows 11 computer running so slowly with constant fan noise?
Many Windows 11 users experience frustrating performance issues where their computer becomes sluggish, fans run constantly, and the system feels unresponsive. This typically indicates high CPU usage, where your processor is working at maximum capacity even during basic tasks. High CPU utilization can stem from various sources including background processes, system services, malware, or hardware issues. Understanding how to identify and resolve these problems will restore your system’s performance and prevent overheating issues that could damage your computer components.
Understanding high CPU usage causes and implementing systematic solutions
High CPU usage in Windows 11 occurs when your processor runs at 80–100% capacity for extended periods, often leading to lag, excessive fan noise, and possible overheating. It can be triggered by background applications, system updates, malware, outdated drivers, or processes that fail to shut down properly. If ignored, it can seriously impact performance and even reduce your computer’s lifespan.
This walkthrough explains how to detect and fix high CPU usage problems in Windows 11. You will learn how to identify resource-heavy processes, turn off unnecessary startup programs, adjust system settings for better efficiency, and apply long-term optimizations to keep your computer stable. The process makes use of built-in Windows tools such as Task Manager, Resource Monitor, and System Configuration. Before starting, ensure you have administrative access to your device, a basic understanding of Windows settings, and are prepared to restart your computer when needed.
How to reduce high CPU usage through system optimization
Identifying CPU-intensive processes using Task Manager
- Press Ctrl + Shift + Esc to open Task Manager directly, or right-click the taskbar and select “Task Manager” from the context menu to access system monitoring tools.
- Click the “Processes” tab at the top of the Task Manager window to view all running applications and background processes consuming system resources. If you’re experiencing similar issues with other Microsoft applications, check out our guide on how to fix Microsoft Teams crashing Windows startup for additional troubleshooting techniques.
- Click the “CPU” column header to sort processes by CPU usage in descending order, displaying the most resource-intensive applications at the top of the list.
- Identify processes consistently using high CPU percentages (above 30% for extended periods) and note their names for further investigation and potential termination.
- Right-click suspicious high-usage processes and select “End task” to terminate them, but avoid ending critical Windows system processes that could cause system instability.
Expert Tip: Some processes like “Windows Modules Installer Worker” or “Antimalware Service Executable” may show high CPU usage temporarily during system updates or scans, which is normal behavior.
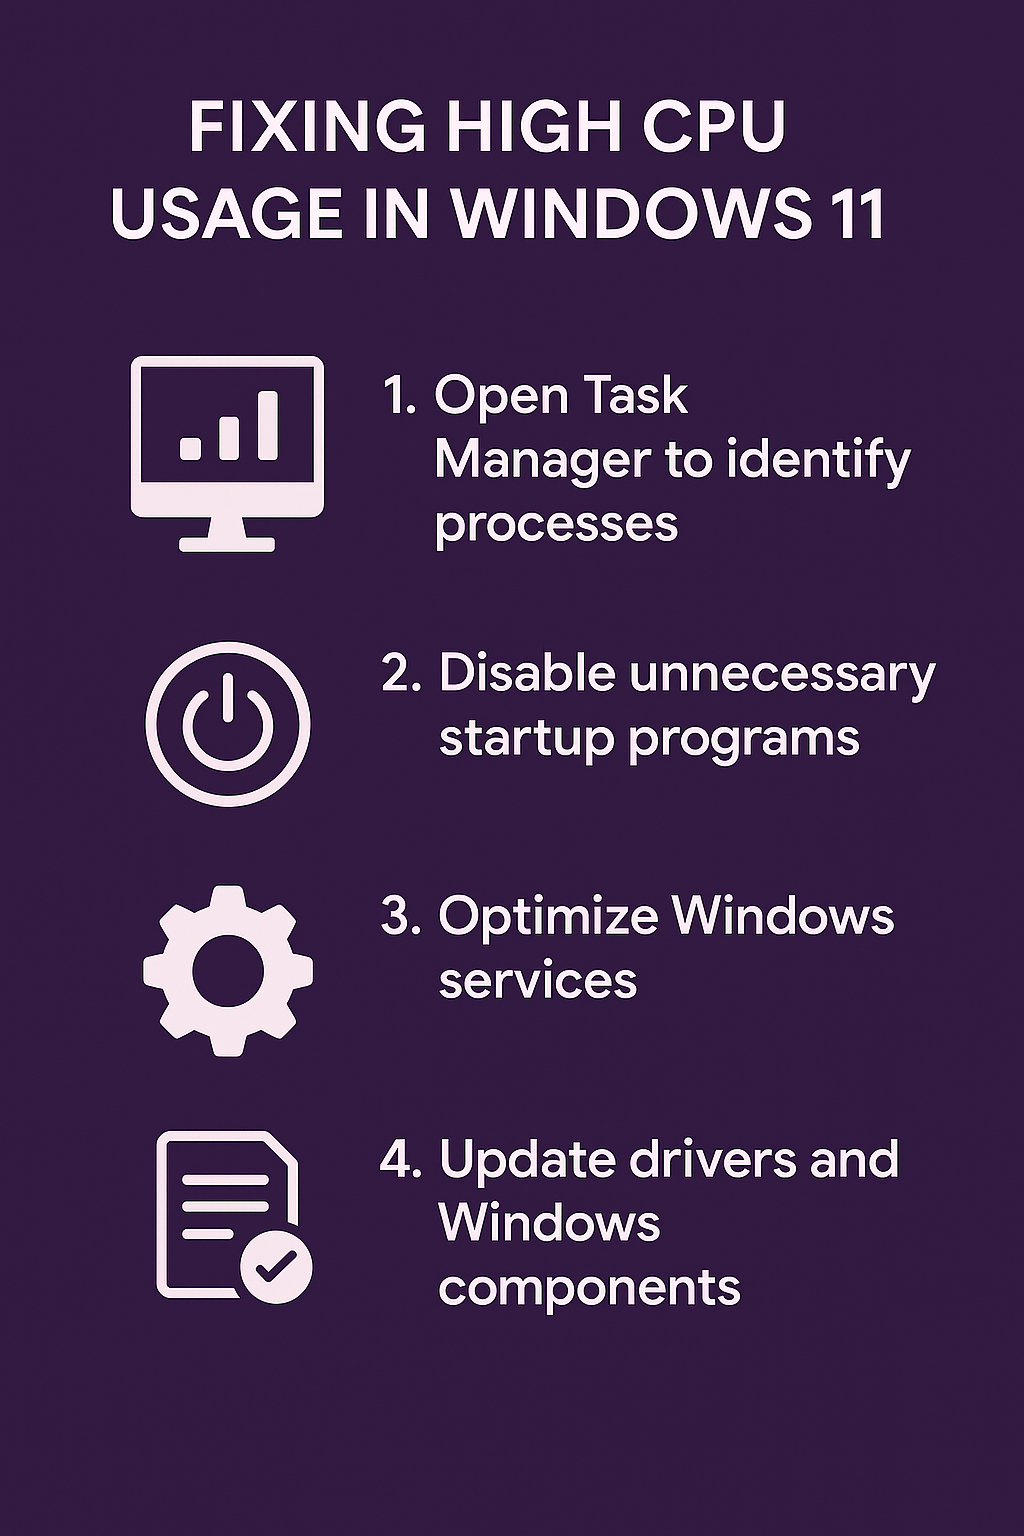
Disabling unnecessary startup programs to prevent CPU overload
- Press Windows key + I to open Settings, then navigate to “Apps” and select “Startup” to view all programs configured to launch automatically when Windows starts.
- Review the startup impact rating for each application, focusing on programs marked as “High impact” that significantly affect boot time and initial system performance.
- Toggle off applications you don’t need immediately at startup, such as gaming software, media players, or productivity tools that can be launched manually when needed.
- Open Task Manager and click the “Startup” tab to access additional startup program management options with more detailed impact information and publisher details.
- Right-click unnecessary startup programs and select “Disable” to prevent them from launching automatically, reducing initial CPU load and improving boot performance.
Optimizing Windows 11 system services and background activities
- Press Windows key + R, type “services.msc” and press Enter to open the Services management console for configuring Windows system services.
- Locate services like “Windows Search” and “Superfetch” which can cause high CPU usage, then right-click and select “Properties” to modify their startup behavior.
- Change the startup type to “Manual” or “Disabled” for non-essential services, but research each service thoroughly before making changes to avoid system functionality issues.
- Open “Windows Security” from the Start menu and navigate to “Virus & threat protection” to configure real-time scanning settings that might be causing CPU spikes.
- Click “Manage settings” under Real-time protection and consider temporarily disabling real-time scanning to test if antivirus software is causing the high CPU usage problem.
Important Tip: Always re-enable real-time protection after testing, as disabling antivirus leaves your system vulnerable to malware infections that could cause even worse performance issues.
Updating drivers and Windows components to solve compatibility issues
- Right-click the Start button and select “Device Manager” to access hardware device information and driver status for all installed components.
- Look for devices with yellow warning triangles or red X marks indicating driver problems that could cause excessive CPU usage during hardware communication attempts.
- Right-click problematic devices and select “Update driver” to search automatically for updated driver software that resolves compatibility issues with Windows 11.
- Press Windows key + I to open Settings, navigate to “Windows Update” and click “Check for updates” to install pending system updates and security patches.
- Install all available updates including optional driver updates, as outdated system components often cause CPU usage spikes due to inefficient resource management or compatibility conflicts.
Troubleshooting CPU performance problems and system issues
- Task Manager shows 100% CPU usage but no specific process appears responsible: Open Resource Monitor by typing “resmon” in the Start menu search, then examine the CPU tab for detailed process information including services and handles that Task Manager might not display clearly.
- CPU usage remains high after ending suspicious processes: Boot into Safe Mode by holding Shift while clicking Restart, then selecting Troubleshoot > Advanced options > Startup Settings > Restart > press 4 for Safe Mode to isolate whether third-party software or drivers are causing the issue.
- Windows Update process consistently uses high CPU resources: Open Settings > Windows Update > Advanced options > Delivery Optimization, then turn off “Allow downloads from other PCs” to reduce background update sharing activities that consume processing power unnecessarily.
- System performance degrades shortly after startup despite optimization efforts: Run Windows Memory Diagnostic by typing “mdsched” in Start menu search and selecting “Restart now and check for problems” to identify potential RAM issues that force CPU compensation and increased processing overhead.