“How can I make New Outlook look and feel more personalized for my daily workflow?” Many professionals struggle with the default interface settings when transitioning to New Outlook, finding that the standard layout doesn’t match their email management preferences. Customizing your Outlook environment can significantly improve your productivity and make your email experience more enjoyable and efficient.
Problem to solve and personalization benefits
The default New Outlook interface may not align with your specific work patterns or visual preferences, potentially reducing your efficiency when managing emails, calendar events, and tasks. Different users have varying needs for information density, color schemes, and layout arrangements based on their roles and personal preferences.
We will customize both the layout and theme settings in New Outlook to create a personalized workspace that enhances your productivity. We will cover theme selection, layout modifications, density adjustments, and folder organization to help you optimize your email management experience.
Customization settings in New Outlook in Windows 11
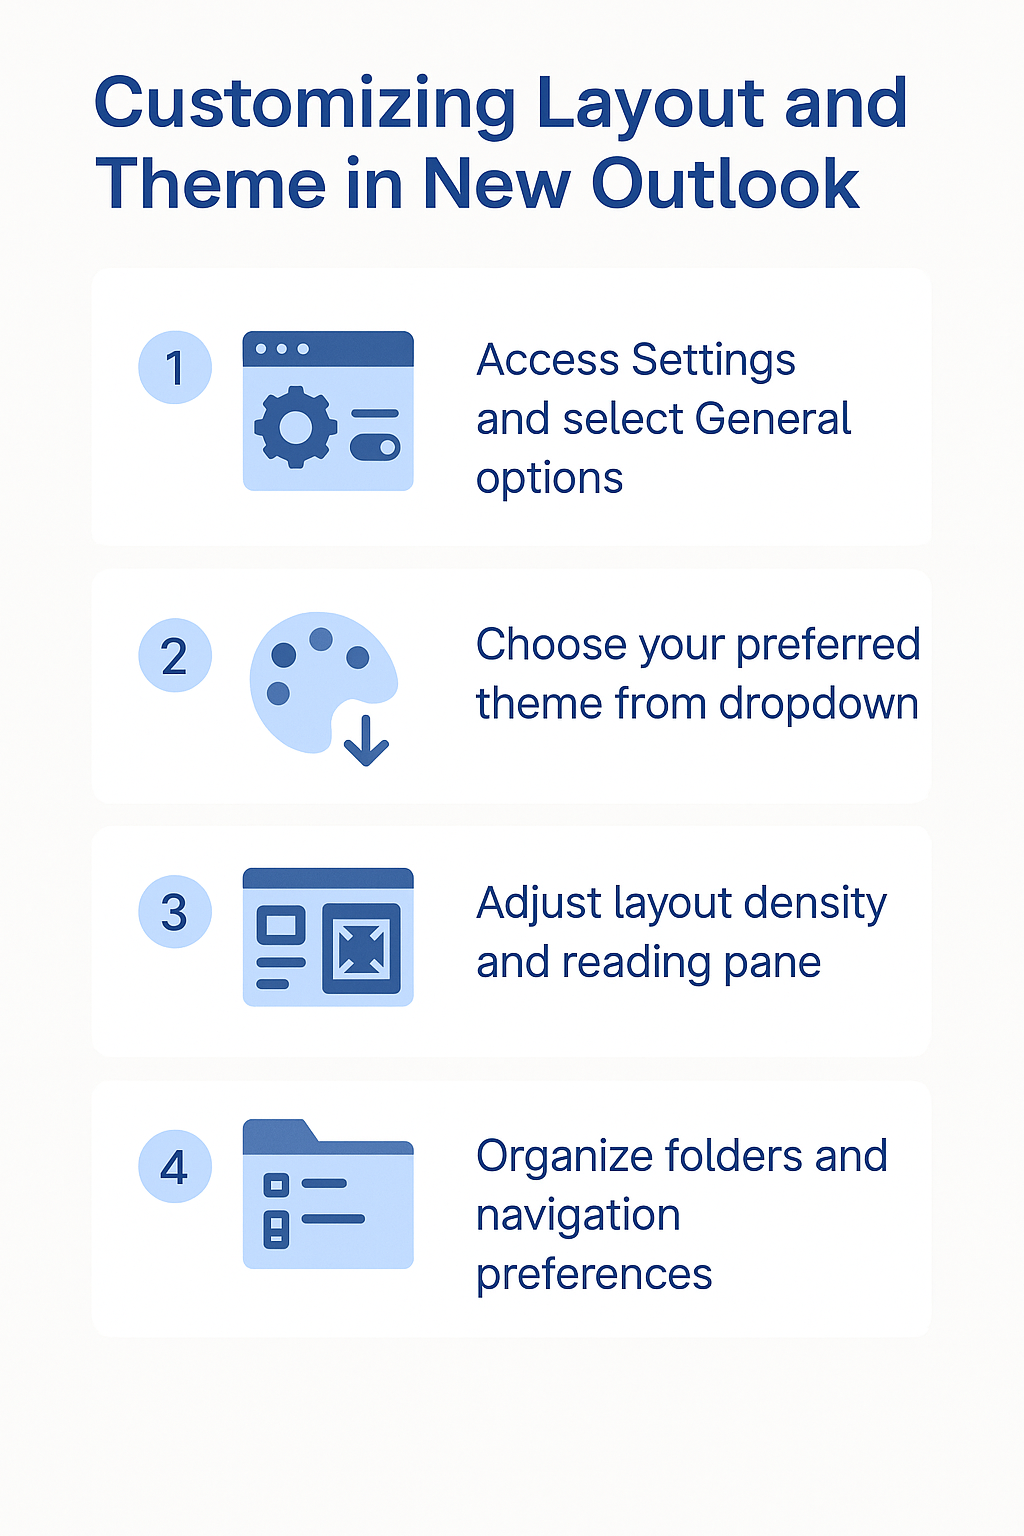
Begin your customization journey by opening New Outlook and navigating to the Settings menu, which serves as your control center for all personalization options available in the application.
- Launch New Outlook from your taskbar or Start menu and ensure you are signed in to your Microsoft 365 account with proper credentials and permissions.
- Click the Settings gear icon located in the top-right corner of the Outlook interface, positioned next to your profile picture and notification icons.
- Select “General” from the left-hand settings panel to access the primary customization categories including theme options, layout preferences, and display settings.
- Explore the “Appearance and accessibility” section where you will find comprehensive options for modifying your Outlook visual experience and interface behavior.
Expert Tip: Take note of your current settings before making changes so you can easily revert to your original configuration if needed.
Selecting and applying themes for visual preference
Theme selection forms the foundation of your visual customization experience, allowing you to choose color schemes that match your personal preferences or organizational branding requirements.
- Navigate to the “Theme” dropdown menu within the Appearance section and review the available options including Light, Dark, and System theme choices.
- Select the “Light” theme for a clean, bright interface that works well in well-lit environments and provides excellent readability for extended email sessions.
- Choose the “Dark” theme if you prefer reduced eye strain during evening work sessions or if you work in dimly lit environments throughout the day.
- Opt for “System” theme to automatically match your Windows system theme settings, ensuring consistency across all your Microsoft applications and operating system interface.
- Apply your selected theme by clicking the option, and observe how the change immediately affects your Outlook interface colors, backgrounds, and text contrast.
Configuring layout density and information display
Layout density controls how much information appears on your screen simultaneously, affecting both visual comfort and productivity levels based on your specific workflow requirements and screen size preferences.
- Access the “Layout” section within Settings and locate the “Density” dropdown menu to control how much content appears in your message list and reading pane.
- Select “Comfortable” density for spacious layouts with generous padding between emails, ideal for users who prefer less visual clutter and easier target selection.
- Choose “Compact” density to display more emails in the same screen space, perfect for users who process high volumes of messages daily.
- Experiment with “Cozy” density as a middle ground option that balances information display with visual comfort, suitable for most standard workflows.
- Configure the reading pane position by selecting “Right,” “Bottom,” or “Off” based on your screen dimensions and reading habits for optimal email review experience.
Remember: Higher density settings work better on larger monitors, while comfortable settings are ideal for laptop screens.
Organizing folder structure and navigation preferences
Proper folder organization and navigation customization ensure you can quickly access your most important email categories while maintaining an efficient workflow throughout your workday.
- Navigate to the “Mail” section in Settings and locate “Customize folders” to modify which folders appear in your navigation pane for quick access.
- Enable or disable specific folders such as Archive, Drafts, Sent Items, and custom folders based on your email management workflow and organizational needs.
- Adjust the folder list order by dragging and dropping folders to positions that match your usage frequency and logical workflow patterns for improved efficiency.
- Configure favorite folders by right-clicking frequently used folders and selecting “Add to Favorites” to create shortcuts in the navigation pane for faster access.
- Set up focused inbox options if desired to automatically sort important messages from less critical communications, helping you prioritize your attention effectively.
Solving common customization issues
Users may encounter various challenges while customizing their New Outlook interface, ranging from settings not applying correctly to visual elements not displaying as expected.
- Theme changes not applying immediately can often be resolved by closing and reopening New Outlook completely, allowing the application to refresh its interface rendering properly.
- Layout density modifications appearing inconsistent across different Outlook sections may require clearing your browser cache if using Outlook web or restarting the desktop application entirely.
- Custom folder arrangements reverting to default positions typically indicates a synchronization issue that can be fixed by signing out and signing back into your account.
- Missing customization options in Settings menu usually means you need to update New Outlook to the latest version through Microsoft Store or Office update channels.
Important Tip: Some customization features may be restricted by your organization’s IT policies and require administrator approval to modify.