Why you need multiple Teams accounts access
“I work as a consultant for three different companies, and each one uses Microsoft Teams for communication. Constantly logging in and out of different accounts on my desktop is driving me crazy. There has to be a better way to manage multiple Teams accounts without losing my mind switching between them all day long.”
Microsoft Teams multiple accounts? setup
Managing multiple Microsoft Teams accounts on a single desktop computer presents a common challenge for consultants, contractors, and employees who collaborate across different organizations. This scenario becomes increasingly complex when you need real-time access to conversations, meetings, and files from multiple tenants simultaneously without constant authentication switching. Fortunately, you can use both the Microsoft Teams desktop application’s built-in features and browser-based solutions to manage multiple accounts efficiently.
Today we will demonstrate how to configure and run multiple Teams accounts on your desktop computer using both the native Teams application and web browser methods. We will cover the desktop app’s built-in multi-account support, browser-based solutions, and hybrid approaches that maximize productivity while maintaining security across different organizational boundaries.
You will need: Windows 10/11 or macOS with administrative privileges, active Microsoft Teams accounts for each organization, and sufficient system resources to run multiple applications simultaneously. You’ll primarily use the Microsoft Teams desktop application, web browsers, and potentially Windows virtual desktop features.

Running multiple Teams accounts on one device
Configuring native Teams multi-account support
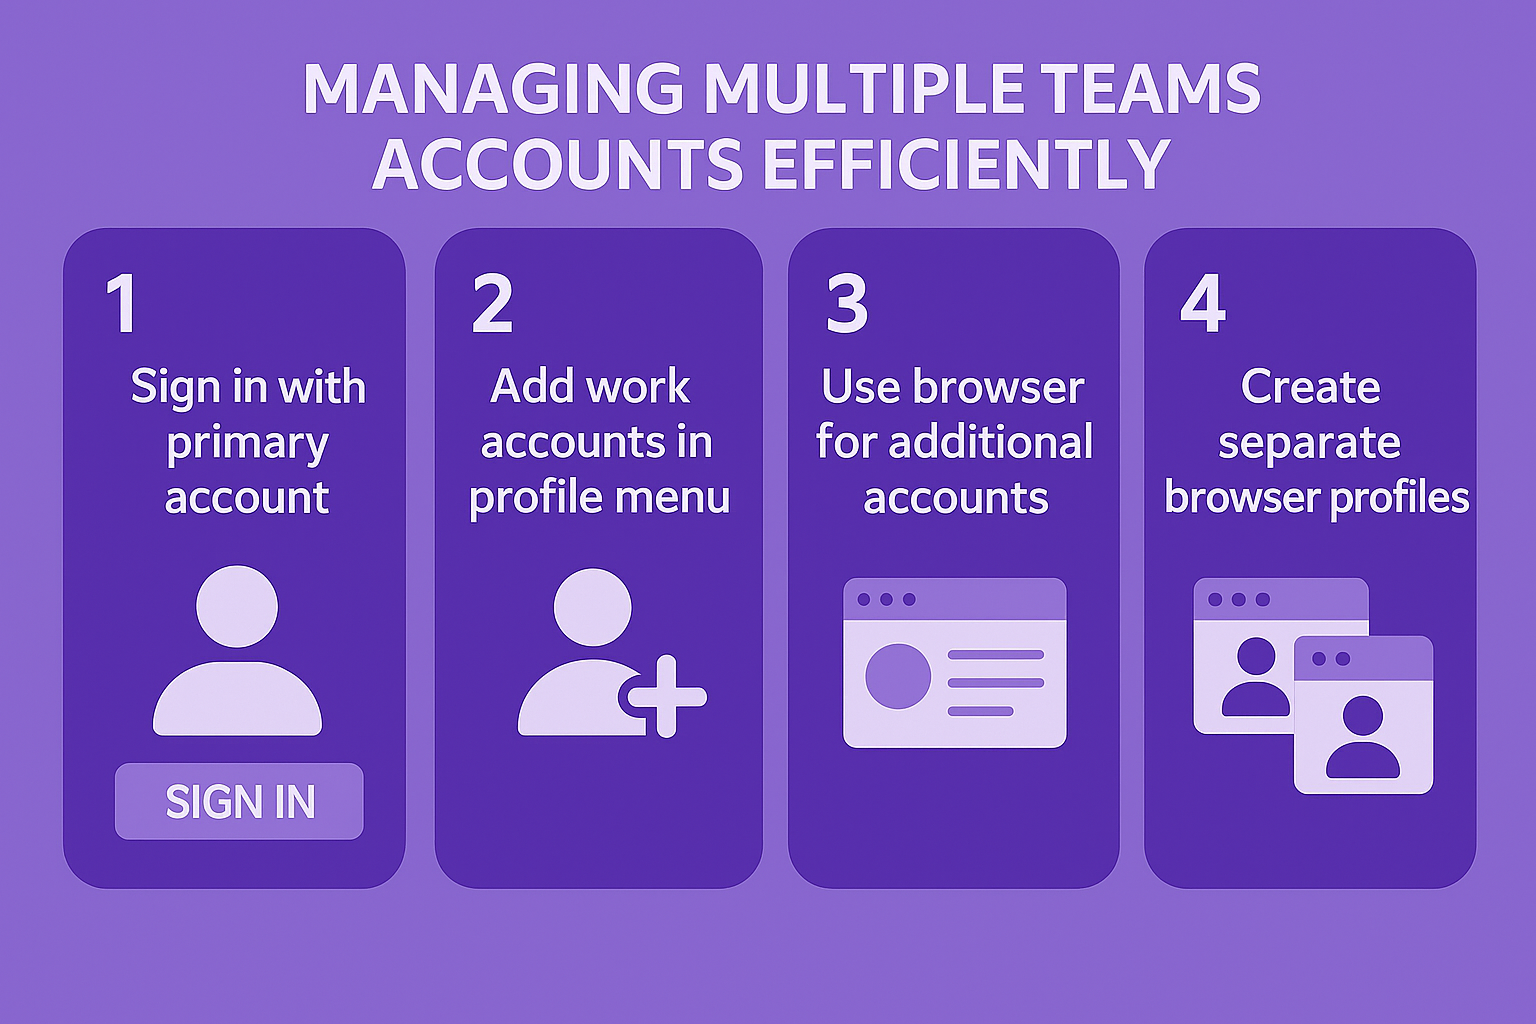
- Open the Microsoft Teams desktop application and sign in with your primary work account, ensuring you complete the full authentication process including any multi-factor authentication requirements your organization has configured. For additional accounts, you can use browser-based access by navigating to teams.microsoft.com in different browsers or private browsing windows to maintain separate sessions without conflicts.
- Click your profile picture in the top-right corner of the Teams interface, then select “Add work or school account” from the dropdown menu to begin adding your secondary organizational account.
- Enter the email address associated with your second Teams account and complete the authentication process, which may include different security requirements depending on each organization’s policies and configurations.
- Repeat this process for additional accounts, noting that Teams desktop supports up to four different organizational accounts simultaneously within the same application instance for streamlined account management.
- Switch between accounts by clicking your profile picture and selecting the desired account from the list, with Teams maintaining separate notification settings and presence status for each configured account.
Implementing browser-based Teams access for additional accounts
- Launch your primary web browser and navigate to teams.microsoft.com, signing in with one of your Teams accounts that you haven’t added to the desktop application yet.
- Open a new browser window in incognito or private browsing mode, then navigate to teams.microsoft.com again to sign in with a different Teams account without conflicting with your existing session.
- Consider using different web browsers entirely for each additional Teams account, such as Chrome for one account, Edge for another, and Firefox for a third account to maintain completely separate sessions.
- Pin each browser window to your taskbar or dock for quick access, and consider renaming browser shortcuts to indicate which Teams account each browser window represents for easier identification.
Expert Tip: Create desktop shortcuts for each Teams account by right-clicking on your desktop, selecting “New Shortcut,” and entering the Teams web URL with specific parameters to automatically direct to the correct tenant.
Optimizing desktop workspace for multiple Teams accounts
- Arrange your desktop windows using Windows Snap features or macOS window management to display multiple Teams instances simultaneously, allowing you to monitor conversations and notifications across all accounts without constant switching.
- Configure different notification sounds or visual indicators for each Teams account to distinguish between incoming messages from different organizations, helping you prioritize responses based on urgency and context.
- Set up separate browser profiles in Chrome or Edge specifically for Teams accounts, which maintains separate cookies, saved passwords, and extensions for each organizational context while keeping everything organized.
- Use virtual desktop features in Windows 10/11 or macOS Spaces to create dedicated desktop environments for each Teams account, reducing visual clutter while maintaining quick access to all your organizational communications.
Troubleshooting common multiple Teams accounts issues
- Authentication conflicts between accounts: Clear your browser cache and cookies completely, then sign out of all Teams sessions before attempting to sign back into multiple accounts using the browser method.
- Desktop app not recognizing additional accounts: Restart the Teams desktop application completely, ensure you’re running the latest version through automatic updates, and verify each account has proper licensing for Teams access.
- Notifications not working properly across accounts: Check notification settings individually for each Teams account in both the desktop app and browser versions, ensuring Windows or macOS notification permissions are enabled for all applications.
- Performance issues with multiple Teams instances: Close unnecessary applications to free up system memory, consider using the web version for less frequently accessed accounts, and monitor CPU usage to identify resource-intensive processes affecting overall performance.
