Google Chrome remains the most widely used browser worldwide, yet users frequently encounter frustrating situations where Chrome is not playing videos on websites they visit regularly. Whether the video shows a black screen, buffers endlessly without starting, or displays a playback error message, these problems typically stem from outdated software, conflicting extensions, or misconfigured browser settings that prevent proper media codec processing. This article walks through every practical solution to restore smooth video playback in Chrome on Windows and Mac computers.
Check Your Internet Connection First
A slow or unstable internet connection is often the simplest explanation when videos refuse to load or buffer continuously without ever reaching a playable state in Chrome.
- You should run a quick speed test using a service like Speedtest.net to confirm that your download bandwidth meets the minimum threshold required for streaming video content.
- Most standard definition videos require at least five megabits per second, while high definition content from platforms like YouTube and Netflix demands significantly higher bandwidth for uninterrupted playback.
- Restart your router or modem by unplugging the power cable for thirty seconds, then reconnecting it to establish a fresh network session with your internet provider. If you are connected through a Wi-Fi network, try switching to a wired Ethernet connection to eliminate potential wireless interference that can cause packet loss and buffering.
Clear Browser Cache and Cookies
Accumulated browser cache files and corrupted cookies can interfere with video playback by serving outdated or broken versions of website scripts and media resources. Opening Chrome settings and navigating to the “Privacy and Security” section allows you to clear browsing data including cached images, files, and site cookies effectively. Select “All time” as the time range to ensure that every potentially problematic cached file gets removed from your local Chrome storage directory completely.
- After clearing the cache, close Chrome entirely and reopen it before attempting to play videos again, because some cached resources remain active in memory. You may also want to clear your browser cache regularly as part of routine maintenance to prevent similar playback issues from recurring.
Update Chrome to the Latest Version
Running an outdated version of Chrome can cause video playback failures because older builds may lack support for newer HTML5 video standards and media codec updates.
- Navigate to Chrome’s menu by clicking the three vertical dots in the upper right corner, then select “Help” followed by “About Google Chrome” to check for updates.
- Chrome will automatically download and install any available updates, and you simply need to click the “Relaunch” button to complete the update process entirely.
- Google regularly patches security vulnerabilities and video rendering bugs through these updates, making it essential to keep Chrome current at all times for compatibility. If Chrome reports that it is already up to date but videos still refuse to play, the issue likely originates from browser settings or installed extensions.
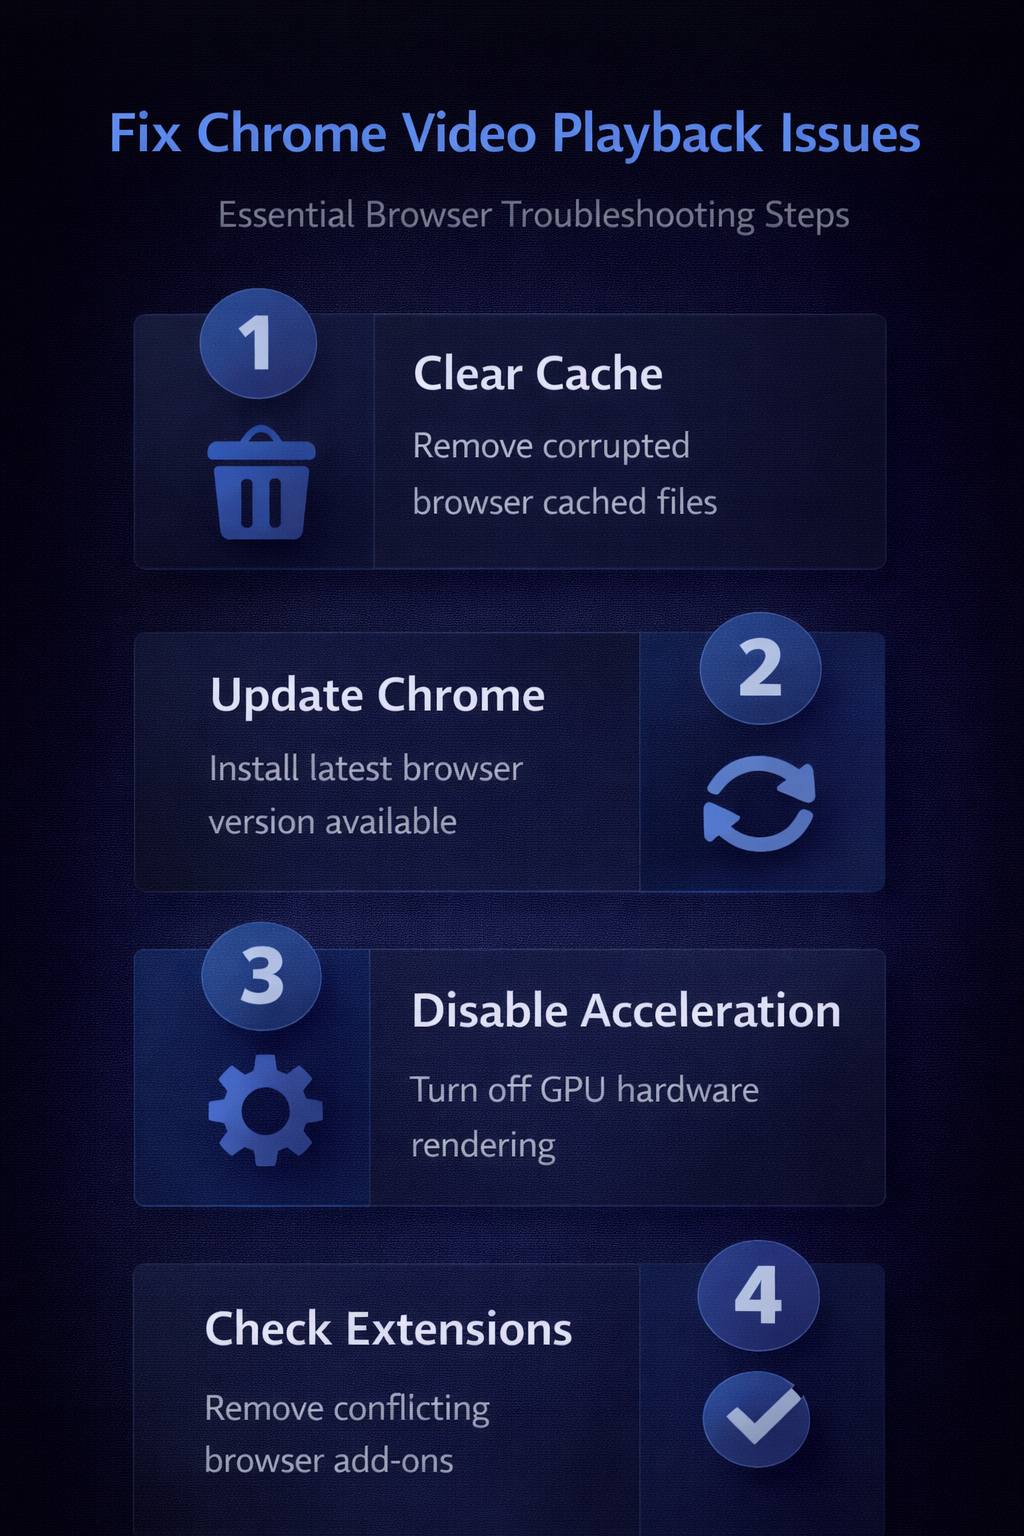
Disable Hardware Acceleration Settings
Hardware acceleration offloads video rendering tasks from the CPU to your graphics card, but incompatible or outdated GPU drivers can actually cause video playback to fail completely. Open Chrome settings by typing chrome://settings in the address bar, then scroll down and click “System” to locate the hardware acceleration toggle switch. Turn off the “Use hardware acceleration when available” option, restart Chrome, and test whether videos now play correctly without the GPU processing overhead.
- This solution frequently resolves Chrome video black screen problems on computers with older graphics cards or systems running generic display drivers without proper hardware support. If disabling hardware acceleration fixes the issue, consider updating your GPU drivers from the manufacturer website to potentially re-enable this performance feature later.
Disable Problematic Browser Extensions
Certain Chrome extensions, particularly ad blockers, privacy tools, and JavaScript-blocking utilities, can inadvertently prevent video elements from loading on web pages properly. Open the extensions manager by navigating to chrome://extensions in the address bar, then systematically disable each extension one at a time to identify the culprit. After disabling each extension, refresh the video page and check whether playback resumes, which helps isolate the specific extension causing the interference with media content.
- Common offenders include aggressive ad-blocking extensions that strip out video player scripts alongside advertisements, breaking the intended page functionality beyond just removing unwanted content. You can also try importing your settings and bookmarks into a fresh browser profile if the extension conflict proves difficult to isolate.
Reset Chrome Settings to Default
When multiple troubleshooting steps fail to resolve persistent video playback problems, resetting Chrome to its original default configuration can eliminate hidden settings conflicts effectively. Navigate to chrome://settings/reset in the address bar, then click “Restore settings to their original defaults” to reset startup pages, search engines, pinned tabs, and content settings. This reset process preserves your bookmarks, saved passwords, and browsing history while removing all custom configurations that might be causing video playback failures.
- After resetting Chrome, you should re-enable only the extensions you absolutely need and test video playback before adding additional extensions back to your browser profile. If you experience slow page loading after the reset, give Chrome a few minutes to rebuild its internal configuration files and caches.
Verify Site-Specific Video Permissions
Chrome allows users to control media autoplay and JavaScript permissions on a per-site basis, and restrictive settings can silently prevent videos from playing on specific websites.
- Navigate to
chrome://settings/contentand check both the “JavaScript” and “Additional content settings” sections to ensure that video-heavy sites are not accidentally blocked from running. - You should also verify that the “Sound” setting allows media playback for the specific website where you are experiencing the Chrome video not working issue.
- Some websites require both JavaScript and cookies to function properly, so blocking either one through Chrome’s content settings will prevent their video players from initializing correctly. If a particular site works in an incognito window but not in your regular browsing session, the problem almost certainly relates to site-specific permissions or extension interference.
Frequently Asked Questions
Why Is Chrome Not Playing Videos on My Computer?
Chrome video playback failures typically result from outdated browser versions, corrupted cache files, incompatible extensions, or disabled JavaScript settings that prevent media elements from functioning properly. Additionally, hardware acceleration conflicts with older GPU drivers and restrictive site permissions can block video rendering even when your internet connection works perfectly fine. Identifying the specific cause requires systematic troubleshooting, starting with the simplest solutions like clearing cache before moving to more advanced configuration changes in browser settings.
How Do I Enable Video Playback in Chrome Settings?
You can enable video playback by navigating to chrome://settings/content/javascript and ensuring JavaScript is allowed, since most modern video players depend on JavaScript to function. Additionally, check that the “Sound” and “Autoplay” settings under Chrome’s site permissions are not configured to block media content on the websites you visit regularly. Restarting Chrome after adjusting these settings ensures that the updated permissions take effect immediately across all open tabs and browsing sessions going forward.
Does Clearing Chrome Cache Fix Video Problems?
Clearing the browser cache resolves video playback issues in many cases because it removes corrupted or outdated files that interfere with how Chrome loads and processes media. When Chrome stores a broken version of a website’s video player script in its cache, the browser repeatedly serves that faulty file instead of downloading a fresh copy. Clearing all cached data forces Chrome to download every resource from scratch, which effectively resolves most video-related display issues caused by stale or damaged cache entries.
Conclusion
Fixing Chrome video playback problems requires a systematic approach that starts with basic checks like verifying your internet connection and clearing the browser cache before advancing to Chrome settings. Disabling hardware acceleration, removing problematic extensions, resetting Chrome to default values, and verifying site-specific media permissions address the vast majority of Google Chrome video issues users encounter. Following these steps in order ensures that you identify and resolve the root cause efficiently without making unnecessary changes to your browser configuration or system settings.