
Using Copilot to manage tasks in Microsoft 365
“How can I use Microsoft Copilot to automatically create and organize tasks in Microsoft Planner without spending hours manually setting up project plans?” This question reflects a common challenge many project managers and team leaders face when trying to streamline their workflow management processes. With Microsoft 365 Copilot integration becoming more sophisticated, users are discovering powerful ways to leverage AI assistance for task creation and project planning within their familiar Microsoft ecosystem.
Integrate Planner with Microsoft 365 solution overview
Microsoft 365 Copilot changes how teams approach task management by bringing automation directly into Microsoft Planner workflows. The integration allows users to generate comprehensive project plans, create detailed task lists, and organize team assignments through natural language prompts rather than manual data entry processes.
Today we will demo how you could enable Copilot in Planner Microsoft 365 environments and leverage its capabilities for efficient task creation and project management. You will learn to use Copilot integration with Planner to generate task structures, assign responsibilities, set deadlines, and create organized project workflows that align with your team’s specific requirements and business objectives. You will need an active Microsoft 365 subscription with Copilot licensing, administrative access to enable Copilot features, and existing Microsoft Planner access within your organization’s tenant.
Expert Tip: Ensure your organization has the appropriate Copilot licensing tier to access Planner integration features, as availability may vary based on subscription levels.
Can Copilot create project plans?
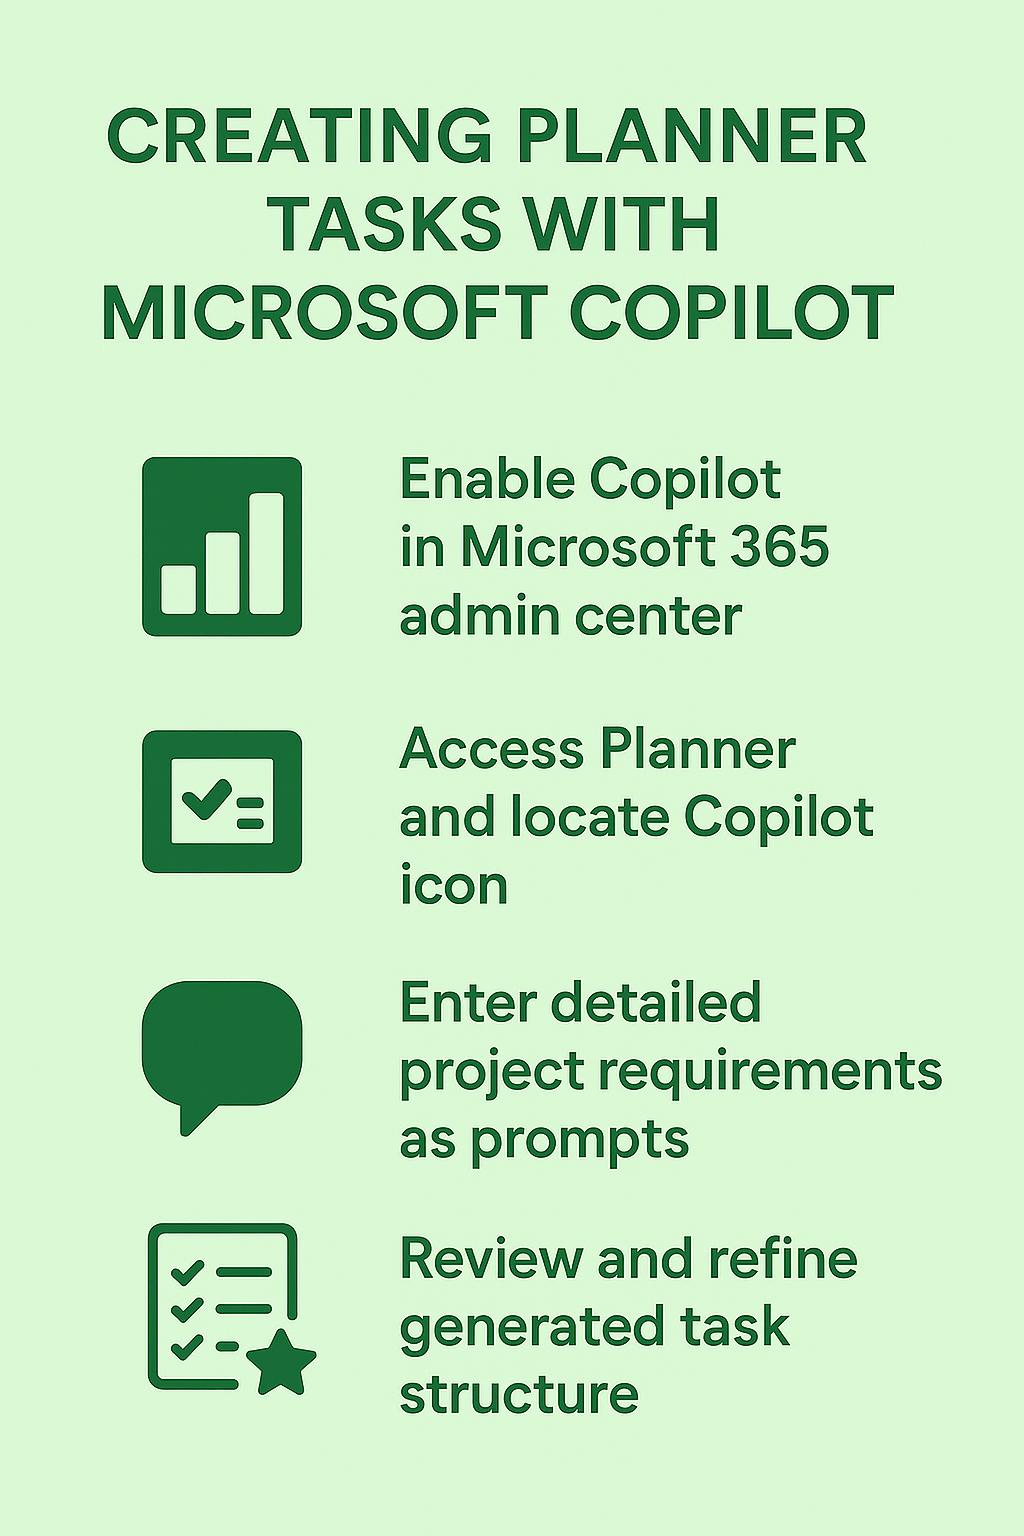
Enabling Copilot integration with Planner Microsoft 365
- Navigate to the Microsoft 365 admin center and access the “Settings” section, then select “Org settings” to configure Copilot features for your organization’s Planner integration.
- Locate the “Microsoft 365 Copilot” settings panel and ensure that Planner integration is enabled by checking the appropriate toggle switches for task management and project planning capabilities.
- Verify that users have the necessary permissions by reviewing the “User management” section and confirming that Copilot licenses are properly assigned to team members who will be creating and managing Planner tasks.
- Access Microsoft Planner through the Microsoft 365 app launcher or Teams integration, and look for the Copilot icon that should now appear in the interface toolbar once integration is properly configured.
Microsoft Planner Copilot tasks creation using natural language prompts
- Open Microsoft Planner and select “New Plan” or choose an existing plan where you want to create tasks using Copilot assistance for automated task generation and organization.
- Click the Copilot icon within the Planner interface and begin with a comprehensive prompt such as “Create a project plan for launching a new marketing campaign with tasks for research, content creation, design, and launch activities.”
- Review the generated task structure that Copilot provides, which typically includes task names, descriptions, suggested due dates, and recommended assignee categories based on your prompt specifications and organizational context.
- Refine the generated tasks by providing additional context through follow-up prompts like “Add specific deadlines for each phase” or “Include budget review tasks for each major milestone” to enhance the project structure.
Example Copilot Prompt for Task Creation:
"Create a comprehensive project plan for website redesign including:
- Discovery and planning phase (2 weeks)
- Design and development tasks (6 weeks)
- Testing and quality assurance (2 weeks)
- Launch and post-launch activities (1 week)
Include specific deliverables and assign tasks to design, development, and marketing teams."
Does Copilot work with Planner for Advanced task management?
- Utilize Copilot’s ability to analyze existing project data by asking questions like “What tasks are overdue in this project?” or “Which team members have the highest workload this week?” to gain insights into project status and resource allocation.
- Generate recurring task templates by prompting Copilot with “Create a monthly reporting template with tasks for data collection, analysis, report writing, and stakeholder presentation” to establish consistent workflow patterns across similar projects.
- Leverage Copilot’s integration with other Microsoft 365 tools by requesting “Create Planner tasks based on the action items from yesterday’s Teams meeting” to automatically convert meeting outcomes into actionable project tasks.
- Set up automated task dependencies and relationships by asking Copilot to “Organize these tasks in logical sequence with appropriate dependencies” to ensure proper project flow and milestone management.
Important Tip: Copilot learns from your organization’s patterns and preferences, so the more specific and detailed your prompts, the better the generated task structures will align with your team’s working style.
Troubleshooting common Copilot in Planner integration issues
- Copilot icon not appearing in Planner interface: Verify that your Microsoft 365 subscription includes Copilot licensing and that the feature has been enabled at the organizational level through the admin center settings panel.
- Generated tasks lack detail or context: Provide more specific prompts that include project scope, timeline requirements, team structure, and deliverable expectations to help Copilot create more comprehensive and relevant task structures.
- Copilot responses seem generic or unhelpful: Train the AI by providing feedback on generated content and using follow-up prompts to refine results, as Copilot improves its responses based on your specific organizational context and usage patterns.
- Integration with Teams or other Microsoft 365 apps not working: Check that all relevant Microsoft 365 services are properly connected and that users have appropriate permissions across the integrated applications within your tenant configuration.