“I just took several screenshots during an important video call, but now I can’t find them anywhere on my computer. Where does Windows 11 actually save screenshots?” This common question reflects a frustration many users face when trying to locate captured images for sharing with colleagues or including in presentations. Understanding where Windows 11 stores screenshots and how to access them efficiently can save valuable time and prevent the need to recapture important information.
Windows 11 screenshot storage and retrieval methods
Windows 11 offers multiple screenshot methods, and each saves files to different locations depending on the keyboard shortcut or tool you use. The operating system provides built-in functionality through the Snipping Tool, Print Screen key combinations, and the Xbox Game Bar, each designed for specific capture scenarios.
We will learn where Windows 11 saves screenshots for each method and how to quickly locate them when you need to access, edit, or share captured images. You’ll learn to navigate the default save locations, customize storage paths, and troubleshoot common issues when screenshots seem to disappear. The only prerequisite is a Windows 11 device with standard user permissions to access file folders and system settings.
How to find screenshots captured in Windows 11?
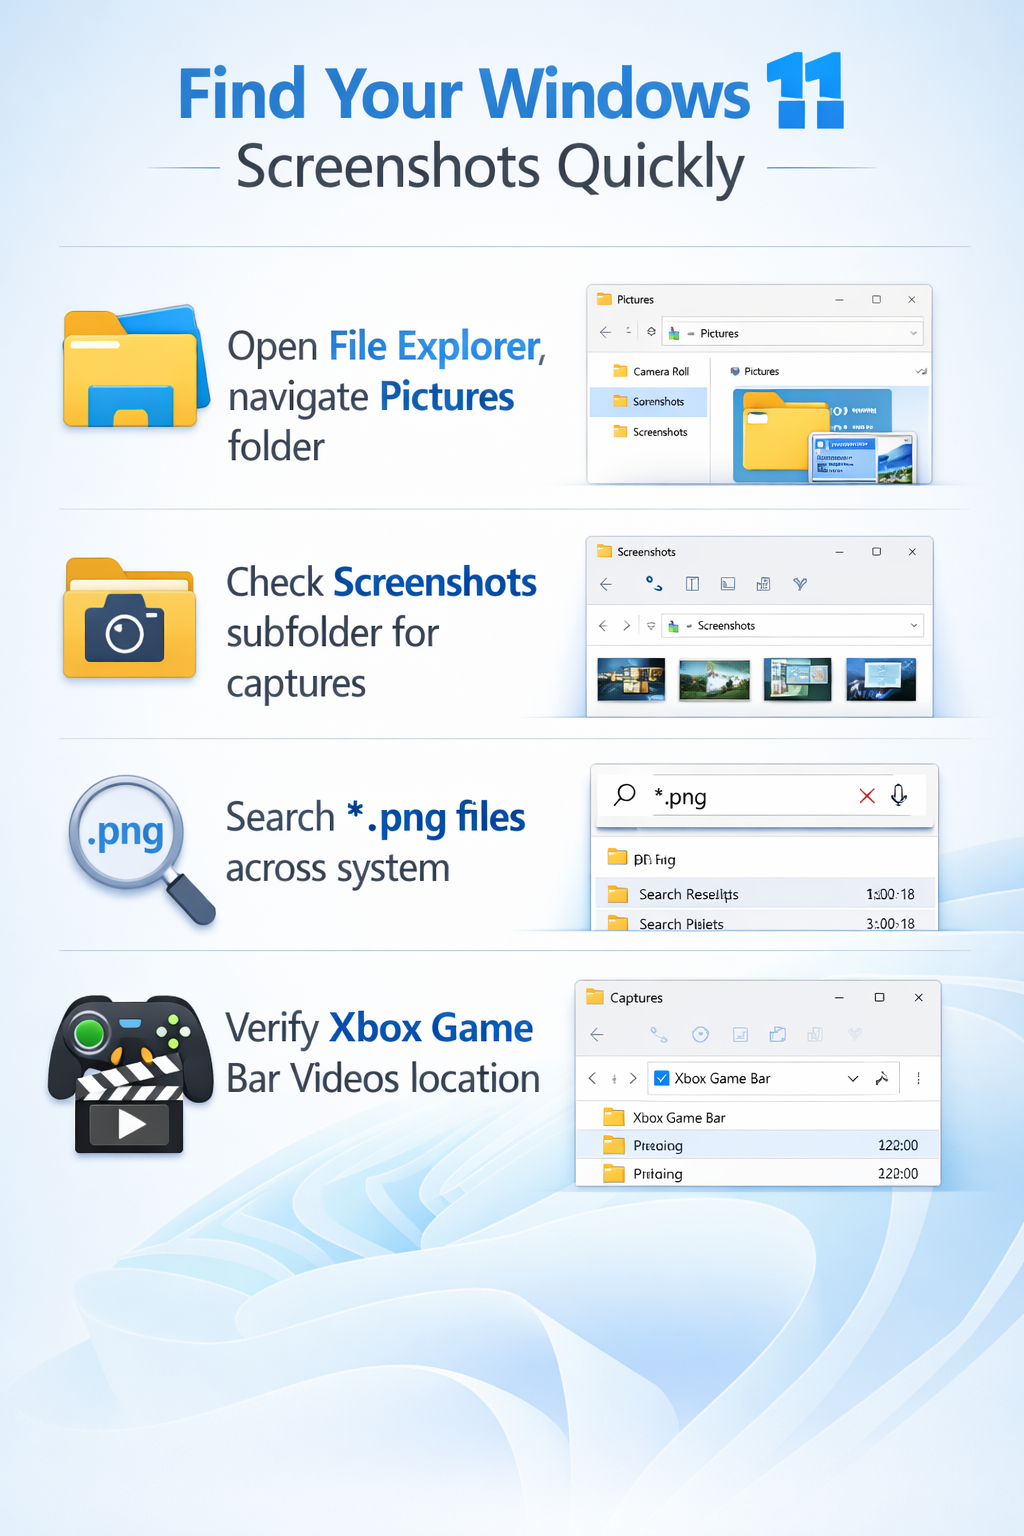
- Open File Explorer by pressing Windows key + E, then navigate to This PC > Pictures > Screenshots to find images captured using the Windows key + Print Screen keyboard combination, which automatically saves full-screen captures as PNG files with timestamps in their filenames.
- Check your clipboard immediately after pressing Print Screen alone, as this method copies the screenshot to memory without saving a file, requiring you to paste the image into an application like Paint, Word, or PowerPoint before you can save it permanently to your desired location.
- Access the Snipping Tool screenshots by opening File Explorer and navigating to This PC > Pictures > Screenshots, or check the location shown in the Snipping Tool’s save dialog if you manually chose where to save the capture during the snipping process.
- Launch the Snipping Tool by pressing Windows key + Shift + S to capture a portion of your screen, then click the notification that appears in the bottom-right corner to open the Snipping Tool editor where you can save the screenshot to any location you prefer.
- Find Xbox Game Bar screenshots by opening File Explorer and navigating to This PC > Videos > Captures, as this gaming-focused tool saves screen recordings and screenshots in video format locations rather than the Pictures folder used by other methods.
Customizing your Windows 11 screenshot save location
- Right-click the Screenshots folder located at This PC > Pictures > Screenshots, select Properties from the context menu, then click the Location tab to view and modify where Windows 11 saves your Print Screen captures by default.
- Click the Move button in the Location tab, browse to your preferred destination folder such as a cloud-synced directory or external drive, then click Select Folder and Apply to redirect all future Windows key + Print Screen screenshots to the new location.
- Create a dedicated screenshots folder in your OneDrive or Dropbox directory before changing the save location, ensuring that all future captures automatically sync to cloud storage for easy access across devices and protection against local drive failures.
- Configure the Snipping Tool to remember your preferred save location by opening the tool, clicking the three-dot menu icon, selecting Settings, and enabling the option to save screenshots automatically to a specific folder you designate for consistent file organization.
Expert Tip: Setting your screenshot location to a cloud-synced folder ensures automatic backup and makes sharing captures with team members significantly faster than manually uploading files after each capture session.
Searching for missing screenshots across Windows 11
- Open File Explorer and type “.png” or “.jpg” in the search box at the top-right corner while viewing your entire C: drive to locate all image files on your computer, including screenshots that may have been saved to unexpected locations.
- Use the Windows Search function by pressing Windows key and typing “screenshot” to find folders, files, and recent captures, as Windows 11 indexes common screenshot locations and can quickly surface files even if you don’t remember the exact save path.
- Check the Recent Files section in File Explorer’s Quick Access panel, as Windows 11 automatically tracks recently created and modified files, making it easy to locate screenshots taken within the past few days without remembering their exact storage location.
- Review the OneDrive Pictures folder if you have cloud sync enabled, as Windows 11 may automatically upload screenshots to OneDrive’s camera roll or pictures folder depending on your sync settings, potentially explaining why files aren’t appearing in local directories.
Resolving common Windows 11 screenshot location issues
- Screenshots not appearing in the expected folder often occurs when the Pictures library path has been redirected or corrupted, which you can fix by opening File Explorer, right-clicking Pictures in the left sidebar, selecting Properties, clicking Restore Default, and confirming the action to reset the folder to its original system location.
- The “Windows key + Print Screen” combination producing no visible result typically indicates that the Screenshots folder doesn’t exist, which you can resolve by manually creating a new folder named “Screenshots” inside your Pictures directory, after which Windows 11 will automatically recognize and use this location for future captures.
- Snipping Tool screenshots disappearing immediately after capture usually means you’re only copying to clipboard rather than saving files, so always click the save icon in the Snipping Tool editor or press Ctrl + S to permanently store the image to your chosen location before closing the tool.
- Unable to find Game Bar captures in the expected Videos folder often results from custom save location settings, which you can verify by opening the Xbox Game Bar with Windows key + G, clicking the settings gear icon, selecting Captures, and reviewing the “Capture location” field to identify where your gaming screenshots are actually being stored.