Introduction
“How can I share files between computers on my network now that we’ve upgraded to Windows 11?” This question frequently emerges in organizations transitioning to Microsoft’s latest operating system. Whether you’re setting up a small office network or managing file access across departments, understanding Windows 11’s file sharing capabilities is essential for maintaining productivity and collaboration in your workplace environment.
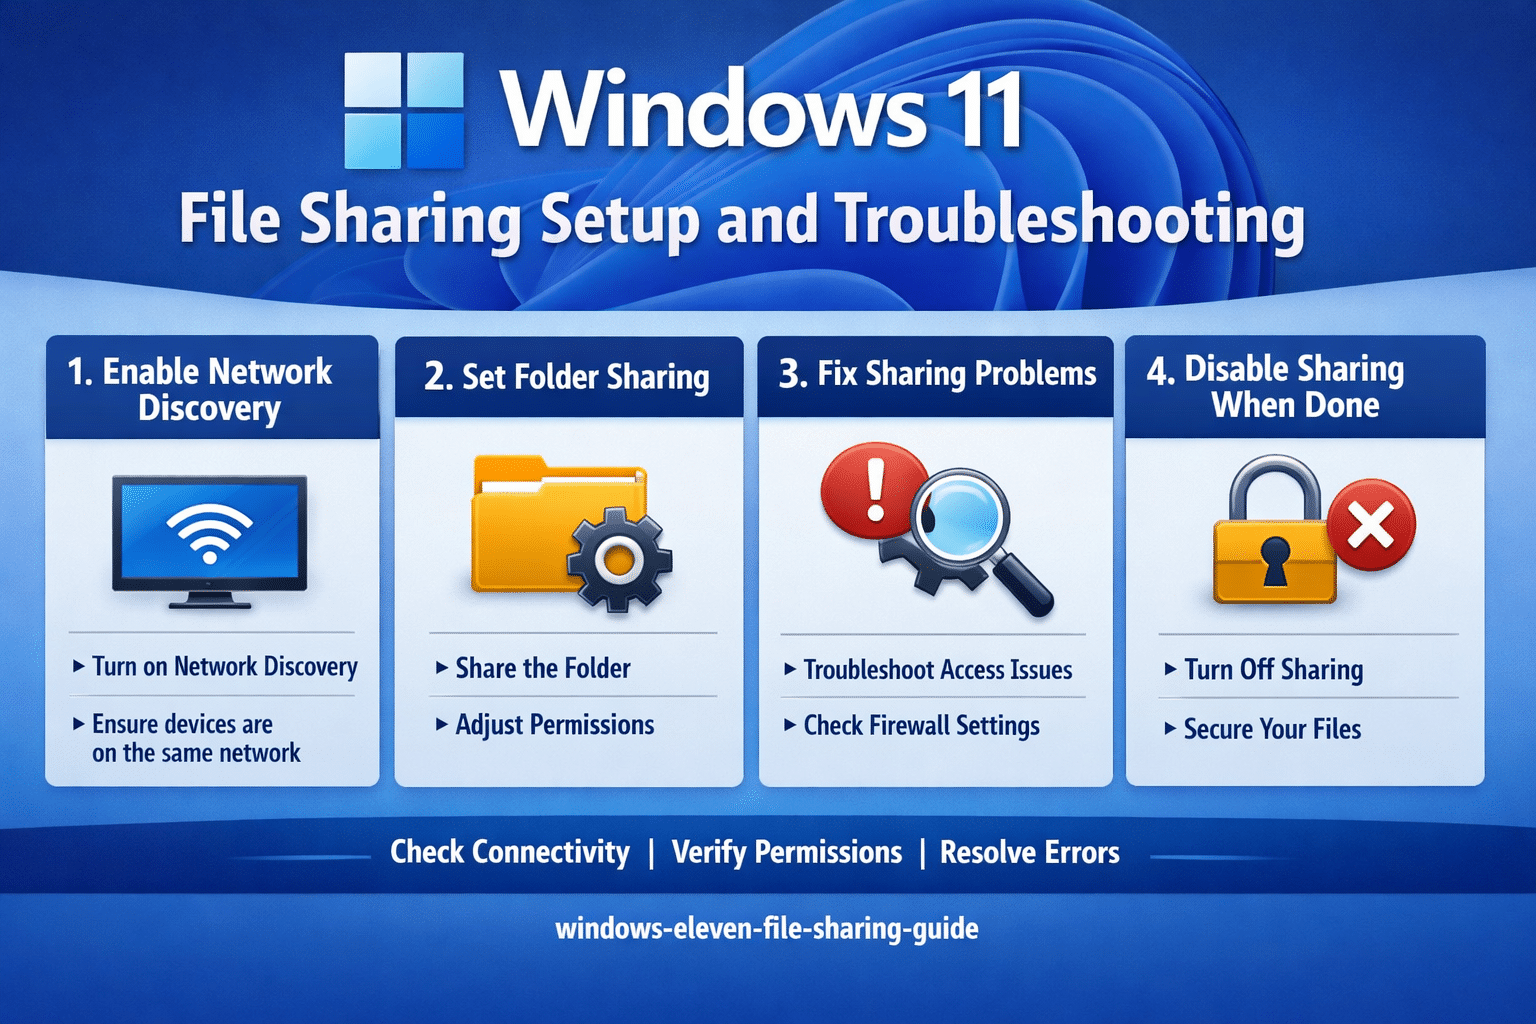
Enable sharing on Windows 11 problem and solution overview
Network file sharing enables seamless collaboration by allowing users to access documents, folders, and resources across connected devices within your organization. Windows 11 introduces updated security measures and interface changes that require specific configuration steps to establish reliable file sharing connections between workstations and servers.
We will you through the complete process of configuring Windows 11 network sharing settings, from enabling basic file sharing features to establishing secure shared folders with appropriate permissions. We’ll cover both simple home network configurations and more complex business environments that require advanced security considerations.
Prerequisites for this tutorial:
- Administrative access to Windows 11 computers
- Active network connection between devices
- Basic understanding of Windows user accounts and permissions
- Network discovery enabled on target computers
The process involves configuring network discovery, enabling file and printer sharing, setting up shared folders, and managing access permissions to ensure secure and efficient file sharing across your Windows 11 network infrastructure.
Open file sharing Windows 11 network configuration
Setting up file sharing on Windows 11 requires enabling several network services and configuring appropriate security settings to ensure both accessibility and protection of your shared resources.
- Navigate to Windows Settings by pressing Windows key + I, then select “Network & internet” from the left sidebar to access your network configuration options and review current connection status.
- Click on “Advanced network settings” to expand additional networking options, then locate and select “Network and Sharing Center” to access the traditional network management interface that provides comprehensive sharing controls.
- Select “Change advanced sharing settings” from the left panel to open the network profile configuration window where you can customize sharing preferences for different network types including private, guest, and domain networks.
- Under the “Private” network profile section, enable “Turn on network discovery” by selecting the radio button, which allows your computer to find other devices on the network and makes your computer discoverable to other systems.
- Enable “Turn on file and printer sharing” option directly below network discovery settings, allowing other computers on your network to access shared folders and printers connected to your Windows 11 system.
Windows 11 network sharing settings configuration
- Access the “Public folder sharing” section and choose “Turn on sharing so anyone with network access can read and write files in the Public folders” if you want to enable quick sharing through the default Public folder location.
- Configure password protected sharing by selecting either “Turn on password protected sharing” for enhanced security requiring user authentication, or “Turn off password protected sharing” for simplified access within trusted network environments.
- Click “Save changes” to apply all network sharing configuration modifications, then restart your computer to ensure all network services initialize properly with the new sharing settings.
- Open File Explorer and navigate to the folder you want to share with network users, right-click on the target folder and select “Properties” from the context menu to access folder-specific sharing options.
- Switch to the “Sharing” tab in the Properties dialog box, then click “Advanced Sharing” button to open detailed sharing configuration options where you can customize share names, user limits, and access permissions.
Enable Windows 11 file sharing permissions and security
- Check the “Share this folder” checkbox to enable sharing for the selected folder, then customize the share name if desired or keep the default folder name for easier identification across network devices.
- Click “Permissions” button to configure user and group access rights, where you can specify which network users have read-only access, read-write access, or full control permissions over the shared folder contents.
- Add specific users or groups by clicking “Add” button, typing usernames or group names, then assigning appropriate permission levels based on your organization’s security requirements and collaboration needs.
- Apply changes by clicking “OK” on all dialog boxes, then test the shared folder access from another Windows 11 computer by opening File Explorer and navigating to “Network” to verify successful sharing configuration.
Expert Tip: Always test file sharing functionality from multiple client computers to ensure consistent access and performance across your network environment before deploying to end users.
File sharing settings Windows 11 troubleshooting
Common challenges can prevent successful file sharing implementation, but most issues have straightforward solutions that restore network connectivity and folder access.
- Network discovery not working: Verify that Windows Defender Firewall allows “File and Printer Sharing” through both private and public network profiles by accessing Windows Security settings, selecting “Firewall & network protection,” then checking “Allow an app through firewall” to ensure proper service communication. See our file access denied fixes for related permissions issues.
- Cannot access shared folders: Confirm that both computers use the same workgroup name by accessing System Properties through “This PC” properties, clicking “Change settings” next to computer name, then ensuring identical workgroup names across all sharing participants for proper network recognition.
- Permission denied errors: Review shared folder permissions and ensure the accessing user account exists on the sharing computer with appropriate rights, or temporarily disable password protected sharing to isolate authentication issues from permission configuration problems.
- Shared folders not visible: Restart the “Function Discovery Resource Publication” and “Function Discovery Provider Host” services through Services.msc, then refresh Network view in File Explorer to force discovery updates and restore shared resource visibility across network devices.
How to disable file sharing Windows 11 when needed
Understanding how to properly disable file sharing ensures security when network sharing is no longer required or when troubleshooting connectivity issues.
- Return to “Change advanced sharing settings” in Network and Sharing Center, then select “Turn off network discovery” and “Turn off file and printer sharing” under your active network profile to completely disable sharing capabilities.
- Remove individual folder shares by accessing folder Properties, clicking the “Sharing” tab, then unchecking “Share this folder” in Advanced Sharing settings to stop sharing specific directories while maintaining overall system sharing capability.
- Monitor active network connections through “Network and Sharing Center” to verify that sharing services have been properly disabled and no unauthorized access attempts are occurring on previously shared resources. For additional security options, see folder encryption protection tips.
Windows 11 file sharing provides robust collaboration capabilities when properly configured with appropriate security measures, enabling efficient resource sharing while maintaining network security standards across your organizational infrastructure.