Screen mirroring on Windows 11 for seamless presentation
“How can I mirror my Windows 11 laptop screen to my conference room TV during team meetings?” This question reflects a common workplace scenario where professionals need to share presentations, demonstrate software, or collaborate using larger displays. Screen mirroring transforms how teams interact with content, enabling dynamic presentations and improved visual collaboration across various business environments. For tips on effective screen sharing, see screen sharing guide.
Enable screen sharing Windows 11 workflow overview
Modern workplaces demand flexible display solutions that support both wired and wireless connectivity options. Windows 11 includes built-in Miracast technology and wireless display capabilities that eliminate the need for cables while maintaining high-quality video transmission. This tutorial covers the complete process of configuring and using Windows 11 screen mirroring features to connect with compatible TVs, projectors, and wireless display adapters.
You will learn to enable wireless display functionality, configure mirror settings, troubleshoot connection issues, and optimize display performance. The workflow assumes you have a Windows 11 device with wireless capabilities and access to a Miracast-compatible display device or wireless display adapter. No additional software installation is required, as Windows 11 includes all necessary components for wireless screen sharing. For troubleshooting, visit fix screen sharing issues.
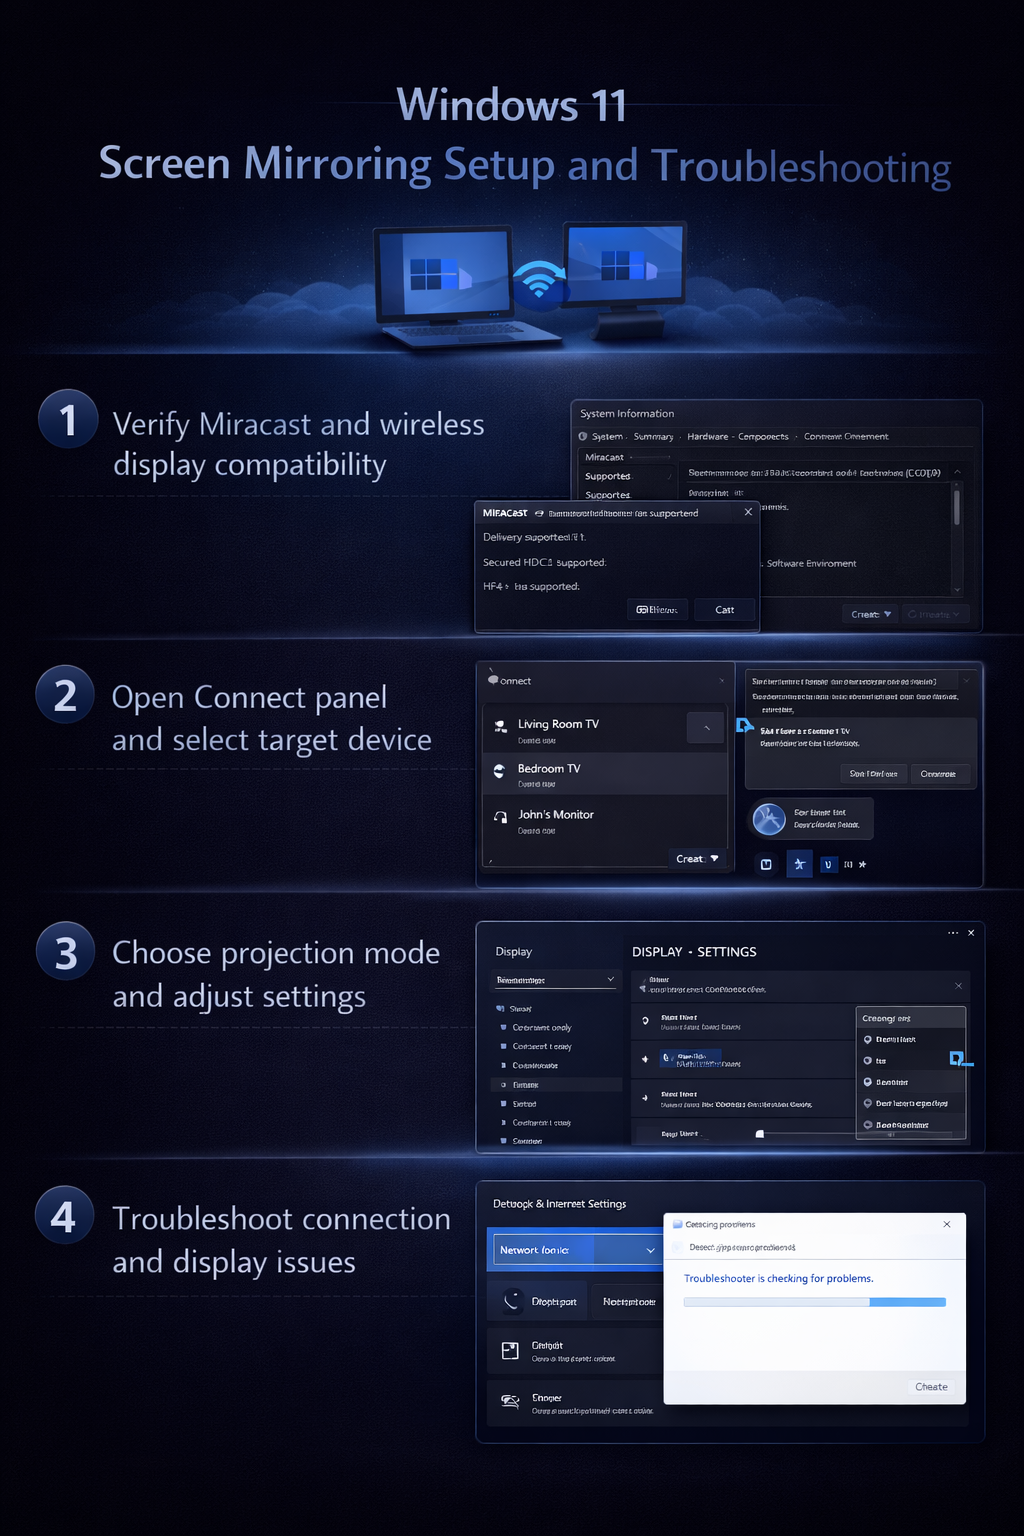
Windows 11 screen sharing setup process
The wireless display configuration process begins with verifying that your Windows 11 system supports Miracast technology and ensuring your target display device is properly configured for wireless connections.
- Open Settings by pressing Windows key + I, then navigate to System and select Display from the left sidebar menu to access your primary display configuration options.
- Scroll down to the Multiple displays section and click on “Connect to a wireless display” link, which will open the Connect panel and begin scanning for available wireless display devices in your immediate area.
- Alternatively, press Windows key + K to open the Connect panel directly, which provides a faster method for accessing wireless display options when you need to establish connections quickly during presentations.
- Ensure your target display device is in pairing mode by checking that Miracast, screen mirroring, or wireless display features are enabled on your TV, projector, or wireless display adapter according to the manufacturer’s instructions.
Mirror settings Windows 11 configuration
- Select your target display device from the Connect panel list, which will initiate the connection process and may prompt you to confirm the connection on both your Windows 11 device and the receiving display.
- Choose your preferred projection mode when prompted: “Duplicate” mirrors your entire screen, “Extend” creates an extended desktop across both displays, or “Second screen only” displays content exclusively on the wireless display device.
- Configure display resolution and orientation settings by right-clicking on your desktop, selecting Display settings, and adjusting the resolution dropdown menu to match your wireless display’s optimal specifications for the best visual quality.
- Access advanced display settings by clicking on “Advanced display settings” where you can modify refresh rates, color profiles, and scaling options to ensure optimal performance across different display types and sizes.
Wireless display Windows 11 optimization
- Navigate to Settings > System > Projecting to this PC to configure your Windows 11 device as a wireless display receiver, allowing other devices to mirror their screens to your computer when needed for collaborative workflows.
- Adjust the “Some Windows and Android devices can project to this PC when you say it’s OK” setting to control which devices can initiate connections to your system, providing security while maintaining accessibility for trusted devices.
- Configure PIN requirements and discovery settings based on your security preferences and workplace policies, ensuring that unauthorized devices cannot access your display capabilities without proper authentication methods.
- Test your wireless display connection by opening a presentation, video, or application and verifying that audio and video content transmits correctly to your target display device without significant latency or quality degradation.
Expert Tip: Position your Windows 11 device within 20 feet of your wireless display for optimal connection stability and reduce interference by avoiding obstacles between devices.
Miracast Windows 11 troubleshooting solutions
Common wireless display connectivity issues can disrupt important presentations and collaborative sessions, but most problems have straightforward solutions that restore functionality quickly.
- Connection timeouts occur when devices cannot establish initial communication, often resolved by restarting both your Windows 11 device and the target display, then ensuring both devices are connected to the same network infrastructure.
- Audio synchronization problems manifest as delayed or missing sound transmission, typically fixed by accessing Sound settings, selecting your wireless display as the default playback device, and adjusting audio delay settings if available through your display’s menu system.
- Display quality issues including pixelation or stuttering video result from bandwidth limitations or interference, resolved by moving closer to your wireless display, closing unnecessary applications, and selecting lower resolution settings through Display settings.
- Miracast compatibility errors prevent connection establishment with certain devices, addressed by updating your graphics drivers through Device Manager, installing the latest Windows 11 updates, and verifying that your wireless adapter supports Miracast technology specifications.