Teams cache location windows 11 causing performance problems
“My Microsoft Teams keeps freezing and loading slowly on Windows 11. I’ve tried restarting the app multiple times, but meetings still lag and messages don’t sync properly. Our IT department suggested clearing the Teams cache, but I’m not sure where to find these files or how to safely remove them without affecting my chat history or settings.”
Clear new teams cache windows 11 for optimal performance
Teams cache accumulation significantly impacts application performance on Windows 11 systems. Cached data includes temporary files, user preferences, and authentication tokens that can become corrupted over time. This corruption leads to slow loading times, sync issues, and unexpected crashes during important meetings.
Clearing the Teams cache resolves most performance-related problems without affecting your chat history or account settings. The process involves locating specific cache folders and removing temporary files while Teams is closed.
Important Note: The solution requires administrative access to your Windows 11 system and assumes Teams is installed in the default location. You’ll need to close Teams completely before beginning the cache clearing process.

Clearing teams cache in Windows process
For Classic Teams Desktop App
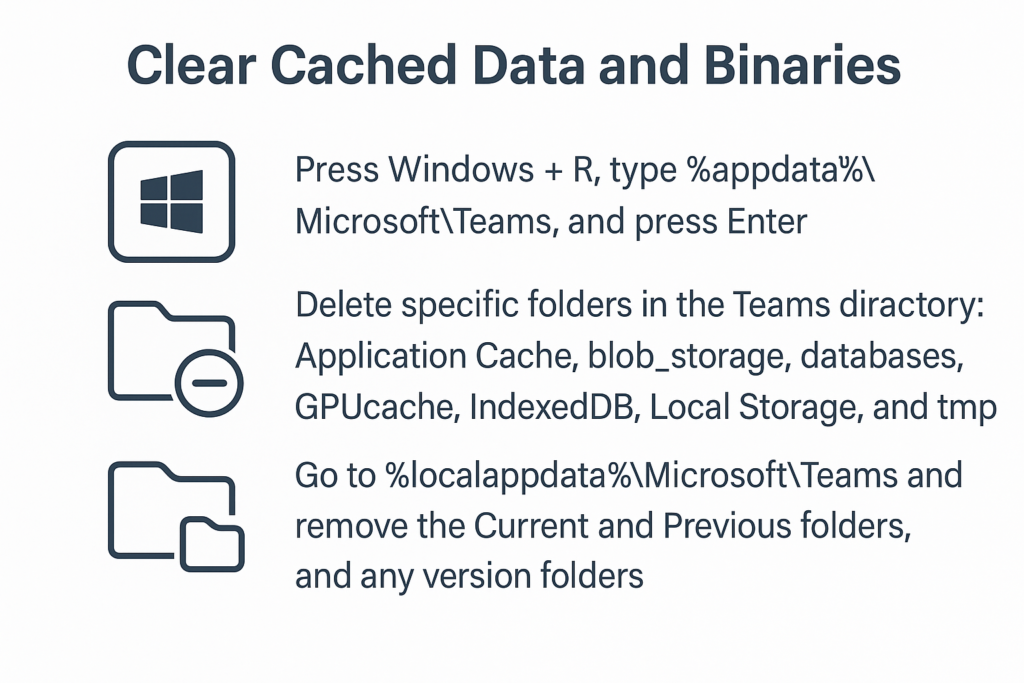
- Press Windows + R to open the Run dialog, type %appdata%\Microsoft\Teams and press Enter to navigate directly to the Teams application data folder.
- Close Microsoft Teams completely by right-clicking the Teams icon in the system tray and selecting “Quit” to ensure no background processes are running.
- Delete the following folders within the Teams directory: Application Cache, blob_storage, databases, GPUcache, IndexedDB, Local Storage, and tmp.
- Navigate to %appdata%\Microsoft\Teams\meeting-addin\Cache and delete all contents to clear meeting-related cache files that may cause audio or video issues.
- Open File Explorer and go to %localappdata%\Microsoft\Teams to access the local Teams cache directory for additional cleanup.
- Remove the Current and Previous folders, along with any numbered version folders (e.g., 1.4.00.26453) to clear application binaries and cached updates.
Tip: Create a backup of your Teams folder before deletion if you want to preserve any local customizations or settings.

For New Teams Client
- Press Windows + R, type %localappdata%\Packages\MSTeams_8wekyb3d8bbwe\LocalCache and press Enter to access the new Teams cache location.
- Ensure the new Teams application is completely closed by checking Task Manager for any remaining ms-teams.exe or Teams.exe processes.
- Delete the Microsoft\MSTeams folder contents, including EBWebView, logs, and tmp subdirectories to remove cached web content and temporary files.
- Navigate to %appdata%\Microsoft\Teams 2.0 if this folder exists and remove Application Cache, blob_storage, and databases folders.
- Clear Windows Store cache by opening Command Prompt as administrator and running wsreset.exe to refresh the Microsoft Store cache affecting Teams updates.
How to reset teams cache troubleshooting common issues?
- “Access Denied” errors when deleting cache folders: Close all Microsoft Office applications and sign out of Windows completely, then sign back in with administrator privileges before attempting cache deletion again.
- Teams won’t start after clearing cache: Navigate to the Microsoft Store, search for Microsoft Teams, and click “Reset” or “Repair” to restore essential application files without reinstalling the entire application.
- Cache folders regenerate immediately after deletion: Check for Group Policy restrictions or third-party antivirus software that may be preventing permanent file deletion, and temporarily disable real-time protection during the cache clearing process.
- New Teams client cache location not found: Verify you have the correct Teams version by checking Settings > About in Teams, as cache locations vary between classic Teams and the new Teams client architecture.
- PowerShell script execution blocked: Run
Set-ExecutionPolicy -ExecutionPolicy RemoteSigned -Scope CurrentUserin PowerShell to allow local script execution, then retry the automated cache clearing script. - Teams performance still poor after cache clearing: Clear Windows DNS cache by running
ipconfig /flushdnsin Command Prompt, and reset network adapters to resolve connectivity issues affecting Teams performance.
