“I need quick access to my most important files and folders directly from my taskbar in Windows 11. Is there a way to pin specific documents, folders, or applications to the taskbar for faster access? My workflow requires frequent access to certain resources, and navigating through File Explorer each time is slowing me down.”
Quick access solutions for Windows 11 taskbar customization
This tutorial will cover multiple approaches to pin various items to your Windows 11 taskbar. We’ll explore direct pinning methods for applications, creating shortcuts for files and folders, and utilizing File Explorer for enhanced access. These techniques work on all Windows 11 versions, including Home and Pro editions. You’ll need administrator privileges for some steps, particularly when creating custom shortcuts with specific parameters.
Remember: Just like how you can manage Teams icons in your taskbar, Windows 11 offers several methods to pin files, folders, and applications to your taskbar for instant access. This functionality helps streamline workflows, reduce clicks, and maintain focus on important tasks.
Pin items to your Windows 11 taskbar
Pinning applications directly to the taskbar
- Search for your desired application by clicking the Start menu or pressing the Windows key and typing the application name to quickly locate it in the system.
- Right-click on the application from the search results and select “Pin to taskbar” from the context menu that appears to create a permanent shortcut.
- Alternatively, open the application first and when it appears in the taskbar, right-click its icon and select “Pin to taskbar” to keep it accessible even after closing.
- Rearrange pinned applications by clicking and dragging their icons to your preferred position on the taskbar for optimal organization.
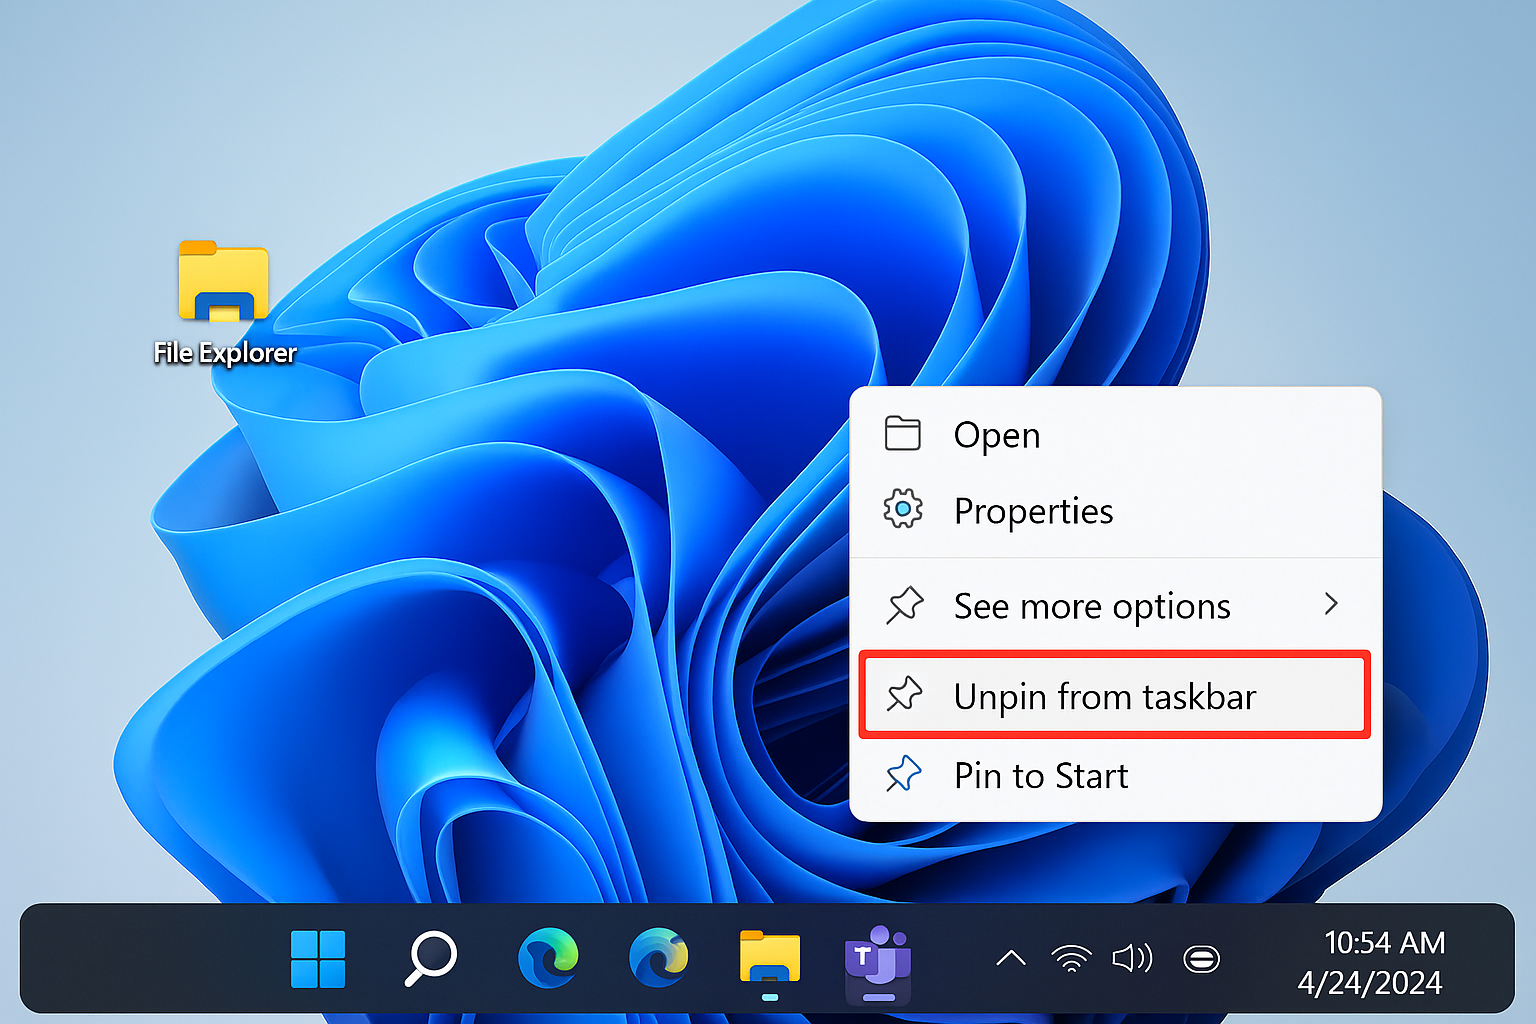
- To remove a pinned application, simply right-click on its taskbar icon and select “Unpin from taskbar” when you no longer need quick access to it.
Adding file shortcuts to the taskbar in Windows 11
- Create a shortcut to your file by right-clicking on the file, selecting “Show more options” if needed, then “Create shortcut” to generate a link to the original file.
- Right-click the newly created shortcut and select “Show more options” to reveal the extended context menu with additional functionality.
- Select “Properties” from the menu and navigate to the “Shortcut” tab to access configuration options for this particular shortcut.
- In the “Target” field, add explorer.exe before the file path (e.g., explorer.exe “C:\Path\to\your\file.docx”) to ensure proper handling by the system.
- Apply changes and then drag this modified shortcut directly to your taskbar to create a pinned item for immediate access
Pinning folders to the taskbar using File Explorer
- Pin File Explorer first by right-clicking on the File Explorer icon in the Start menu and selecting “Pin to taskbar” as your foundation for folder access.
- Right-click on the pinned File Explorer icon in your taskbar to reveal the jump list showing recent and pinned locations.
- Navigate to your desired folder in File Explorer, then drag it to the pinned File Explorer icon on the taskbar and hold briefly until the “Pin to File Explorer” option appears.
- Release to pin the folder to the File Explorer jump list, making it permanently accessible with a right-click on the File Explorer icon.
- For frequently accessed folders like Downloads, navigate to them once in File Explorer, then right-click on the folder in the navigation pane and select “Pin to Quick access” for additional convenience.
Pro tip: For even faster access to multiple files within a project, consider creating a dedicated folder containing shortcuts to all relevant files, then pin that folder to your taskbar for one-click access to the entire collection.
Troubleshooting Windows 11 taskbar pinning issues
- If the “Pin to taskbar” option is missing, try clicking “Show more options” in the right-click menu as Windows 11 hides some legacy context menu options behind this additional step.
- When shortcuts disappear after system updates, recreate them by following the same pinning process, as Windows updates occasionally reset taskbar customizations during major feature updates.
- For files that won’t pin directly, create a shortcut first, modify its properties to include explorer.exe before the path, then pin the modified shortcut to ensure proper functionality.
- If your taskbar becomes unresponsive after pinning multiple items, restart Windows Explorer by pressing Ctrl+Shift+Esc, finding “Windows Explorer” in Task Manager, right-clicking it, and selecting “Restart” to refresh without rebooting.
- When pinned items show incorrect icons, right-click the taskbar, select “Taskbar settings,” scroll down to “Notification area,” click “Select which icons appear,” and toggle the relevant settings to refresh icon cache.
- When encountering issues with taskbar customization, you may need to restart Windows Explorer. Similar to fixing Teams taskbar icon issues, you can refresh the taskbar by pressing Ctrl+Shift+Esc, finding “Windows Explorer” in Task Manager, right-clicking it, and selecting “Restart” to refresh without rebooting.
Frequently Asked Questions About Taskbar Pinning
Can I pin network drives or cloud storage folders to the taskbar?
Yes, but the process requires an additional step. Network drives and cloud storage locations (such as OneDrive, SharePoint, or mapped network drives) can be pinned to File Explorer’s jump list. First, ensure the network location is mapped as a drive letter in File Explorer. Then navigate to the folder, and drag it to the pinned File Explorer icon on your taskbar. For OneDrive folders, you can also right-click the folder in File Explorer and select “Pin to Quick access” first, which makes it appear in the File Explorer jump list automatically.
What’s the maximum number of items I can pin to the Windows 11 taskbar?
While Windows 11 doesn’t enforce a strict numerical limit, practical constraints exist based on your screen resolution and taskbar settings. On a standard 1920×1080 display, you can typically pin 15-20 applications comfortably before icons become too small or hidden. If you need access to more items, consider using the File Explorer jump list for folders and files, which can . You can also enable taskbar icon labels by adjusting taskbar behavior settings, though this reduces the total number of visible icons.
Do pinned items sync across multiple Windows 11 devices?
Unfortunately, taskbar pinning preferences do not sync automatically through your Microsoft account, even when you’re signed in across multiple devices. Each Windows 11 installation maintains its own taskbar configuration locally. If you regularly work across multiple computers, you’ll need . However, File Explorer’s “Quick access” pinned folders do sync when using OneDrive, providing a partial workaround for folder accessibility across devices. For a more consistent experience, consider documenting your preferred taskbar layout and using PowerShell scripts to automate the pinning process on new installations.