“My webcam keeps flickering during Microsoft Teams meetings and it’s making my video calls unprofessional. The image constantly flashes and sometimes goes completely dark for a few seconds. This started happening after I upgraded to Windows 11 and now I’m struggling to maintain proper video quality during important client presentations and team collaborations.”
Common causes and resolution approach
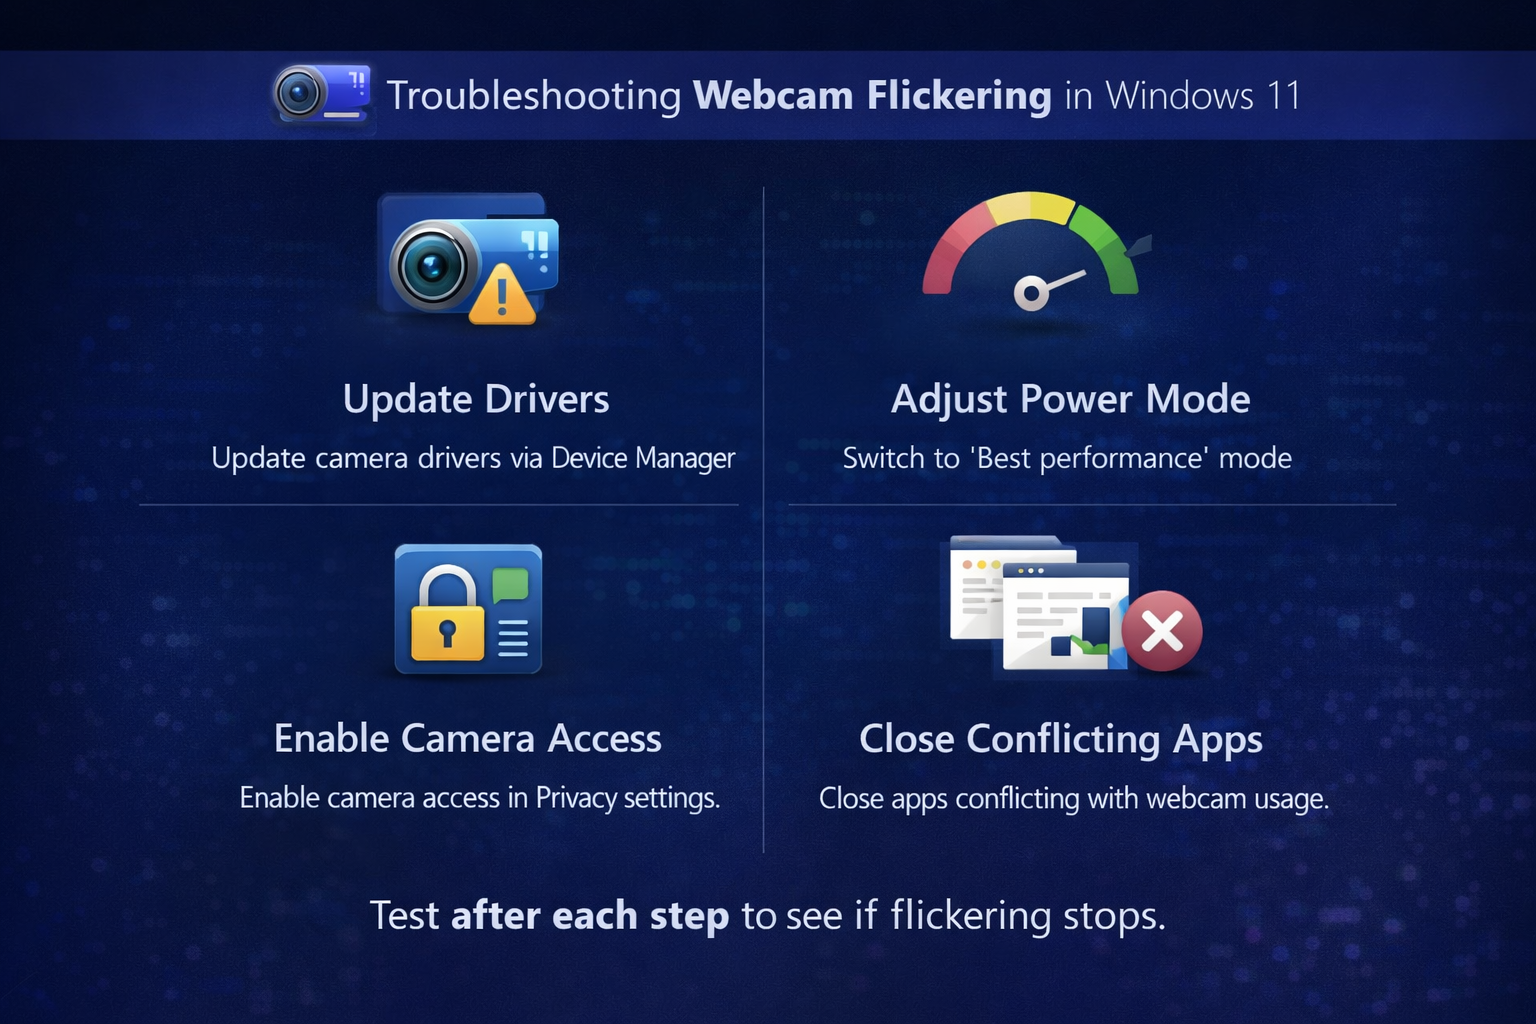
Webcam flickering in Windows 11 typically stems from outdated or incompatible camera drivers, incorrect power management settings, or conflicting applications accessing the camera simultaneously. This issue significantly impacts video conferencing quality and professional appearance during virtual meetings.
This tutorial will walk you through systematic troubleshooting methods to eliminate webcam flickering problems in Windows 11. You will learn to update camera drivers, adjust power settings, modify camera configurations, and resolve application conflicts that cause video instability.
Prerequisites include administrative access to your Windows 11 device and the ability to restart your computer during the troubleshooting process. The solutions apply to both built-in laptop cameras and external USB webcams connected to Windows 11 systems.
Driver and system configuration solutions
- Open Device Manager by right-clicking the Start button and selecting Device Manager from the context menu that appears on your screen.
- Expand the Cameras section and locate your webcam device, then right-click on the camera name to access the properties and driver options.
- Select Update driver from the dropdown menu and choose Search automatically for drivers to allow Windows 11 to find the latest compatible driver version.
- Wait for the automatic driver search process to complete and follow any installation prompts that appear during the update procedure.
- Navigate to Settings by pressing Windows key + I, then click on System from the left sidebar menu to access system-related configurations.
- Select Power & battery from the System menu and click on Power mode settings to adjust power management options that might affect camera performance.
- Change the power mode from Battery saver or Balanced to Best performance to ensure adequate power allocation for camera operations and prevent flickering caused by power throttling.
Camera application and permissions management
- Return to Settings and click on Privacy & security from the left navigation panel to access application permissions and privacy controls.
- Select Camera from the privacy options list and ensure that Camera access is enabled for the system and specific applications you use regularly.
- Review the list of apps that have camera access and disable permissions for applications you don’t actively use to prevent conflicts and resource competition.
- Open the Camera app from the Start menu and click on the Settings gear icon to access built-in camera configuration options.
- Adjust the Flicker reduction setting by selecting either 50 Hz or 60 Hz based on your region’s power frequency to minimize lighting-related flickering effects.
- Test different resolution and frame rate combinations in the camera settings to find the optimal configuration that eliminates flickering while maintaining acceptable video quality.
Expert Tip: Many webcam flickering issues are caused by fluorescent lighting interference. Try adjusting your workspace lighting or repositioning your camera to reduce the impact of artificial lighting on your video feed.
Advanced troubleshooting methods
- Press Windows key + X and select Device Manager, then expand the Universal Serial Bus controllers section to locate USB-related components.
- Right-click on each USB Root Hub entry and select Properties, then navigate to the Power Management tab to modify power saving settings.
- Uncheck the Allow the computer to turn off this device to save power option for all USB Root Hub entries to prevent power interruptions to your webcam.
- Open Task Manager by pressing Ctrl + Shift + Esc and navigate to the Processes tab to identify applications currently using camera resources.
- End tasks for unnecessary applications that might be accessing your camera in the background and causing resource conflicts that lead to flickering.
- Restart your computer after making these changes to ensure all modifications take effect and the camera drivers are properly reinitialized with the new settings.
Resolving persistent flickering problems
- Webcam flickering persists after driver updates, which often indicates hardware compatibility issues or corrupted system files that require deeper troubleshooting approaches and potential hardware replacement considerations.
- Camera works properly in some applications but flickers in others, suggesting application-specific conflicts that can be resolved by updating the problematic software or adjusting application-specific camera settings and configurations.
- Flickering occurs only under specific lighting conditions, typically indicating frequency mismatch between your camera’s refresh rate and artificial lighting sources like fluorescent or LED lights in your environment.
- USB webcams experience intermittent flickering during high system load, usually pointing to insufficient power supply through USB ports or competing bandwidth issues that require USB hub management or direct motherboard connection.