“How can I record my computer screen in Windows 11 without installing additional software?”
Many Windows 11 users need to create instructional videos, capture gameplay, or document software issues but aren’t aware of the built-in screen recording capabilities. You might be wondering if there’s a simple way to record your screen without downloading third-party applications. Fortunately, Windows 11 includes powerful native screen recording functionality that’s both easy to use and surprisingly versatile.
Understanding Windows 11 screen recording settings
Recording your screen in Windows 11 has become significantly more accessible with the latest operating system updates. The built-in screen recorder eliminates the need for expensive third-party software while providing essential recording features for business presentations, tutorials, and troubleshooting documentation. Windows 11’s screen capture tool allows you to record specific applications or your entire desktop with just a few keyboard shortcuts.
Simple screen recording options in Windows 11
Windows 11 offers two primary methods for screen recording: the Xbox Game Bar and the newer Snipping Tool with screen recording capabilities. Both are inbuilt screen recorders that come pre-installed with your operating system. The Xbox Game Bar works well for recording applications and games, while the enhanced Snipping Tool provides more flexibility for general screen recording needs. Before starting, ensure your system meets the minimum requirements for smooth recording performance.
Recording your screen in Windows 11
Using the Xbox Game Bar for screen recording
- Press the Windows key + G simultaneously to open the Xbox Game Bar overlay, which contains various widgets for screen recording and capturing gameplay on your Windows 11 system.
- Look for the “Capture” widget which provides recording controls; if you don’t see it, click the “Widget menu” button and select “Capture” to display the recording options.
- Click the “Record” button (circle icon) or use the keyboard shortcut Windows key + Alt + R to begin recording the active window on your screen.
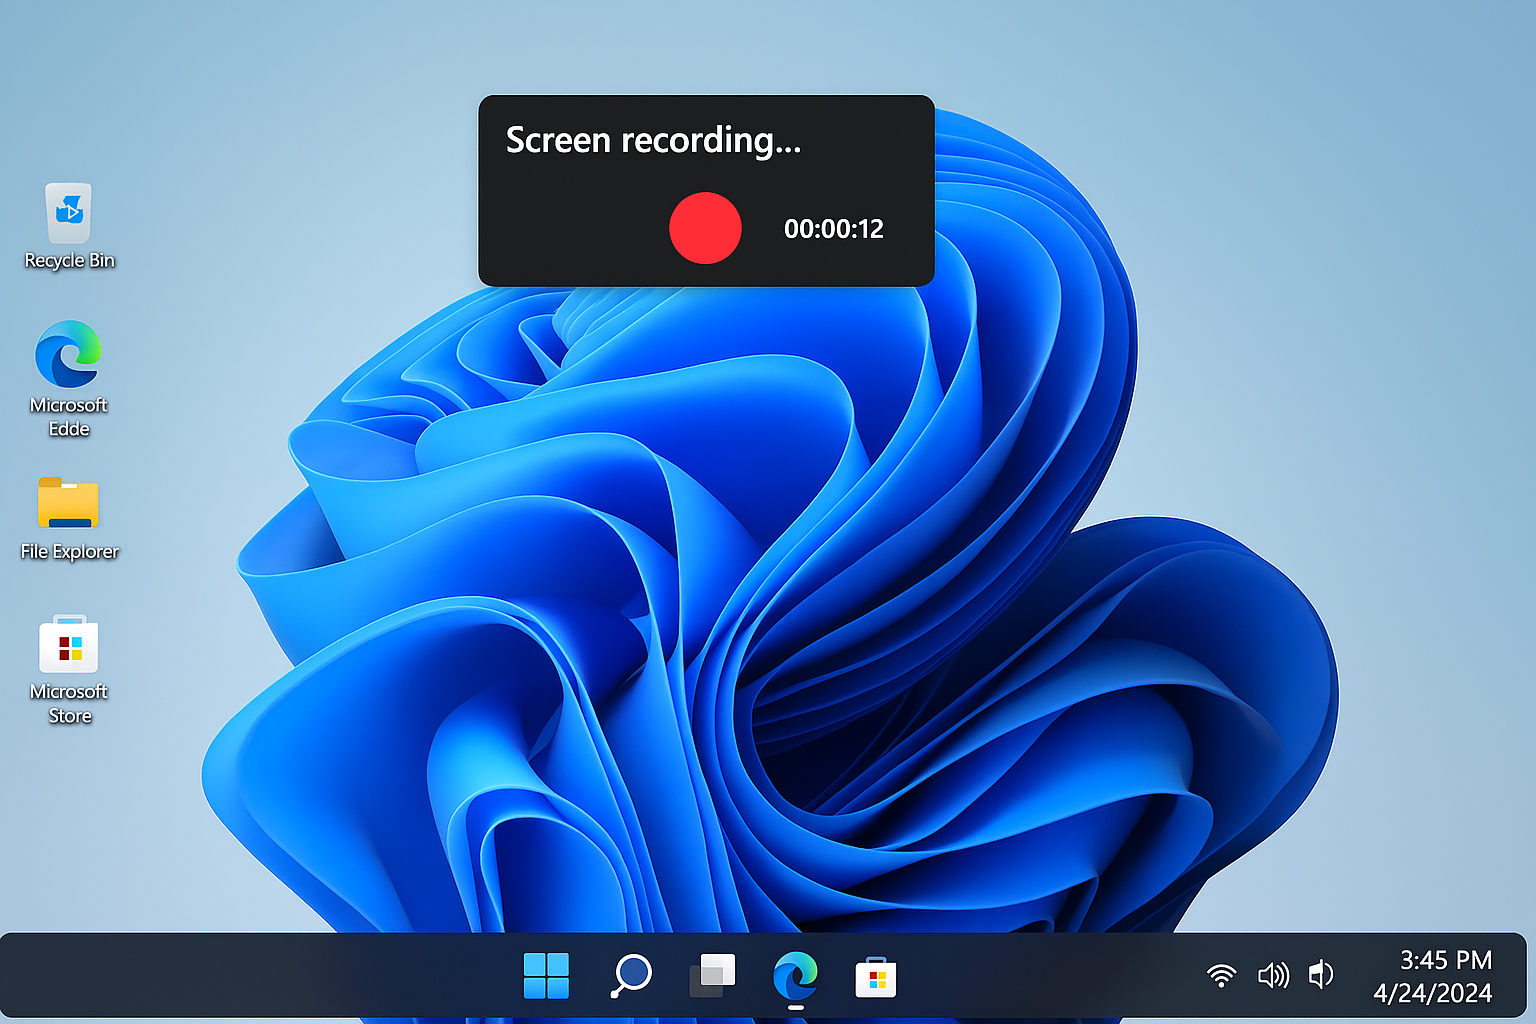
- A small recording timer will appear, typically in the corner of your screen, indicating that your screen recording is in progress and tracking the duration of your capture.
- When you’re finished recording, click the stop button on the timer or press Windows key + Alt + R again to end the recording session.
- By default, your screen recordings are saved in the Videos\Captures folder, which you can access through File Explorer or by clicking “Show all captures” in the Game Bar interface.
Using the Snipping Tool for full screen recording
- Press Windows key + Shift + S to open the Snipping Tool, or search for “Snipping Tool” in the Start menu to launch the application directly.
- Click on the “Record” button in the Snipping Tool interface to switch from screenshot mode to screen recording mode.
- Select whether you want to record the entire screen or a specific portion by dragging to create a custom recording area.
- Click the “Start” button to begin recording; a countdown will appear before the recording actually starts, giving you time to prepare.
- Use the controls that appear at the top of the screen to pause or stop the recording when you’ve captured everything you need.
- After stopping the recording, the Snipping Tool will open your video for preview, where you can trim the beginning or end if necessary.
Windows 11 screen recording issues
- If your screen recording fails to start, check your graphics drivers are up to date by opening Device Manager, expanding Display adapters, right-clicking your graphics card, and selecting “Update driver.”
- When recordings appear choppy or laggy, close unnecessary background applications that might be consuming system resources. You may also want to stop startup programs in Windows 11 to free up additional system resources for smoother recording performance.
- For users experiencing audio issues, verify your microphone settings by going to Settings > System > Sound and ensuring the correct input device is selected for commentary during screen recordings.
- If you can’t find your recordings in the default Windows 11 screen recording folder, check alternative locations by opening Settings > Gaming > Captures and noting the configured storage location.
- When the Xbox Game Bar doesn’t respond or open properly, restart the service by pressing Ctrl+Alt+Delete, selecting Task Manager, finding “Xbox Game Bar” under Processes, right-clicking it, and selecting “End task” before relaunching.